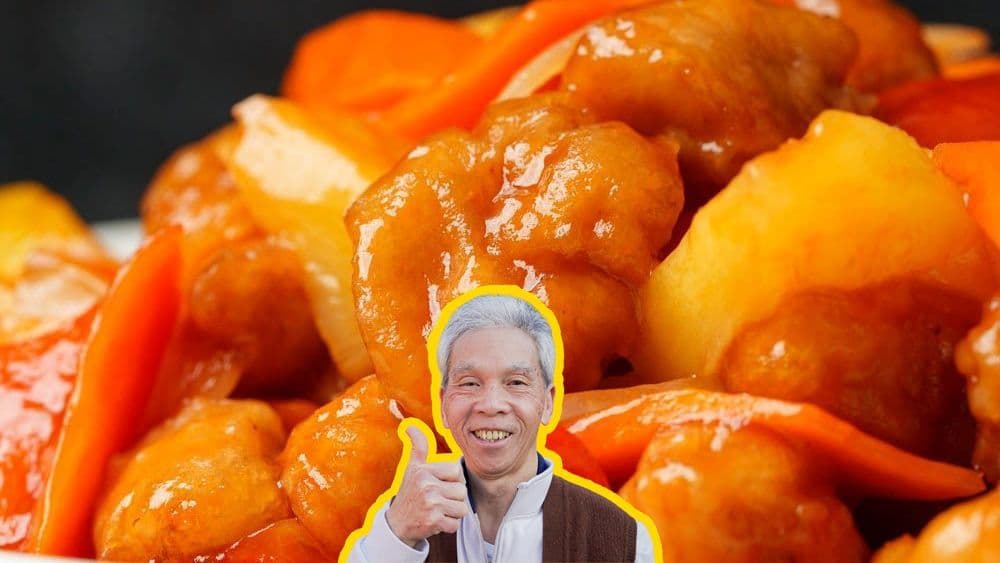
The Sweet and Sour Chicken My Dad's Made 100,000 Times

Why this recipe
Most sweet and sour chicken recipes online are tested only a handful of times. My dad used to make this dish multiple times a day, every day, for 60+ years and can make this in his sleep.
I know you'll love it as much as our community does! This recipe has over 689.1K views, 13.9K likes on YouTube.
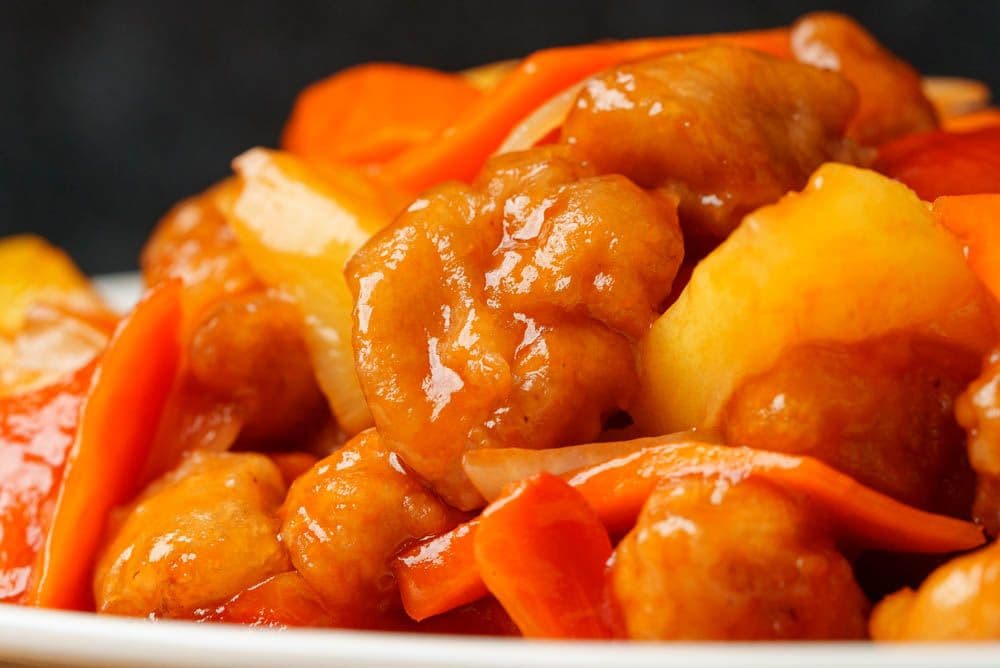
This Sweet and Sour Chicken recipe is a twist on classic Sweet and Sour Pork that swaps out the protein for one that's leaner. It has the same great flavor and iconic sweet and sour sauce, perfect when you're craving the Chinese-American dish.
Today, my dad will show you how to make Sweet and Sour Chicken with the same wet batter technique that most restaurants use. It's a change from the dry batter he uses in his Sweet and Sour Pork, but yields the same crunchy, yet juicy nuggets of meat.
What is the difference between General Tso's and sweet and sour chicken?
Chinese Sweet and Sour Chicken shares many similar characteristics as other famous Chinese chicken recipes, such as General Tso's Chicken, Orange Chicken and Lemon Chicken. While they all feature crunchy, deep-fried chicken, there are slight nuances between each, mostly in the sauce. As its name suggests, Sweet and Sour Chicken sauce features a sticky, tangy sauce that gets its tartness from vinegar. General Tso's chicken has a slightly sweet, more umami flavor, along with a kick of heat from dried chili peppers. Orange and Lemon Chicken, on the other hand, get their signature taste from their respective citrus fruits.
What to serve with sweet and sour chicken
White rice is always a good idea to serve alongside saucy dishes like this one, but you can also make a simpler fried rice, such as my dad's Ginger Fried Rice or Egg Fried Rice. Veggies are essential, too. Again, we recommend something that won't compete with the sweet and sour flavors, such as Stir-Fried Bok Choy or Broccoli Stir Fry.
Thank you, Kikkoman!
This recipe is brought to you in part by Kikkoman. My dad has been using Kikkoman flavors throughout his 50-year career as a chef, and it's a privilege to get to partner with them on such an iconic recipe, Sweet and Sour Chicken!
- Kikkoman products are a major flavor enhancer and bring out the “umami” taste, and helps balance and round out flavors
- Kikkoman® Less Sodium Soy Sauce is perfect for home cooks who are looking to cut down on their sodium levels, without sacrificing flavor
- Kikkoman offers wide range of Gluten-Free Asian sauces, including Gluten-Free Oyster Sauce and Gluten-Free Hoisin Sauce
- The KikkomanUSA.com Chinese site offers easy Asian recipes that home cooks can enjoy any night of the week
You can learn more about Kikkoman and follow them on social media here:
- Website: https://www.KikkomanUSA.com
- Facebook: https://www.facebook.com/KikkomanChineseUSA (Kikkoman 萬字在美)
- Instagram: https://www.instagram.com/kikkomanusa_chinese/ (Kikkoman 萬字在美)
Ingredients

On ketchup
Ketchup is an essential ingredient for sweet and sour sauce and while most may consider it an all-American ingredient, its origins are actually Asian. As we've discussed in detail in our Sweet and Sour Pork recipe, the condiment traces it origins back to 300 B.C. as a fermented fish sauce used in China. It has evolved over the years into the sweet, tomato-based sauce we know today and it's fascinating to see things come full circle, with ketchup used in many Chinese and Cantonese recipes, including General Tso's Chicken, Chinese BBQ Spare Ribs and Tomato & Beef Pan-Fried Noodles.
Instructions
Prep vegetables
Cut the pineapple (6 oz) into 1/2-inch thick slices.
Peel the carrot (2 oz) and cut into smaller segments at a slight diagonal. Lay the segments flat, then cut into 1/4-inch thick slices.
Cut out a wedge of red bell pepper (3 oz), then slice at an angle into triangles.
Peel the onion (2 oz) and cut out a few layers, then slice at an angle into triangles.

Prep chicken
Cut the chicken breast (12 oz) into 1/2-inch thick slices. Cut in half lengthwise into strips, rotate and cut again into 1-inch chunks.
Place the chicken in a bowl and push the meat to one side. To the other side, add the oyster sauce (1 tablespoon), light soy sauce (1 teaspoon), cornstarch (2 tablespoon), water (1 tablespoon) and salt (1 teaspoon). Mix the marinade ingredients together first, then incorporate it with the chicken.
Prep batter
In a bowl, add the flour (4 tablespoon), cornstarch (2.5 tablespoon) and baking powder (1 teaspoon). Add the water (7 tablespoon) a bit at a time until you reach the desired consistency. Mix the batter until no lumps remain.
If it’s too watery, add more flour and cornstarch to thicken. You'll know you've reached the correct consistency when the stream of batter narrows as it falls off a spoon.
Add the oil (1 teaspoon) to batter and mix to thoroughly to combine.
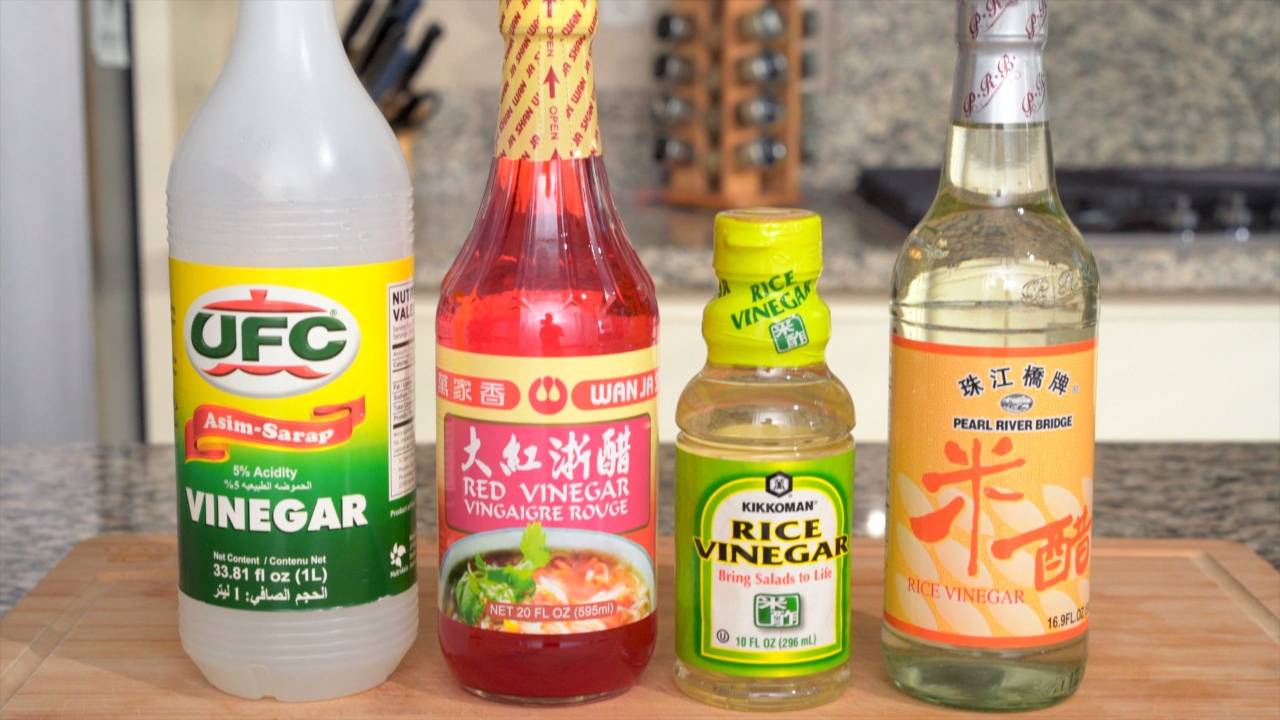
Prep sauce
In a small bowl, mix together the ketchup (5 tablespoon), red vinegar (3 tablespoon), rice vinegar (1 tablespoon), salt (0.50 teaspoon) and sugar (4 tablespoon) until fully combined.
Prep slurry
In a small bowl, mix together the potato starch (2 teaspoon) and water (2 tablespoon) until thoroughly combined.
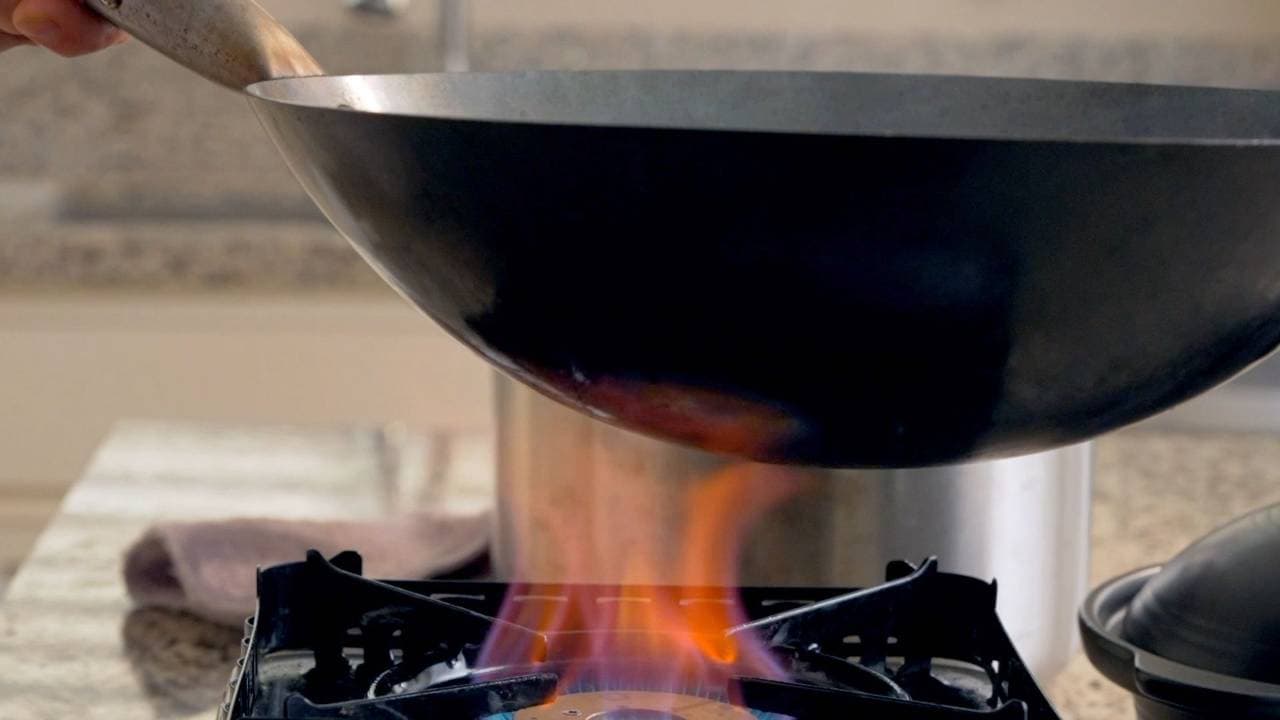
Fry chicken and veggies
Heat a wok on high, about 1 minute.
Add the oil (10 oz) and heat to 350°F. If it's getting too hot, lower the heat.
(Chef's Tip: You can also add more room temperature oil to quickly decrease the temperature.)
Pour the frying batter into the chicken and mix with chopsticks to thoroughly coat each piece.
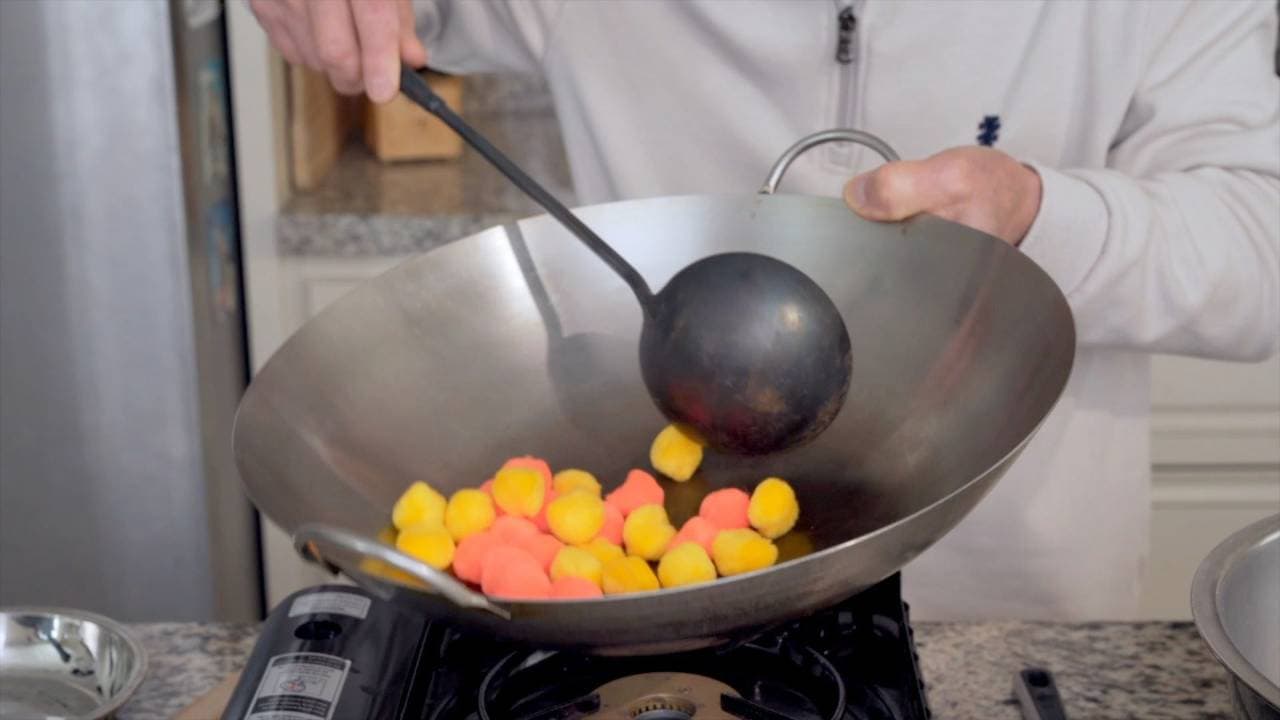
Carefully add the chicken to the wok one piece at a time, making sure to drop them in as close to the oil as possile to prevent any oil splatters. Fry the chicken in batches so you don't overcrowd the wok.
If you previously lowered or turned off the heat to help the oil cool, increase it now to maintain a 350°F temperature. Fry for 2 to 3 minutes, moving the pieces around with chopsticks, until they start to turn golden on the outside. Set the first batch aside, scoop out any pieces of loose batter, and repeat until you've fried all of the chicken.
Heat the oil up to 380°F. Add the chicken for second fry, doing so in two batches. Fry for 30 seconds. Set the chicken aside and turn off the heat. Again, scoop out any pieces of loose batter so they don't burn.
Add the red bell peppers, onions and carrots into oil and fry for 30 seconds. Remove and set aside.
Pour out oil (or use again after filtering). Wipe off any excess oil from wok.
Cook sauce & finish dish
Add the sauce to the wok. Turn the heat to high.
When the sauce starts to boil, give it a stir with your wok spatula. Lower the heat to medium, then slowly add half of the slurry while continuing to mix.
Add the bell peppers, carrots and onions, continuing to stir to coat the vegetables. If needed, add the rest of slurry to reach desired consistency. Turn the heat off.
(Chef's Tip: Turning the heat off ensures that the chicken will stay nice and crispy.)
Add the chicken and mix to thoroughly coat. Add the pineapple and stir to mix.
Add a drizzle of finishing oil and mix it in.
Plate and serve immediately.

Pairs well with
View all →Made with love ❤️

We started Made With Lau to celebrate Cantonese culture and honor the legacy of our wonderful parents, Jenny and Chung Sun Lau.
Our hope is that these recipes and stories help you spread the joy, love, and nostalgia that I felt growing up.