The General Tso's Chicken My Dad's Made 100,000 Times

Why this recipe

Most general tso's chicken recipes online are tested only a handful of times. My dad used to make this dish multiple times a day, every day, for 60+ years and can make this in his sleep.
I know you'll love it as much as our community does! This recipe has over 2M views, 49.6K likes on YouTube.
As a chef who spent most of his 50 year career as a chef in America, my dad's made General Tso's Chicken thousands of times.
If you’re not familiar with General Tso’s Chicken, it’s an extremely popular menu item in Chinese American restaurants but fairly unheard of in mainland China.
The original recipe was invented by renowned chef Peng Chang Kuei in Taiwan in the 1960s, who named it General Tso’s Chicken as an homage to his Hunanese heritage and their beloved general Zuo Zongtang.
Flavor Profile
When done properly, General Tso’s Chicken is an incredibly delicious dish that’s crispy on the outside and tender on the inside.
Chef Peng’s original recipe is more in line with the intense spices, tanginess, and savory flavors of Hunanese cuisine, and in America, Chinese chefs added sugar to the recipe to appeal to a more western customer base.
This recipe is more true to the Chinese American method, with a sweeter taste profile.
Who was General Tso?
Zuo Zongtang was a beloved statesman and military leader in the Qing Dynasty. He was known to be brilliant and always victorious in battle, and was instrumental in keeping China together and keeping peasant rebellions at bay.
A Hunanese icon, his legacy is still celebrated all across Hunan Province today, inspiring Peng Chang Kuei to name a dish after him almost a century after his death.
He had a fierce love of his country, and emphasized the importance of preserving Chinese tradition and culture. (Ironically, one of the most popular Chinese American dishes was named after him.)
We’ll talk about this more later, but there’s a really poignant documentary called “The Search for General Tso” that explains not only the origins of how this iconic dish became its own billion dollar industry, but the struggles of Chinese immigrants fighting to survive and thrive in America.
Ingredients

Instructions
Prepare chicken

We'll cut up our chicken breast (10 oz) (thighs are fine too) into bite-sized pieces.
Afterwards, place the chicken in a bowl along with salt (0.50 tsp), egg (beat and save half for later), cornstarch (1 tbsp), and water (0.50 tbsp).
Mix and massage for about a minute to help the chicken absorb the marinade, and set it aside while we continue preparing our dish.

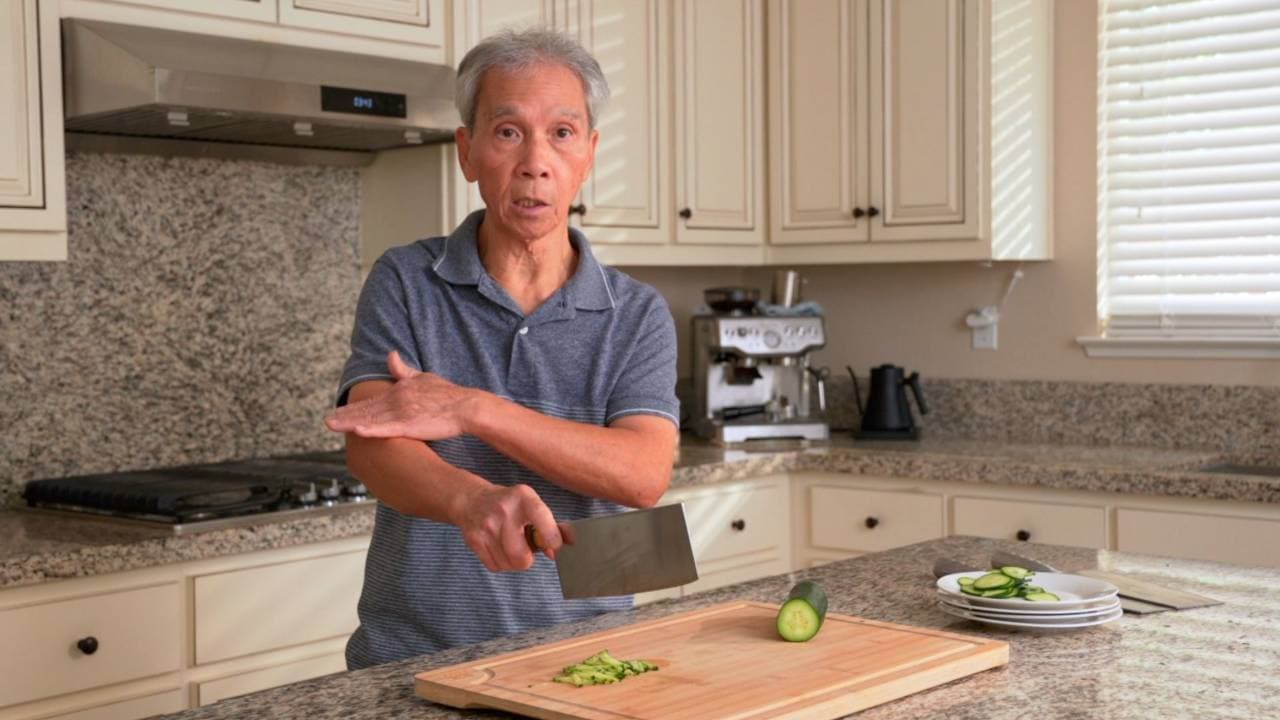
Chop ingredients
We'll chop the aromatics and the vegetables:
- garlic (2 clove) - crush with a knife and mince
- ginger - cut into slices, then strips, and mince
- red bell pepper (1 oz) - cut into strips
- broccoli (optional) - cut a few pieces of broccoli + cook with your method of choice
- tomato (optional) - cut a few wedges
A lot of Chinese American restaurants like to plate General Tso's Chicken on a bed of broccoli, so feel free to do the same.
Create fried chicken batter
To a different bowl, we’ll add:
- flour (3 tbsp)
- cornstarch (1 tbsp)
- the remaining half of the beaten egg
- baking powder (1 tsp)
- water (5 tbsp) - we might need to add more as we mix.
- olive oil (1 tbsp) - add last, after mixing everything else for a minute. This helps the chicken turn out more shiny and helps to prevent the batter from clumping together.
Mix the ingredients (minus the olive oil) for about a minute. Add the olive oil, and continue mixing and maybe adding 1/2 tbsp of water at a time until we get the consistency we want.
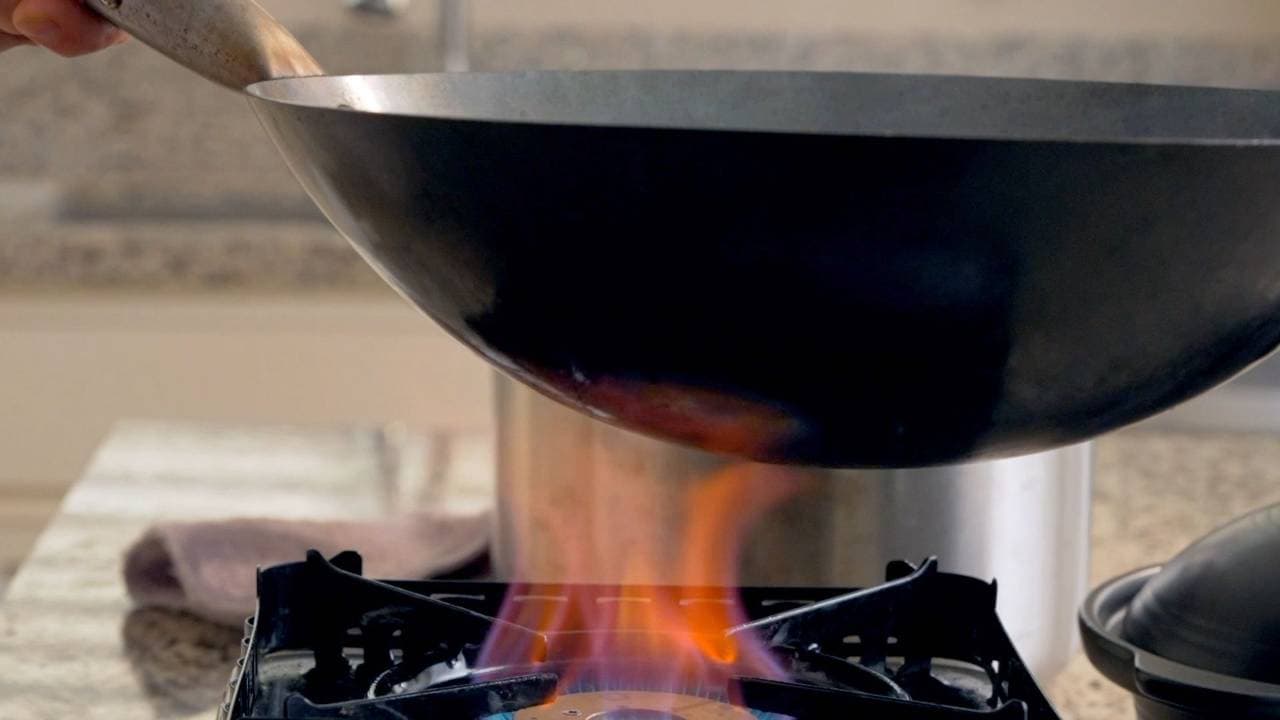
Heat up oil for frying
Using corn oil (or another high smoke point, neutral flavored, refined oil), fill a wok or pan up to 1.5 to 2 inches deep.
We’ll be frying our chicken twice. For the first fry, we’re looking to heat our oil to around 300°F (149°C), and then 350 - 400°F (176-204°C) for the second frying.
There are a few ways to tell if the oil is hot enough:
- Dropping some batter into the oil. It should start sizzling and float to the top immediately, but it shouldn't turn golden brown instantly.
- Dropping something with high water content (like a slice of red bell pepper) into the oil. It should start sizzling immediately.
Another easy way to monitor the temperature is to get an Instant Read Thermometer, which allows you to set a temperature probe in the oil and know exactly what temperature it’s at. Here are some of my favorite options.
- OXO - https://amzn.to/2ODdQvc
- iWeber - https://amzn.to/3bwaeEj
Create sauce
As our oil heats up, we’ll prepare our all-important sauce by mixing
- light soy sauce (2 tbsp)
- dark soy sauce (1 tsp)
- sugar (2 tbsp)
- vinegar (1 tbsp)
- ketchup (1 tbsp)
- white pepper (0.50 tsp)
Make sure to taste it and adjust if necessary :)
Fry chicken, twice
Mix the chicken with the batter, making sure each piece is evenly coated.
Fry #1 - cooking the chicken
~10 minutes @ 300°F (149°C)
Once the oil is hot enough, using chopsticks, GENTLY (we don't want hot oil splashing on us) transfer each piece of chicken into the oil. Going slow also helps prevent the chicken from clumping together.
Gently stir, and wait for the chicken to start turning golden brown. Then, using a spider or slotted spoon, transfer the chicken out of the oil into a bowl.
Wait for the oil to reheat.
Fry #2 - GETTING THAT CRISP
~1-2 minutes @ 350 - 400°F (176 - 204°C)
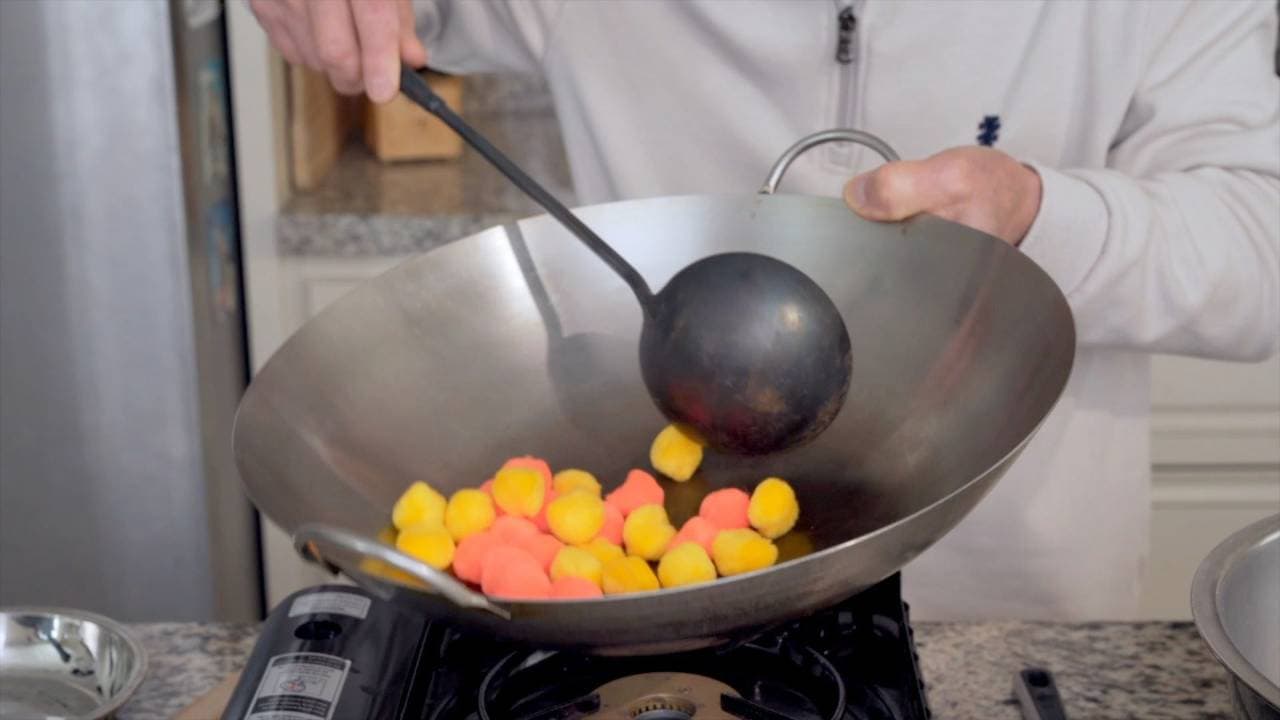
Carefully pour the chicken back into the wok. You might notice that my dad just pours everything in, but uses the ladle as a stopper to slow down the chicken to prevent splashing.
Once it's done, use the ladle to transfer the chicken out of the wok.
You'll probably want to taste the chicken at this point. (Heh heh.)
Cook sauce & mix with chicken
The last step is to create the sauce.
We’ll scoop some of the frying oil into a new pan. Let the pan heat up for 1 to 2 minutes until the oil is shimmering, or forming ripples.
Then we’ll cook...
- Our dried chili peppers (4 piece) for about 10-15 seconds.
- Our minced garlic and ginger for 20-30 seconds to release the aromas and flavors.
- Next, we’ll pour our sauce mix from earlier and stir around for another 20-30 seconds.
- Then, we’ll thicken the sauce with a cornstarch slurry made of cornstarch (1 tsp) and water (2 tbsp). Stir for 20-30 seconds.
- Add the bell peppers and sesame oil (1 tsp), and stir and cook for another 30 seconds.
- You can adjust the thickness of the sauce to your liking by adding either more cornstarch (thicker) or more water (thinner).
Add and stir the chicken around to evenly coat it in the sauce.
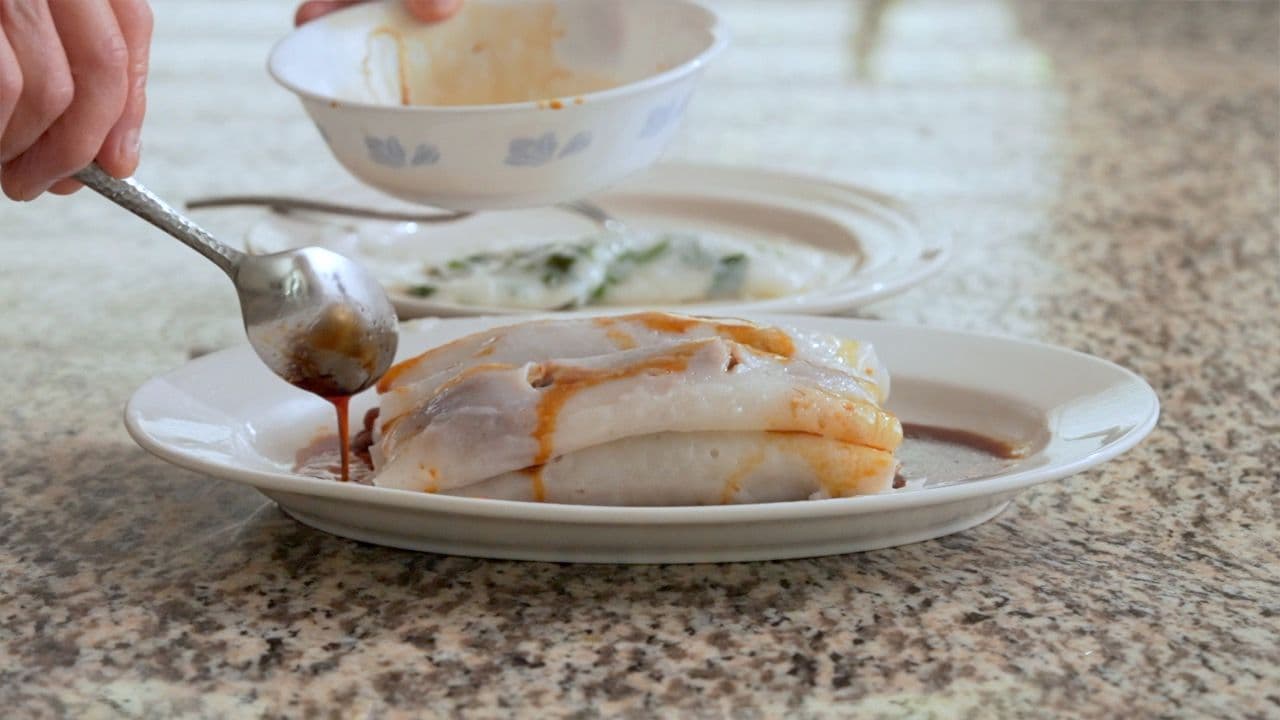
Plate & call the family over!
Transfer the chicken out of the pan onto a plate, and garnish with any of the optional vegetables you might have prepared.
You should be eating this ASAP to enjoy the chicken at its peak crunchy, tenderness.
As I mentioned earlier, a common way to plate this is on a bed of (cooked) broccoli, so you can try that if you like :) This also goes really well with rice!

Pairs well with
View all →Made with love ❤️

We started Made With Lau to celebrate Cantonese culture and honor the legacy of our wonderful parents, Jenny and Chung Sun Lau.
Our hope is that these recipes and stories help you spread the joy, love, and nostalgia that I felt growing up.