mwl-logo

Made With Lau

Recipes

Our Family

Courses

Cookbook Newsletter

mwl-logo

Made With Lau

madewithlau.com

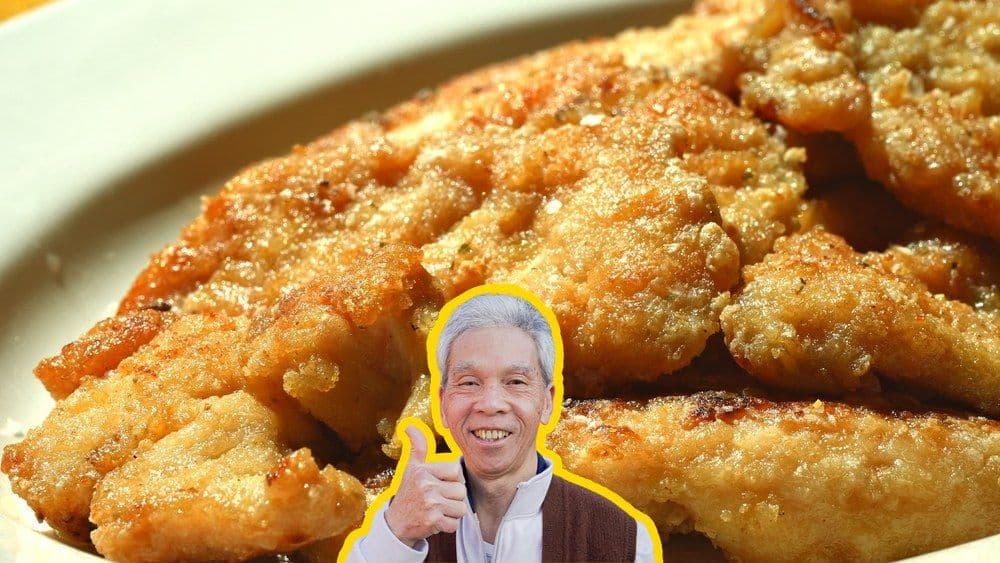
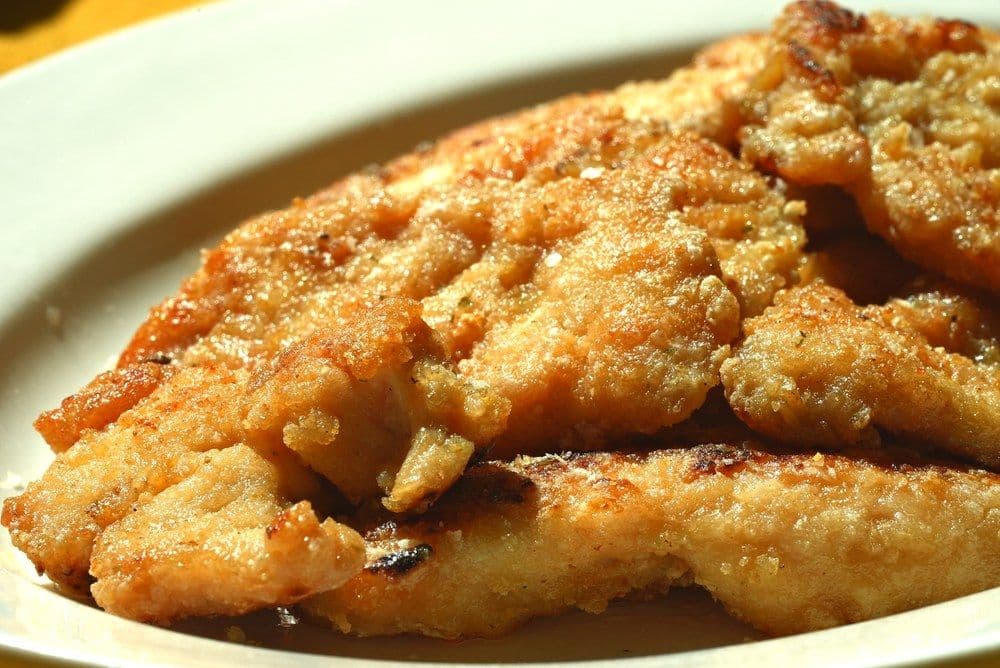
The Easiest Pan Fried Chicken Breast

煎雞胸
Prep: 10 minCook: 10 minTotal: 20 minServes: 4

Ingredients

1 chicken breast
1 tbspoyster sauce
1 tspgarlic salt
1 tbspcornstarch
1 tbspwater
1 tspsugar
1 tbspcornstarch
2 tbspoil
1 dashgarlic salt

Instructions

1
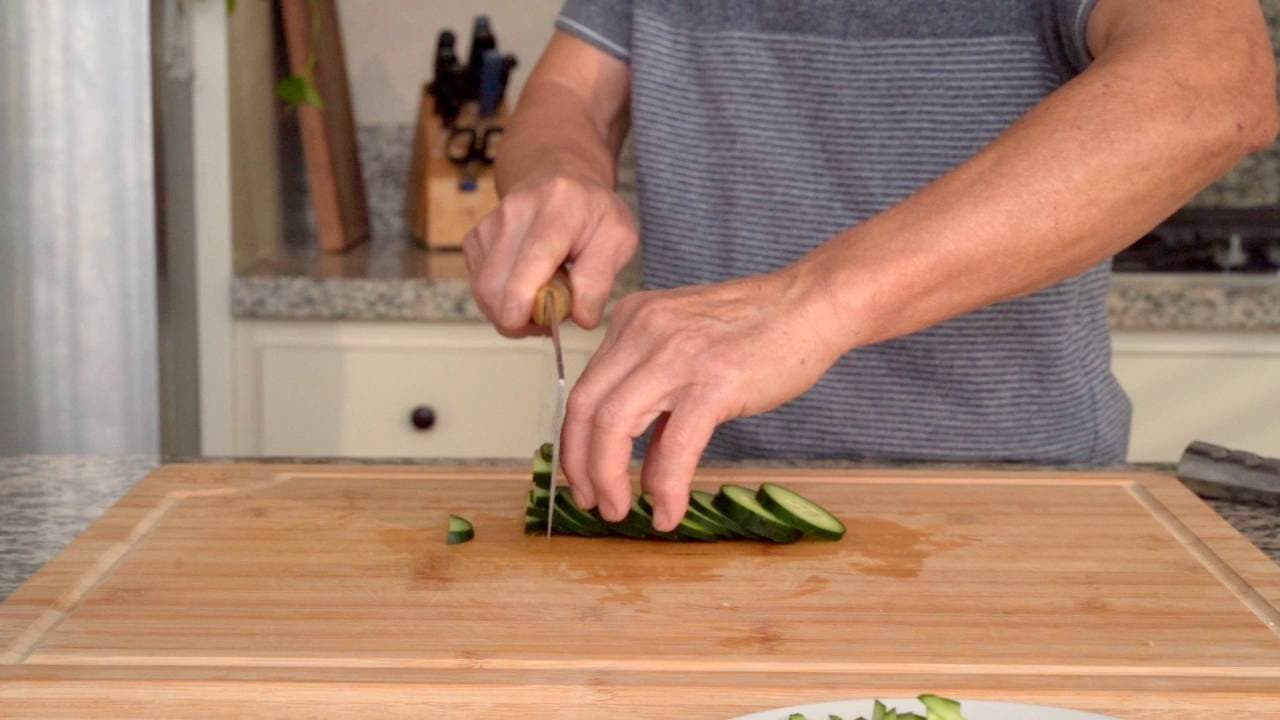
Cut the chicken

Cut the chicken breast into about 1/2 inch thick slices. For extra tenderness, slice against the grain.

The reason we cut across the grain is that we’re essentially “pre-chewing” the tough muscle fibers by breaking them down, which results in more tender bites of chicken. If you cut parallel to the grain, your knife doesn’t break those fibers down in advance, which leads to tougher bites that are harder to chew. This principle applies to lots of different meats, and even vegetables like onions or celery.
2
Tenderize the chicken

Use the back spine of the knife to hit both sides, working across each piece. On the top side, hit in one direction, then flip it over and hit the other side at a perpendicular angle, so you end up with a criss-cross pattern.

This criss-cross tenderizing does a lot all at once. One, it further weakens the muscle fibers, making them easier to chew. Two, it flattens the pieces, leading to a shorter cooking time, which allows the chicken to retain more juiciness. Three, it rapidly accelerates the marinating process.

3
Marinate

Mix oyster sauce (1 tbsp), sugar (1 tsp), garlic salt (1 tsp), cornstarch (1 tbsp), and water (1 tbsp) in a bowl until the cornstarch has dissolved. Add the chicken and massage by hand.

4
Coat in cornstarch

Spread out 1 tbsp of cornstarch (1 tbsp) on a plate. One by one, transfer each piece of chicken and coat both sides in a thin layer of cornstarch, then add it to a pile on the side of the plate. As the pile of finished pieces builds up, move it toward the end of the plate to use up the cornstarch underneath.

5
Pan-fry the chicken

Heat the wok on high, then add 2 tbsp oil (2 tbsp). Once the oil is rippling, turn to low heat.

Add the chicken to the center of the wok, where the wok and oil are hottest, then push it out to the edges before adding the next piece. Since the oil pools at the bottom, this briefly shallow-fries each piece before you scoot it to the side. Repeat until all the pieces are in — this staggers and evens out the timing. Open with slightly lower heat, then turn it up once the meat is in.

By the time you’ve added everything, the first pieces will have a nice char and can be flipped; if you lose track, look for the pieces that are less pink. After flipping, add a bit more oil to develop a crispier crust. Aim to sear each piece about 2–3 minutes per side, inspecting the bottoms and sides for the color change, and keep shuffling pieces between the center and edges.

Since the wok's heat and oil are concentrated in the middle, periodically swap pieces from the center and perimeter (a pan might be easier as you do not have to do this as much). Once done, move them to the sides to let the oil spill down. This takes about 5-6 minutes.

6
Plate

Plate and add a dash of garlic salt (1 dash). Enjoy quickly while the pan-fried essence is fragrant.

Recipe by Daddy Lau · 2× James Beard Award Winner · madewithlau.com

The Easiest Pan Fried Chicken Breast

煎雞胸
▶ 206 views on YouTube
👍 34 likes
Prep
10 min
Cook
10 min
Total
20 min
Serves
4
Daddy Lau
By Daddy Lau · 2x James Beard Awards · 60+ years
Published Jul 2026 · Updated Jul 2026

Why this recipe

The story
Easy Pan Fried Chicken Breast (煎雞胸) — Daddy Lau
Daddy Lau

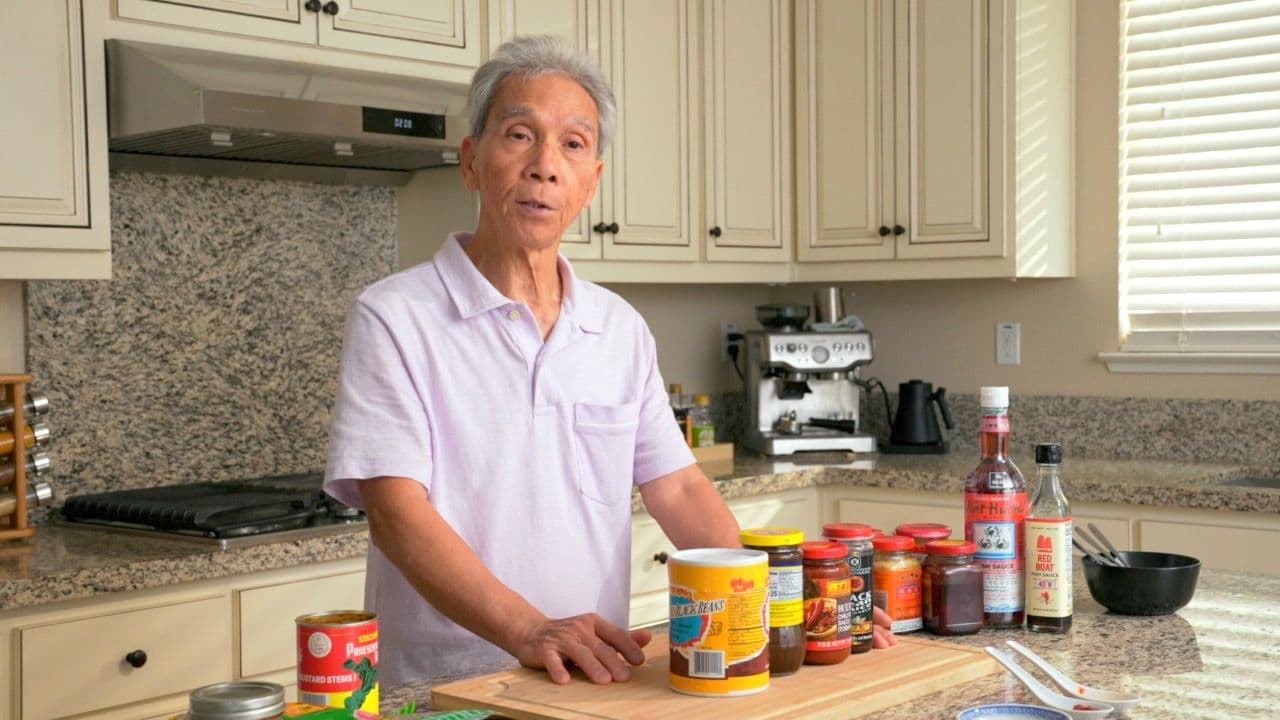
Most easy pan fried chicken breast recipes online are tested only a handful of times. My dad used to make this dish multiple times a day, every day, for 60+ years and can make this in his sleep.

I know you'll love it as much as our community does! This recipe has over 206 views, 34 likes on YouTube.

It's a blessing to have a dad who happens to be a retired, master Chinese chef. He used to make these delectable, crispy, and juicy chicken breast for me all the time as a kid growing up, and he still makes them for our grandkids when he cooks dinner for us on weeknights.

The recipe is extremely simple, and packed with quick tips that make a massive difference in quality.

Ingredients

Serves4
Understanding Flavor
FUNDAMENTALS
Understanding Flavor
Dive Deeper →
Main Ingredients
1 chicken breast
1 tbspoyster sauce
1 tspgarlic salt
1 tbspcornstarch
1 tbspwater
1 tspsugar
1 tbspcornstarch
2 tbspoil
1 dashgarlic salt

Instructions

6 steps · click any step to scrub ↑
1

Cut the chicken

scroll to play this step

Cut the chicken breast into about 1/2 inch thick slices. For extra tenderness, slice against the grain.

The reason we cut across the grain is that we’re essentially “pre-chewing” the tough muscle fibers by breaking them down, which results in more tender bites of chicken. If you cut parallel to the grain, your knife doesn’t break those fibers down in advance, which leads to tougher bites that are harder to chew. This principle applies to lots of different meats, and even vegetables like onions or celery.

The 10 Essential Cutting Techniques
LESSON 3.3
The 10 Essential Cutting Techniques
Dive Deeper →
2

Tenderize the chicken

scroll to play this step

Use the back spine of the knife to hit both sides, working across each piece. On the top side, hit in one direction, then flip it over and hit the other side at a perpendicular angle, so you end up with a criss-cross pattern.

This criss-cross tenderizing does a lot all at once. One, it further weakens the muscle fibers, making them easier to chew. Two, it flattens the pieces, leading to a shorter cooking time, which allows the chicken to retain more juiciness. Three, it rapidly accelerates the marinating process.

3

Marinate

scroll to play this step

Mix oyster sauce (1 tbsp), sugar (1 tsp), garlic salt (1 tsp), cornstarch (1 tbsp), and water (1 tbsp) in a bowl until the cornstarch has dissolved. Add the chicken and massage by hand.

4

Coat in cornstarch

scroll to play this step

Spread out 1 tbsp of cornstarch (1 tbsp) on a plate. One by one, transfer each piece of chicken and coat both sides in a thin layer of cornstarch, then add it to a pile on the side of the plate. As the pile of finished pieces builds up, move it toward the end of the plate to use up the cornstarch underneath.

5

Pan-fry the chicken

scroll to play this step

Heat the wok on high, then add 2 tbsp oil (2 tbsp). Once the oil is rippling, turn to low heat.

Add the chicken to the center of the wok, where the wok and oil are hottest, then push it out to the edges before adding the next piece. Since the oil pools at the bottom, this briefly shallow-fries each piece before you scoot it to the side. Repeat until all the pieces are in — this staggers and evens out the timing. Open with slightly lower heat, then turn it up once the meat is in.

By the time you’ve added everything, the first pieces will have a nice char and can be flipped; if you lose track, look for the pieces that are less pink. After flipping, add a bit more oil to develop a crispier crust. Aim to sear each piece about 2–3 minutes per side, inspecting the bottoms and sides for the color change, and keep shuffling pieces between the center and edges.

Since the wok's heat and oil are concentrated in the middle, periodically swap pieces from the center and perimeter (a pan might be easier as you do not have to do this as much). Once done, move them to the sides to let the oil spill down. This takes about 5-6 minutes.

6

Plate

scroll to play this step

Plate and add a dash of garlic salt (1 dash). Enjoy quickly while the pan-fried essence is fragrant.

劉
Mini Masterclasses
“
His recipes aren't difficult: that's the beautiful part. But when I cook them, I can feel mine aren't quite there. What's missing isn't a recipe. It's the fundamentals.
”
Desmond F. · Mini Masterclass student
Mini Masterclasses are the fundamentals: the part that makes the recipes work.
100+ short video lessons from decades in a professional kitchen: wok heat, knife angles, the tastes you're listening for, how to fix a dish that isn't quite right.
What you're buying
What's inside — a peek at the lessons
6 of 100+ lessons. Free preview marked below.
Reading the wok: when it's hot enough8:42★ Free preview
Wok & heat
Reading the wok: when it's hot enough
Holding the cleaver, three ways6:18🔒 Locked
Knife skills
Holding the cleaver, three ways
Roast Duck11:05🔒 Locked
Exclusive Recipe
Roast Duck
Inside my dad's pantry7:30🔒 Locked
Ingredient Basics
Inside my dad's pantry
Wok Tossing 1015:24🔒 Locked
Fundamentals
Wok Tossing 101
Rice Noodle Rolls9:12🔒 Locked
Exclusive Recipe
Rice Noodle Rolls
Watch the first lesson free.
Drop your email and we'll send the full first lesson + three more sample clips. No card required.
Made With Lau
Mini Masterclasses, lifetime access
100+ video lessons·Never expires·Learn at your own pace
$99
one-time payment
”
“My Chinese cooking has improved by leaps and bounds. I'm now able to recreate my grandmother's recipes through fundamentals and taste memories alone. With Daddy Lau sharing tips from his years in the kitchen, if you listen carefully these tips speak volumes. The fundamentals that you will learn will be priceless.”
D
Desmond F.
Professional chef, 16 years · Singapore
”
“Not only is this THE place for me, a Hong Kong born Cantonese who grew up in Ireland, to relearn all the cooking skills my own Cantonese Mom and Dad taught me. The English translation has also allowed my non-Cantonese speaking, American-born kids to learn about this under-represented side of their heritage. Plus the results are always delicious!”
A
Ann Y.
Hong Kong-born, raised in Ireland
”
“Hearing Daddy Lau's voice brought back memories of my late grandparents who used to cook these meals for me. The Mini Masterclasses improved my cooking skills in various ways, from cutting techniques to preserving your groceries and controlling the heat of the wok. I highly recommend it to anyone, regardless of their experience level.”
S
Shirley P.
Parents from Guangzhou and Toisan · Chicago

The fundamentals you'll learn are priceless.

✓30-day money-back guarantee

Pairs well with

View all →
10 min

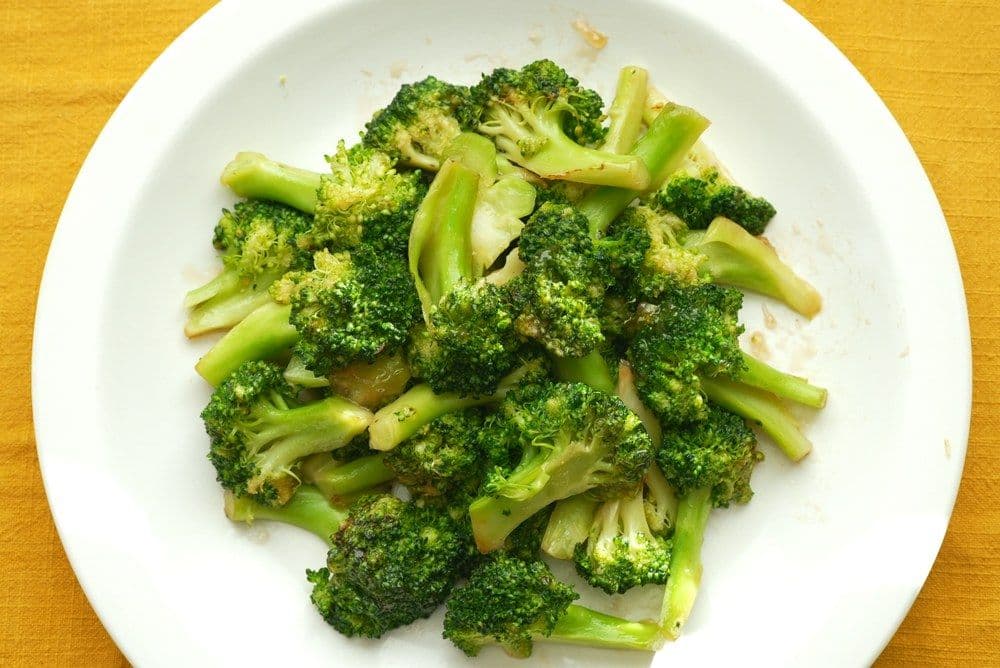
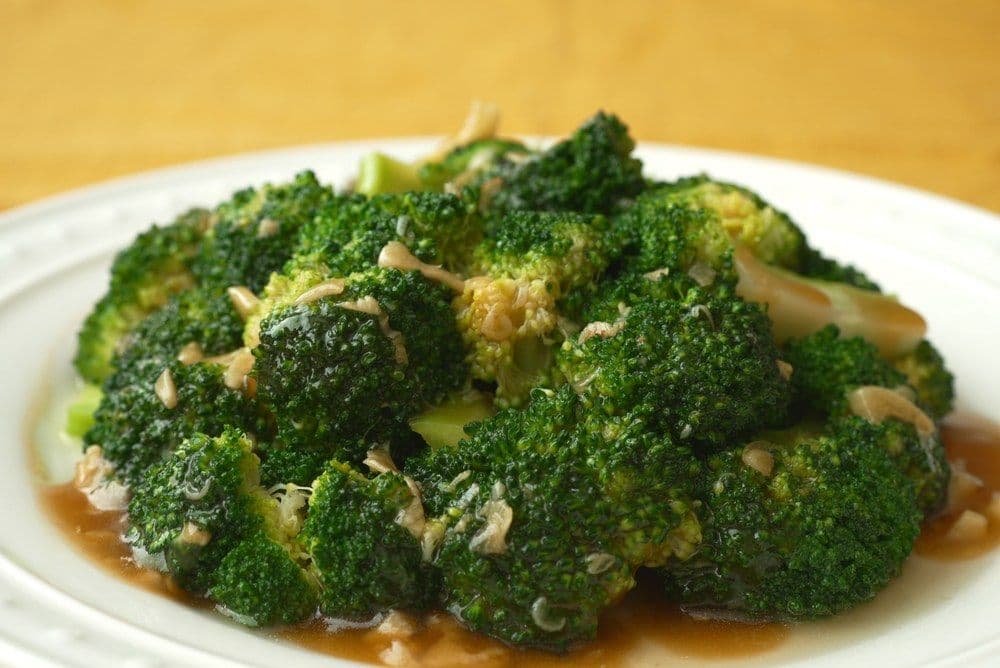
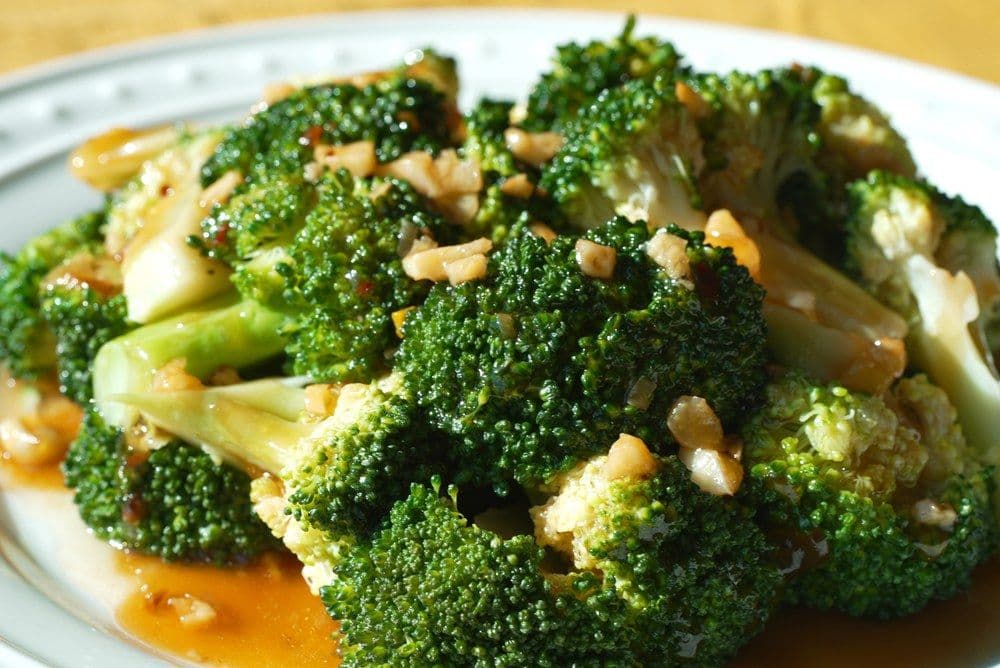
Dad's 10-Minute Weeknight Broccoli (平日西蘭花)

View recipe →
20 min

Soy Sauce Chow Mein (豉油王炒麵)

View recipe →
25 min

Popcorn Chicken (椒鹽鷄柳)

View recipe →

Made with love ❤️

The Lau Family

We started Made With Lau to celebrate Cantonese culture and honor the legacy of our wonderful parents, Jenny and Chung Sun Lau.

Our hope is that these recipes and stories help you spread the joy, love, and nostalgia that I felt growing up.

mwl-logoMade With Lau

A family-run Cantonese cooking project from Daddy Lau, Randy Lau, and a small team in the Bay Area.

Recipes
All recipesEasy weeknightsTakeout favoritesSoups & brothsDim sumNoodles
Learn
Mini masterclassesAll courses
About
Our familyCookbook (2027)ContactPrivacy
Made with ♥ in the Bay · © 2026 · Year of the Horse
YouTube · 1.78MInstagram · 412KTikTok · 891K