Lemon Chicken

Brighten up your meal with this classic Chinese take-out dish!

Cooking Summary
Ingredients: (detailed list)
- Main Ingredients: chicken breast, lemon, sesame seed, egg, corn oil
- Chicken Marinade: salt, sugar, white pepper, cornstarch, oyster sauce, water
- Batter: all-purpose flour, cornstarch, salt, baking powder, water, corn oil
- Lemon Sauce: lemon juice, sugar, water, salt, cornstarch, corn oil
Steps:
Jump To Section
Overview
Sweet, tangy, and refreshing fried chicken! This recipe will guide you through each step to achieve that perfect balance of the crispy batter, the juicy meat, and freshness of the lemon sauce.
Pro-tip: eat this fast! One, because the chicken is crunchiest when it's fresh out of the wok. Two, because the plate will be empty, all your tablemates licking their sticky lips, if you so much as blink.
Why this recipe
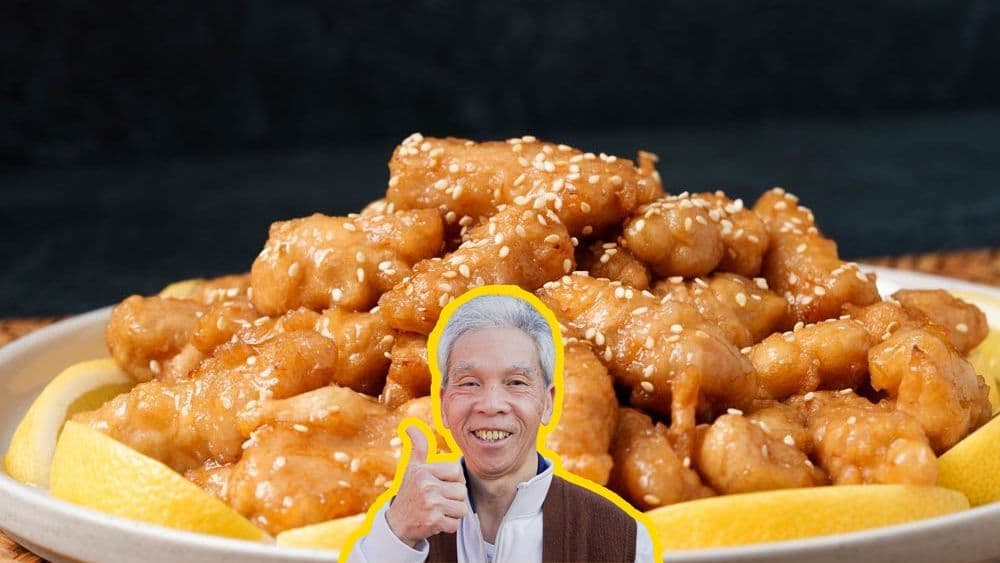
Most lemon chicken recipes online are tested only a handful of times. My dad used to make this dish multiple times a day, every day, for 60+ years and can make this in his sleep.
I know you'll love it as much as our community does! This recipe has over 421.3K views, 8.6K likes on YouTube.
Ingredients
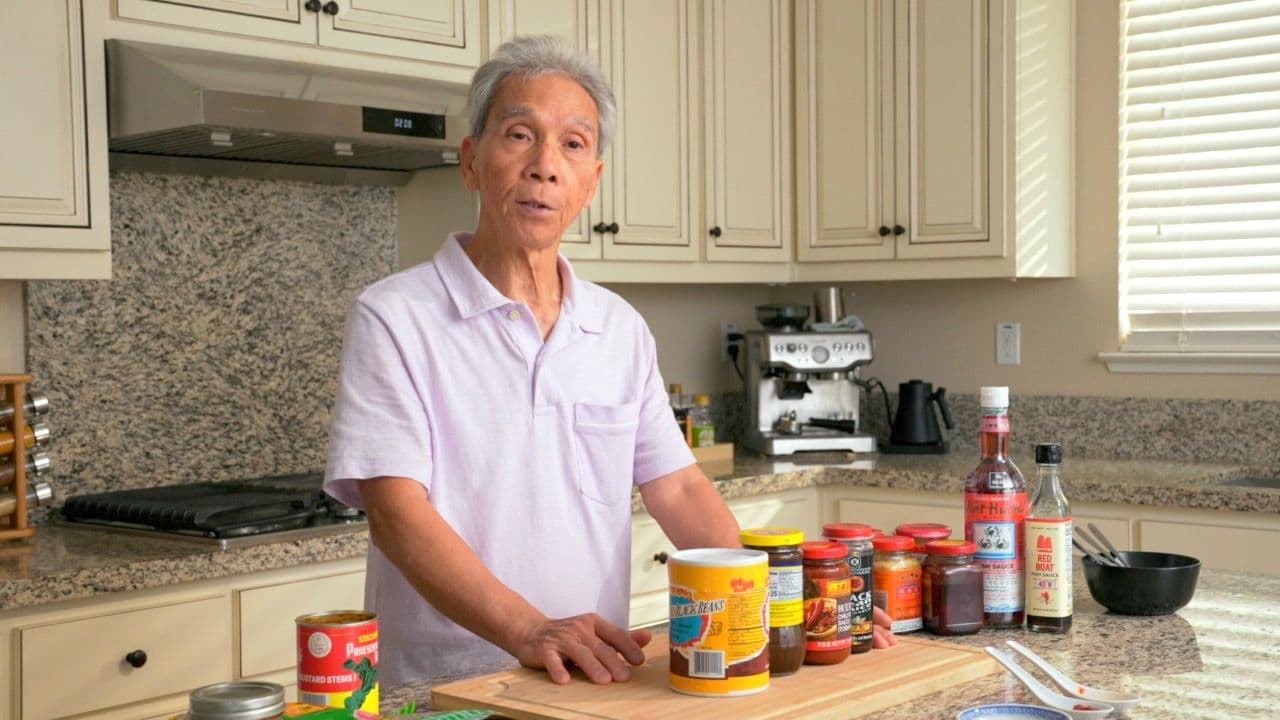
Fresh lemons required?
We like to use fresh lemons because then we'll remember to get extra for garnish (and snacking!). However, if you can't find fresh lemons, you can use the bottled lemon juice to make the sauce. You'll just have to skip the garnish.
Double fry for that crunch!
You might remember this technique from our other deep-frying recipes. We like this technique that much!
The first fry at a slightly lower temperature for a longer time cooks the chicken through. It doesn't immediately result in the greatest crust, though. It'll be pale and a bit soft.
So we bring the oil up to a hotter temperature for a second fry which is for the express purpose of crisping up the crust. This is where you get the golden brown color and satisfying crunch.
How to make Lemon Chicken
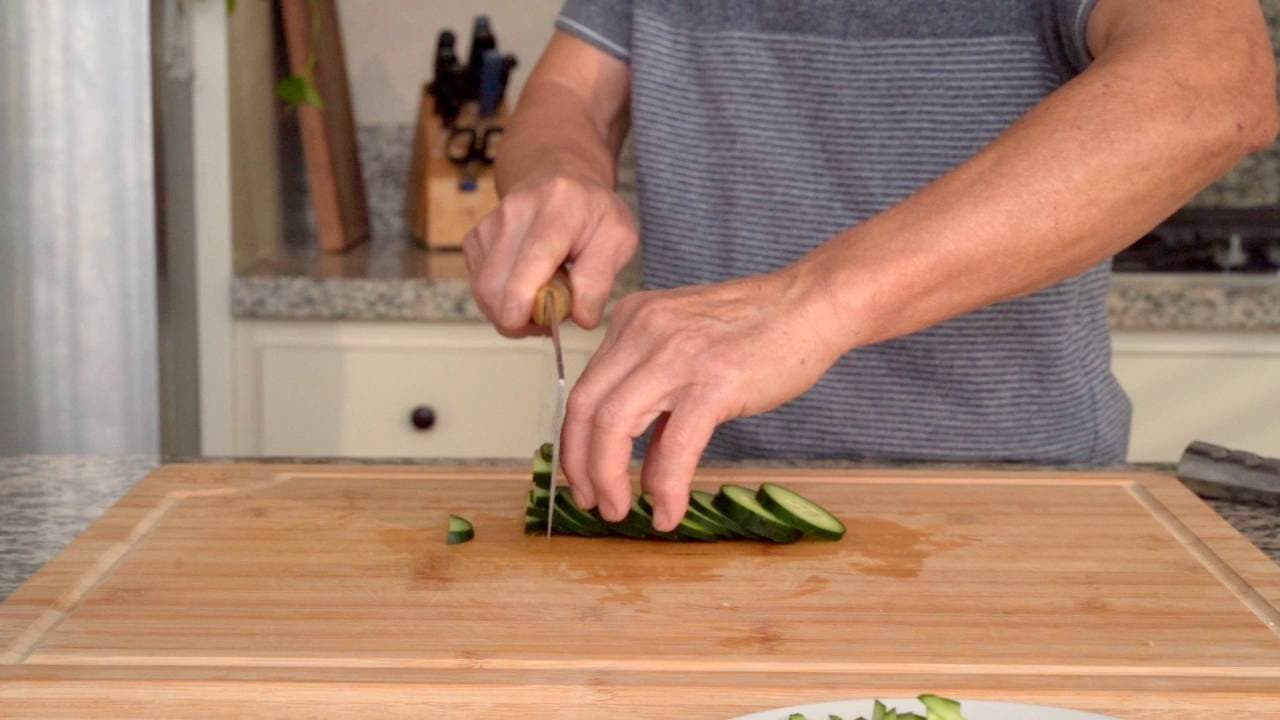
Prepare a lemon (1 whole) for garnish by cutting it into 8 wedges.
We're doing this first while the cutting board is cleanest, so we don't have to worry about bacteria or other flavors or debris transferring onto the garnish.
Cut the chicken breast (14 oz) into 4 large pieces for easy handling. For the thicker parts, cut them horizontally so they’re not as thick. Then cut each piece of chicken into thin strips.
Place the sliced chicken into a medium-sized bowl and push it all to one side. On the other side of the bowl, add the marinade ingredients: salt (1 tsp), sugar (1 tsp), white pepper (¼ tsp), cornstarch (1 tbsp), oyster sauce (1 tbsp) and water (1 tbsp). Mix the marinade together until it’s well-combined, then mix it with the chicken until each slice of chicken is well-coated.
In another bowl, crack and beat the egg (1 whole). Pour half of it into the bowl of marinated chicken and mix well. Set aside. The rest of the egg will go into the frying batter.
Cut lemons (2 whole) in half and squeeze the juice into a small bowl.
Add sugar (4 tbsp), water (5 tbsp), and salt (¼ tsp) to your freshly-squeezed lemon juice (2 oz). Sugar balances out the sourness while salt enhances it. Mix it well so the salt and sugar have a chance to dissolve, then set it aside.
In a separate bowl, combine flour (9 tsp), cornstarch (2 tbsp), salt (½ tsp), and baking powder (1 tsp). This ratio of flour and cornstarch will create the perfect balance between crunch and density, while the baking powder helps the crust get light and puffy.
Gradually add water (6 tbsp) 1 tbsp at a time and stir it in, until the batter has reached the desired consistency. You’re looking for the approximate consistency of pancake batter; when you scoop some up in your spoon and let the batter fall, it should create faint ribbons that melt back down into the bowl. (If you’re a super amazing cooking expert, you can account for the oil and egg in advance while evaluating the consistency here.)
If it runs quickly like water, it’s too thin; add more cornstarch (1 tbsp) and flour (2 tsp) as needed. If it falls slowly in heavy clumps, it’s too thick; add more water as needed.
Add oil (1 tsp) and the remaining half of beaten egg to the frying batter and mix well.
Add oil (12 oz) to the wok and turn the heat to high. While the oil is heating up, add the marinated chicken to the frying batter and mix thoroughly so every piece is coated.
When the oil reaches 325° F, turn the heat down to low. Piece by piece, lower the battered chicken into the oil. It’s important to place each piece strategically so they don’t stick together and become one huge fried chicken boulder. Also, don’t overcrowd the wok; split the chicken into two or more batches if necessary.
The addition of chicken will lower the overall temperature of the oil, so bring it back up by turning the heat up to medium. Cook the chicken until you see the crust firm up and turn a pale yellow color, or about 3 minutes.
Use a spider strainer or slotted spoon to scoop up the chicken and set aside in a clean bowl. Repeat with your subsequent batches until you’ve completed this first frying stage with all the chicken. At this point, all the chicken is just about fully cooked through, but the crust texture is not ideal… yet!
Increase heat to high so the oil can reach 400° F. Frying everything a second time at this higher temperature gives us that satisfyingly crispy crust.
Just like the first fry, you may want to split the chicken into two or more batches. Once the oil is at 400° F, add the chicken. Cook until the crust is the perfect golden brown of your favorite fried chicken, which should take about 20 seconds. Take the chicken out and let it sit in a strainer or colander while you cook the sauce.
Prepare a cornstarch slurry by combining cornstarch (1½ tsp) with water (1½ tbsp). Mix until the cornstarch has completely dissolved and no lumps remain.
Pour the lemon juice mixture into a clean wok. Bring it to a boil over high heat.
When the juice comes to a boil, decrease the heat to low. Slowly pour in the cornstarch slurry while stirring constantly.
Turn the heat back up to high to thicken the sauce. Remember to keep stirring so that lumps don’t form.
When the consistency of the sauce is to your liking, add a dash of oil (1 tsp) and stir. The oil adds a final touch of smooth texture and a glossy finish.
Toss the fried chicken into the sauce and stir well until each piece is coated in that delicious, sticky sauce.
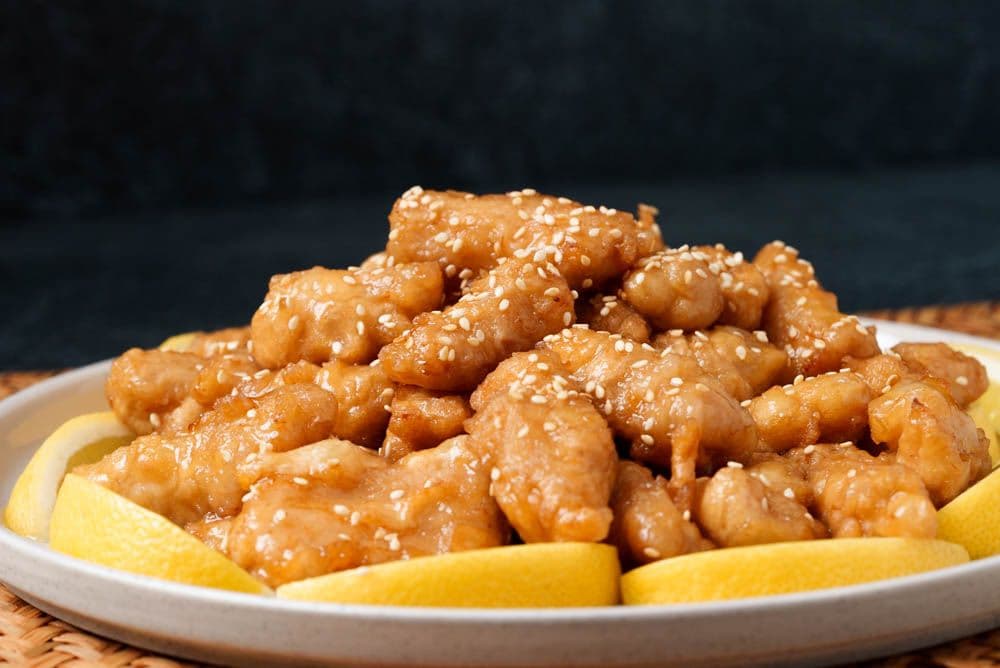
Arrange lemon wedges in a tidy wreath around the edge of the plate. Transfer the luscious fried chicken to the middle of the plate.
Garnish with a quick sprinkle of sesame seeds (1 dash).
Top 3 Mistakes
- Skipping the second fry:
Keep the two frying stages separate as the recipe directs. The final fry is part of building the crisp exterior, so skipping it changes the texture even if the food is cooked.
- Crowding everything at once:
Cook in manageable batches rather than adding everything at once. Follow the recipe’s batch sizes so you can control the timing and keep the pieces from sticking together.
- Ignoring batter thickness:
Check how the batter runs off your utensil before coating the chicken. Add flour and cornstarch if it runs like water, or add water if it drops in heavy clumps.
Frequently Asked Questions
How do you keep the chicken crispy?
The most important thing for getting lemon chicken crispy in the first place is the double fry method. We fry it once at a lower temperature to cook it through, and then once more at a higher temperature to get the moisture out of the coating.
But as soon as you mix the chicken into the sauce, that crust is going to start soaking in the liquid of the sauce, so it's best to dig in as soon as it's done cooking!
Mommy Lau also suggests trying an air-fryer to reheat the lemon chicken. It won't be as good as a fresh batch of lemon chicken, but it may help regain some of the crunch.
Can you make the sauce thicker?
You can easily control the viscosity of the sauce! If you like it thinner, then follow our recipe as is, letting the sauce just come to a boil, and then adding the cornstarch slurry. If you prefer a thicker, stickier sauce, then keep the sauce boiling for longer to let more water cook off.
What is in the orange chicken sauce?
The primary flavors of the lemon chicken sauce come from lemon juice, salt, and sugar. Salt brings out the refreshing flavor of the lemon, while sugar balances out its direct sourness.
Pairs well with
View all →
Made with love ❤️
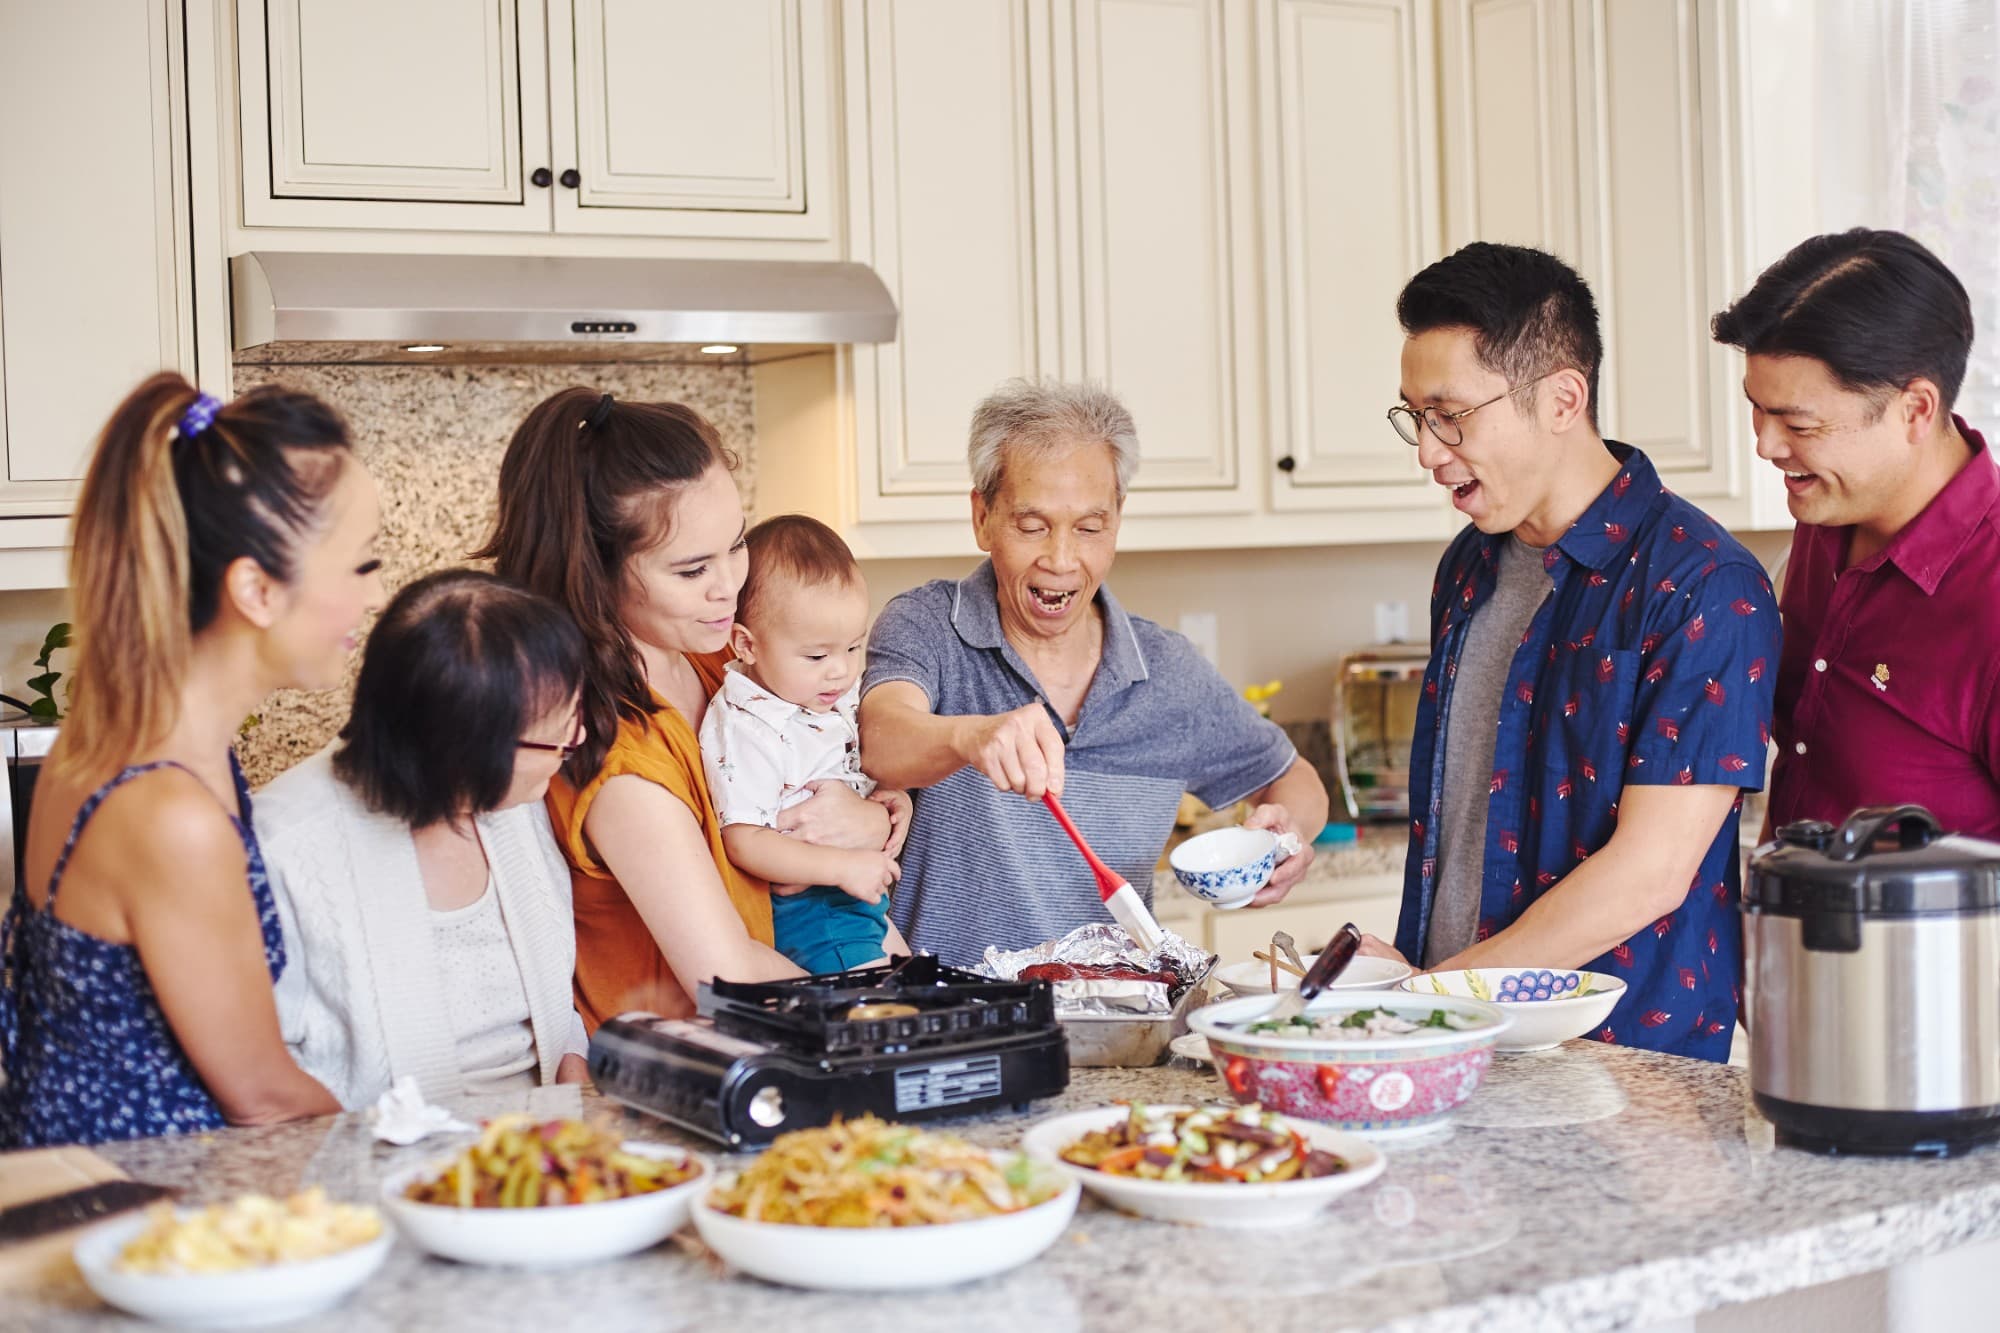
We started Made With Lau to celebrate Cantonese culture and honor the legacy of our wonderful parents, Jenny and Chung Sun Lau.
Our hope is that these recipes and stories help you spread the joy, love, and nostalgia that I felt growing up.