mwl-logo

Made With Lau

Recipes

Our Family

Courses

Cookbook Newsletter

mwl-logo

Made With Lau

madewithlau.com

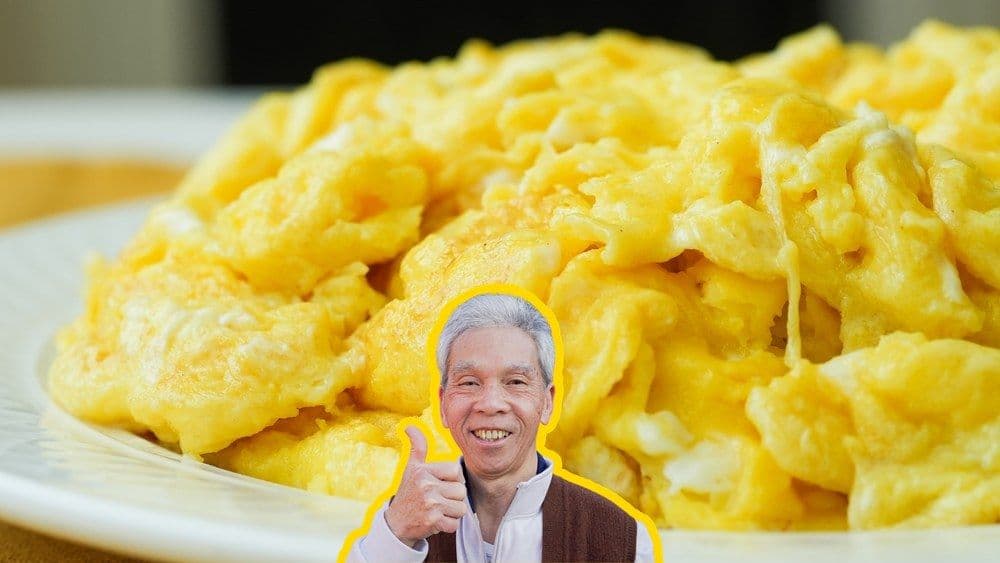
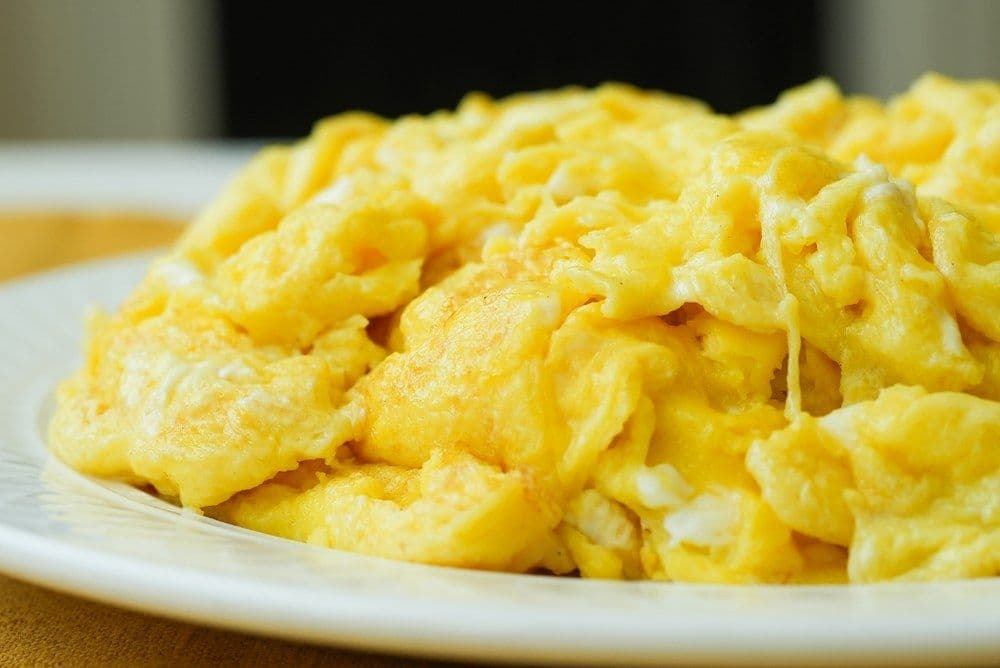
The Scrambled Eggs My Dad's Made 100,000 Times

炒雞蛋
Prep: 3 minCook: 3 minTotal: 6 minServes: 4

Ingredients

Eggs & Seasoning
5 eggs
1 tbspoil
0.50 tspsalt
0.50 tspsugar
0.50 tspchicken bouillon
0.25 tspwhite pepper
Cooking
1 tbspoil

Instructions

1
Crack Eggs

Crack the eggs into a bowl.

(In our video, we compare two batches of eggs. One is unseasoned, and the other has our 5 key ingredients.)

2
Add Seasoning

Add the oil (1 tbsp), salt (0.50 tsp), sugar (0.50 tsp), chicken bouillon (0.50 tsp), and white pepper (0.25 tsp) (if you're using it).

Why these ingredients?

  • Salt: In addition to tastier eggs, salt also makes them more juicy and fluffy, for the same reasons that you'd brine a chicken or salt a steak overnight. In all three cases, salt gets into the proteins early and reorganizes them so heat can't tighten them into a rubbery, dry mass. This process takes a lot longer with thick slabs of meat, but it's almost instantaneous with beaten eggs.
  • Oil: Whisking oil into the egg batter coats the proteins before cooking begins, making it harder for them to grip each other too tightly when the heat hits. It's the same reason fat makes a pie crust crumbly rather than chewy, because fat physically interrupts protein bonding.
  • White pepper is extremely common in Cantonese cuisine. While it doesn't change the texture like oil does, it's a like a silent assassin, a spice with a subtle but sharp heat and aroma. When it's placed side-by-side with meaty, gamey aromas, it competes for the taste buds' attention. The gamey aromas are still there, but they get drowned out.
  • Chicken bouillon adds a layer of umami through its glutamates (the G in MSG), which activate dedicated receptors on your tongue that register savory depth. This makes the eggs, and really any dish, taste more full and complete.
  • Sugar: Whereas salt changes the actual proteins, a pinch of sugar does something surprising. It physically gets between the proteins and stops them from gripping onto each other too tightly. Just like how sugar works in crème brûlée or custards, the result is a more fluffy, airy, open protein network.
3
Beat the Eggs

Using a fork held at a flat angle, beat the eggs fast and forcefully in a wave-like motion to break up the egg whites and yolks. Continue until the mixture is bubbly, uniform, and no clumps of yolk cling to the fork. My dad spends at least 1-2 minutes on this step.

On the technique

Don't mix as if you were mixing a drink with a straw. The problem is that the eggs start to move with the fork rather than being disrupted by it.

Using a horizontal wave motion works against that momentum instead. The prongs drag across the full width of the bowl on every stroke, fully breaking up the yolk and incorporating finer air bubbles. Importantly, this allows the oil and seasoning to work their chemical magic on more strands of protein.

4
Heat the Pan

Heat the pan on high until very hot. For a carbon steel wok, the pan must be extremely hot before adding oil; a nonstick pan requires less preheating. Add 1 tablespoon of oil to the hot pan and swirl to coat the surface.

As you wait for it to heat up, here's what's about to happen in the next 60 seconds.

Cooking scrambled eggs happens in two phases: liquid, then solid.

For the liquid phase (30 to 40 seconds), you can think it as controlled flooding, where you're directing different portions of the liquid egg onto hot metal. The moment the egg touches a hot surface, millions of floating proteins start to cling to each other. The underside, the part touching the pan, starts to turn solid. Your job in this phase is to lift that cooked-layer to send in fresh liquid before the proteins tighten into a rubbery, dry mess. My dad likes to form a pile of semi-cooked eggs to make space for fresh liquid.

For the solid phase (20 to 30 seconds), the goal is to stop cooking soon after this transition. Think of it like a towel drenched in water, where the harder you squeeze and twist it, the more water comes out. From here, scan for any uncooked bits of egg, flipping them onto the hot surface while scooting cooked egg bits to edges of the pan.

5
Cook the Eggs

Always stir the eggs right before cooking, since the mixture will have started to settle. Give the egg mixture a quick stir, then pour it into the pan and reduce the heat to medium-low.

Gently push the eggs around, directing different portions of the liquid egg onto the hot pan's surface. After a few seconds, those portions will set. Lift the cooked portions into a small pile, allowing more liquid to flow onto the surface of the pan.

After most of the eggs are solid, scan for any uncooked bits of egg, flipping them onto the hot surface while scooting cooked egg bits to edges of the pan. You can also physically lift the pan up away from the stove for better control of the heat.

Recipe by Daddy Lau · 2× James Beard Award Winner · madewithlau.com

The Scrambled Eggs My Dad's Made 100,000 Times

炒雞蛋
▶ 0 views on YouTube
👍 0 likes
Prep
3 min
Cook
3 min
Total
6 min
Serves
4
Daddy Lau
By Daddy Lau · 2x James Beard Awards · 60+ years
Published Jul 2026 · Updated Aug 2026

Why this recipe

The story
Scrambled Eggs — Daddy Lau
Daddy Lau

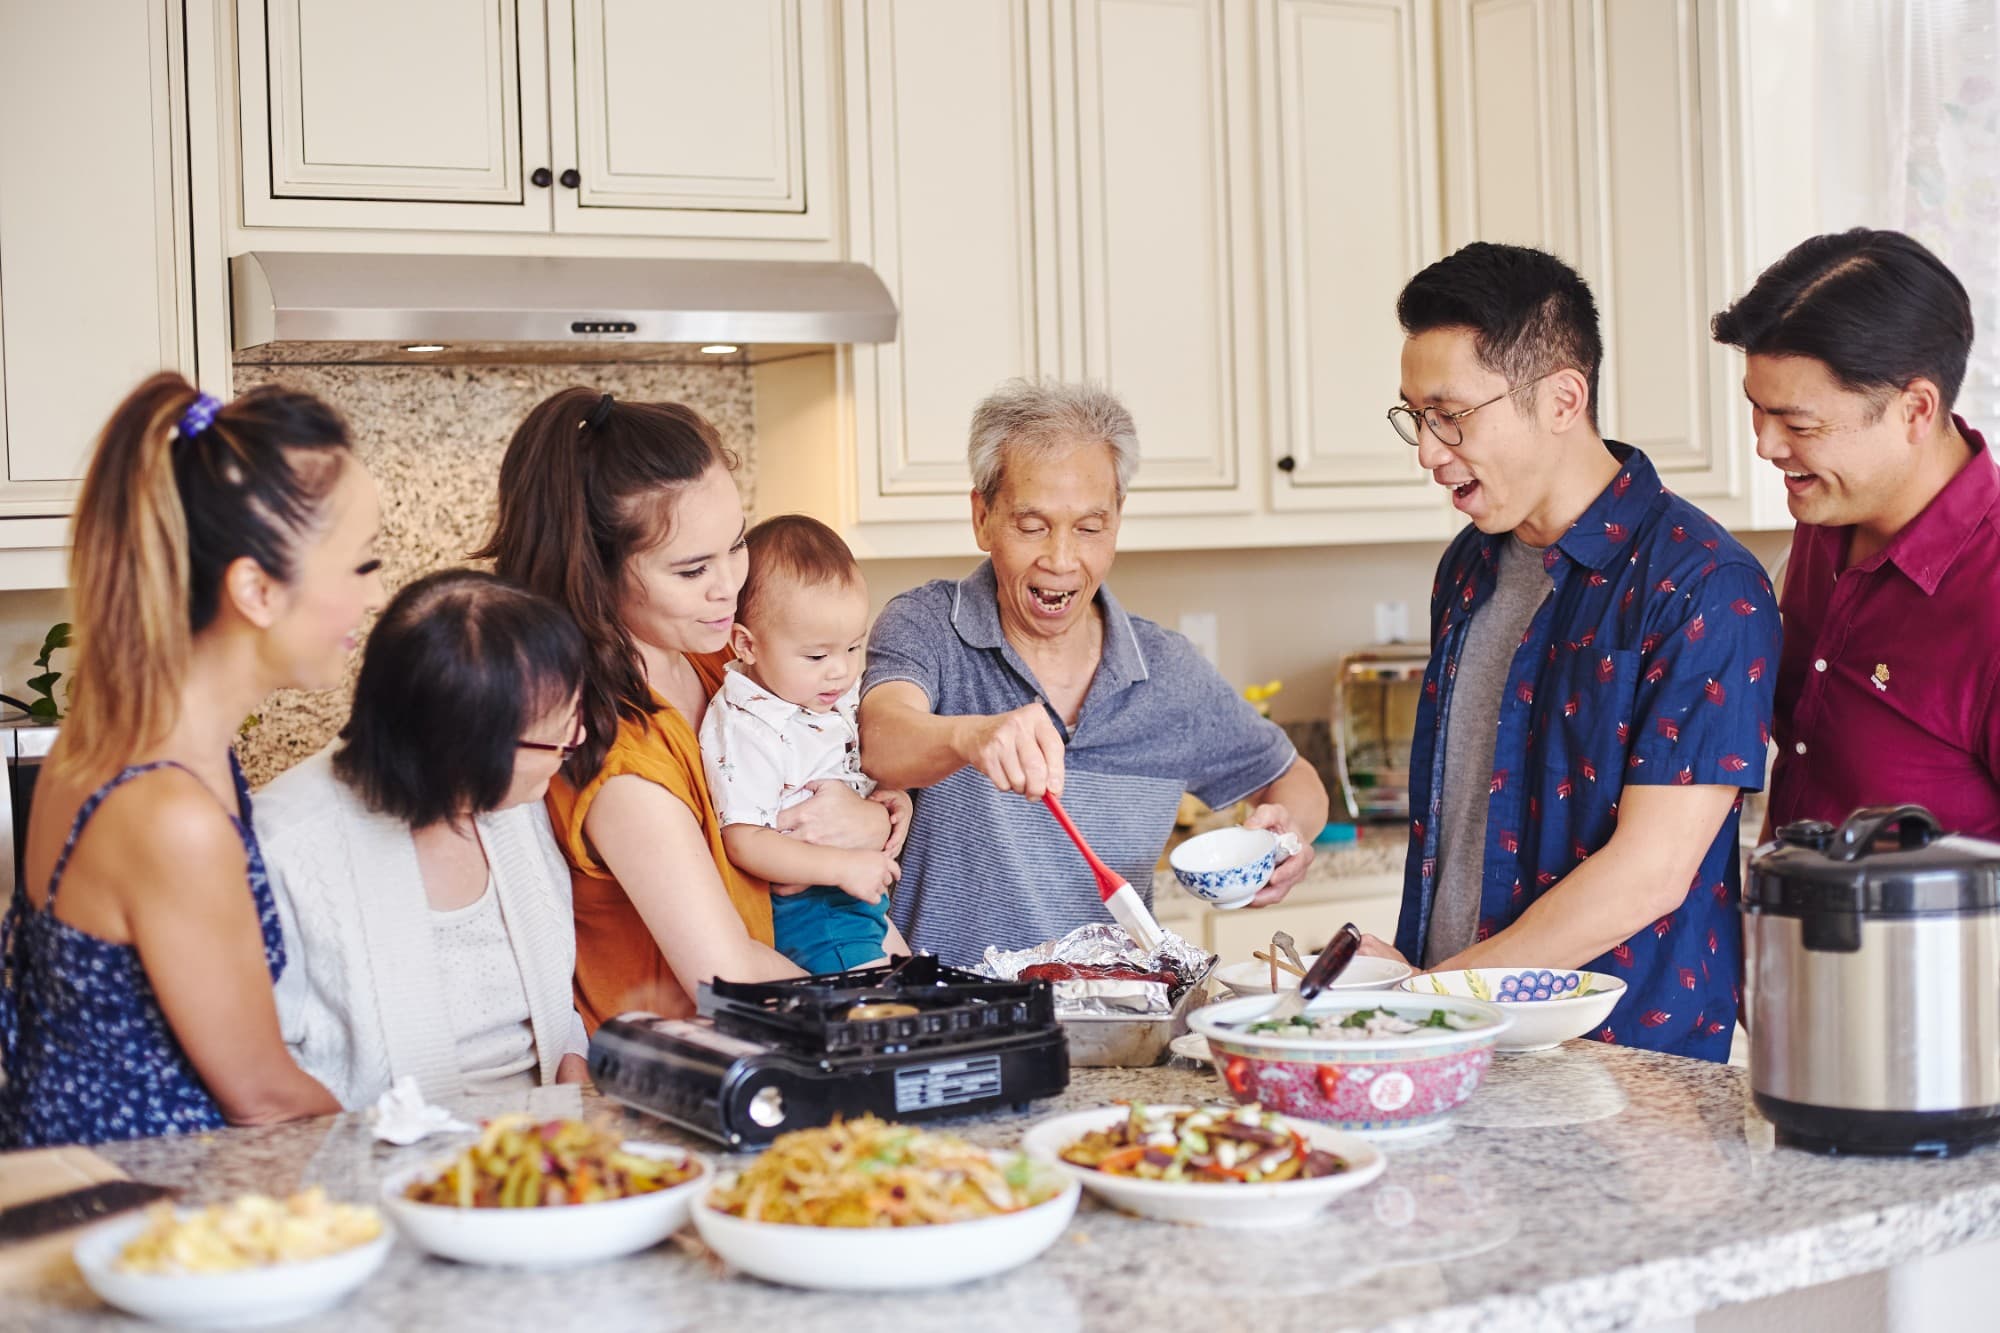
Most scrambled eggs recipes online are tested only a handful of times. My dad used to make this dish multiple times a day, every day, for 60+ years and can make this in his sleep.

I know you'll love it as much as our community does! This recipe has over 0 views, 0 likes on YouTube.

My dad’s made hundreds of thousands of scrambled eggs over his 50 years as a Chinese chef, and his secret isn’t expensive equipment or some complicated technique.

It’s two teaspoons of ingredients and one extra minute of prep.

You're not only getting a recipe, but three Chinese restaurant secrets that make scrambled eggs dramatically fluffier and tastier:

From the five ingredients he never skips, to why most people aren't beating their eggs for long enough, and a cooking principle we call the “wet towel.”

The Challenge of Making Scrambled Eggs

Everything you're about to learn is centered around solving one core problem. Raw eggs are 75% water with millions of free-floating proteins. The challenge is that heat causes these proteins to bond, and if those bonds get too tight, the egg squeezes out its own moisture and turns dense and rubbery. Everything we add and do to these eggs not only makes them taste better, but keeps that moisture locked inside where it belongs.

Ingredients

Serves4
Understanding Flavor
FUNDAMENTALS
Understanding Flavor
Dive Deeper →
Eggs & Seasoning
5 eggs
1 tbspoil
0.50 tspsalt
0.50 tspsugar
0.50 tspchicken bouillon
0.25 tspwhite pepper
Cooking
1 tbspoil

Instructions

5 steps · click any step to scrub ↑
1

Crack Eggs

scroll to play this step

Crack the eggs into a bowl.

(In our video, we compare two batches of eggs. One is unseasoned, and the other has our 5 key ingredients.)

The 10 Essential Cutting Techniques
LESSON 3.3
The 10 Essential Cutting Techniques
Dive Deeper →
2

Add Seasoning

scroll to play this step

Add the oil (1 tbsp), salt (0.50 tsp), sugar (0.50 tsp), chicken bouillon (0.50 tsp), and white pepper (0.25 tsp) (if you're using it).

Why these ingredients?

  • Salt: In addition to tastier eggs, salt also makes them more juicy and fluffy, for the same reasons that you'd brine a chicken or salt a steak overnight. In all three cases, salt gets into the proteins early and reorganizes them so heat can't tighten them into a rubbery, dry mass. This process takes a lot longer with thick slabs of meat, but it's almost instantaneous with beaten eggs.
  • Oil: Whisking oil into the egg batter coats the proteins before cooking begins, making it harder for them to grip each other too tightly when the heat hits. It's the same reason fat makes a pie crust crumbly rather than chewy, because fat physically interrupts protein bonding.
  • White pepper is extremely common in Cantonese cuisine. While it doesn't change the texture like oil does, it's a like a silent assassin, a spice with a subtle but sharp heat and aroma. When it's placed side-by-side with meaty, gamey aromas, it competes for the taste buds' attention. The gamey aromas are still there, but they get drowned out.
  • Chicken bouillon adds a layer of umami through its glutamates (the G in MSG), which activate dedicated receptors on your tongue that register savory depth. This makes the eggs, and really any dish, taste more full and complete.
  • Sugar: Whereas salt changes the actual proteins, a pinch of sugar does something surprising. It physically gets between the proteins and stops them from gripping onto each other too tightly. Just like how sugar works in crème brûlée or custards, the result is a more fluffy, airy, open protein network.
3

Beat the Eggs

scroll to play this step

Using a fork held at a flat angle, beat the eggs fast and forcefully in a wave-like motion to break up the egg whites and yolks. Continue until the mixture is bubbly, uniform, and no clumps of yolk cling to the fork. My dad spends at least 1-2 minutes on this step.

On the technique

Don't mix as if you were mixing a drink with a straw. The problem is that the eggs start to move with the fork rather than being disrupted by it.

Using a horizontal wave motion works against that momentum instead. The prongs drag across the full width of the bowl on every stroke, fully breaking up the yolk and incorporating finer air bubbles. Importantly, this allows the oil and seasoning to work their chemical magic on more strands of protein.

4

Heat the Pan

scroll to play this step

Heat the pan on high until very hot. For a carbon steel wok, the pan must be extremely hot before adding oil; a nonstick pan requires less preheating. Add 1 tablespoon of oil to the hot pan and swirl to coat the surface.

As you wait for it to heat up, here's what's about to happen in the next 60 seconds.

Cooking scrambled eggs happens in two phases: liquid, then solid.

For the liquid phase (30 to 40 seconds), you can think it as controlled flooding, where you're directing different portions of the liquid egg onto hot metal. The moment the egg touches a hot surface, millions of floating proteins start to cling to each other. The underside, the part touching the pan, starts to turn solid. Your job in this phase is to lift that cooked-layer to send in fresh liquid before the proteins tighten into a rubbery, dry mess. My dad likes to form a pile of semi-cooked eggs to make space for fresh liquid.

For the solid phase (20 to 30 seconds), the goal is to stop cooking soon after this transition. Think of it like a towel drenched in water, where the harder you squeeze and twist it, the more water comes out. From here, scan for any uncooked bits of egg, flipping them onto the hot surface while scooting cooked egg bits to edges of the pan.

5

Cook the Eggs

scroll to play this step

Always stir the eggs right before cooking, since the mixture will have started to settle. Give the egg mixture a quick stir, then pour it into the pan and reduce the heat to medium-low.

Gently push the eggs around, directing different portions of the liquid egg onto the hot pan's surface. After a few seconds, those portions will set. Lift the cooked portions into a small pile, allowing more liquid to flow onto the surface of the pan.

After most of the eggs are solid, scan for any uncooked bits of egg, flipping them onto the hot surface while scooting cooked egg bits to edges of the pan. You can also physically lift the pan up away from the stove for better control of the heat.

劉
Mini Masterclasses
“
His recipes aren't difficult: that's the beautiful part. But when I cook them, I can feel mine aren't quite there. What's missing isn't a recipe. It's the fundamentals.
”
Desmond F. · Mini Masterclass student
Mini Masterclasses are the fundamentals: the part that makes the recipes work.
100+ short video lessons from decades in a professional kitchen: wok heat, knife angles, the tastes you're listening for, how to fix a dish that isn't quite right.
What you're buying
What's inside — a peek at the lessons
6 of 100+ lessons. Free preview marked below.
Reading the wok: when it's hot enough8:42★ Free preview
Wok & heat
Reading the wok: when it's hot enough
Holding the cleaver, three ways6:18🔒 Locked
Knife skills
Holding the cleaver, three ways
Roast Duck11:05🔒 Locked
Exclusive Recipe
Roast Duck
Inside my dad's pantry7:30🔒 Locked
Ingredient Basics
Inside my dad's pantry
Wok Tossing 1015:24🔒 Locked
Fundamentals
Wok Tossing 101
Rice Noodle Rolls9:12🔒 Locked
Exclusive Recipe
Rice Noodle Rolls
Watch the first lesson free.
Drop your email and we'll send the full first lesson + three more sample clips. No card required.
Made With Lau
Mini Masterclasses, lifetime access
100+ video lessons·Never expires·Learn at your own pace
$99
one-time payment
”
“My Chinese cooking has improved by leaps and bounds. I'm now able to recreate my grandmother's recipes through fundamentals and taste memories alone. With Daddy Lau sharing tips from his years in the kitchen, if you listen carefully these tips speak volumes. The fundamentals that you will learn will be priceless.”
D
Desmond F.
Professional chef, 16 years · Singapore
”
“Not only is this THE place for me, a Hong Kong born Cantonese who grew up in Ireland, to relearn all the cooking skills my own Cantonese Mom and Dad taught me. The English translation has also allowed my non-Cantonese speaking, American-born kids to learn about this under-represented side of their heritage. Plus the results are always delicious!”
A
Ann Y.
Hong Kong-born, raised in Ireland
”
“Hearing Daddy Lau's voice brought back memories of my late grandparents who used to cook these meals for me. The Mini Masterclasses improved my cooking skills in various ways, from cutting techniques to preserving your groceries and controlling the heat of the wok. I highly recommend it to anyone, regardless of their experience level.”
S
Shirley P.
Parents from Guangzhou and Toisan · Chicago

The fundamentals you'll learn are priceless.

✓30-day money-back guarantee

Pairs well with

View all →
20 min

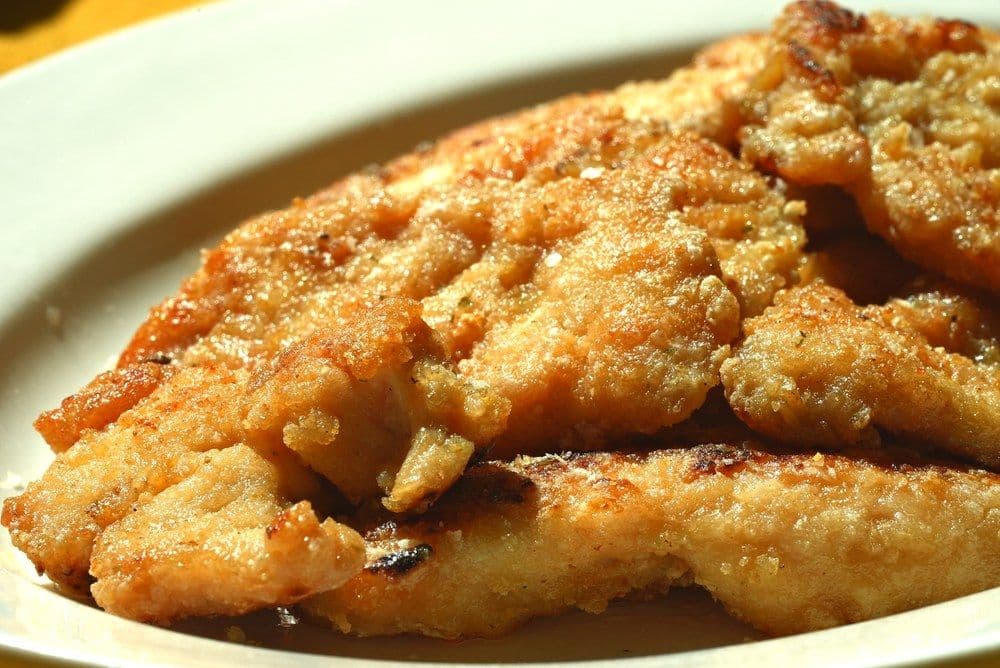
Easy Pan Fried Chicken Breast (煎雞胸)

View recipe →
10 min

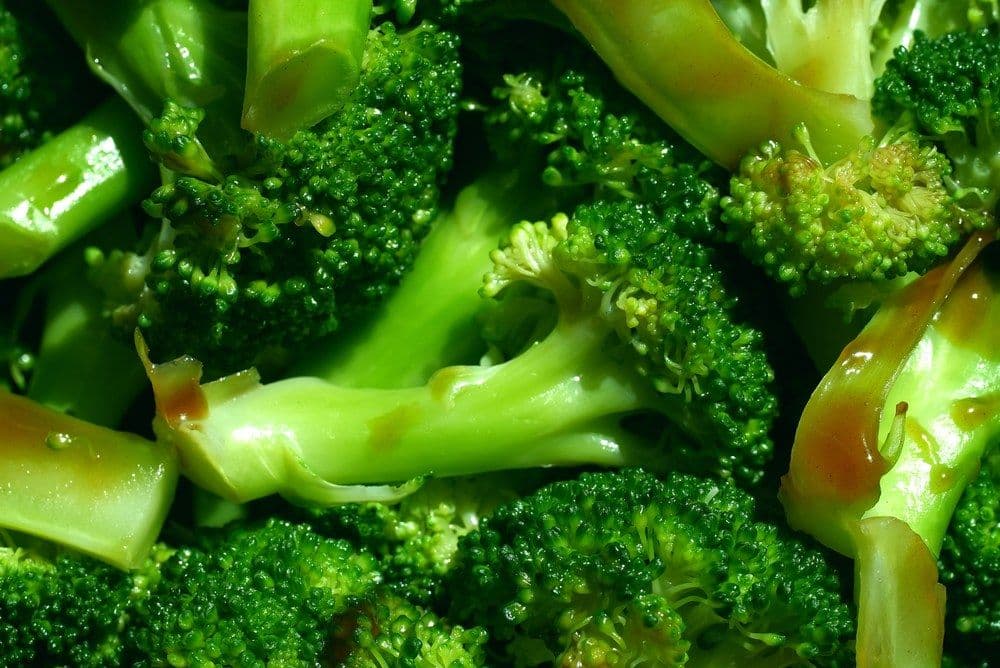
Dad's 10-Minute Weeknight Broccoli (平日西蘭花)

View recipe →
20 min

Soy Sauce Chow Mein (豉油王炒麵)

View recipe →

Made with love ❤️

The Lau Family

We started Made With Lau to celebrate Cantonese culture and honor the legacy of our wonderful parents, Jenny and Chung Sun Lau.

Our hope is that these recipes and stories help you spread the joy, love, and nostalgia that I felt growing up.

mwl-logoMade With Lau

A family-run Cantonese cooking project from Daddy Lau, Randy Lau, and a small team in the Bay Area.

Recipes
All recipesEasy weeknightsTakeout favoritesSoups & brothsDim sumNoodles
Learn
Mini masterclassesAll courses
About
Our familyCookbook (2027)ContactPrivacy
Made with ♥ in the Bay · © 2026 · Year of the Horse
YouTube · 1.78MInstagram · 412KTikTok · 891K