The Congee My Dad's Made 100,000 Times

Why this recipe

Most congee recipes online are tested only a handful of times. My dad used to make this dish multiple times a day, every day, for 60+ years and can make this in his sleep.
I know you'll love it as much as our community does! This recipe has over 4.5M views, 92.9K likes on YouTube.
Congee, also known as jook in Cantonese, was one of my favorite things to eat growing up.
My parents used to make this chicken congee recipe as breakfast for my sister and I as we got ready for school, and they'd always have a week's worth of congee for us whenever we got sick.
Even though it’s a very simple dish, for so many of us, jook is one that brings both comfort and nostalgia.
What is congee?
Jook is a porridge made from rice that’s cooked down with a large amount of water. It’s simmered for a long time to get a nice, velvety texture. Depending on personal preference, it can be thick and creamy or a thinner, more watery consistency.
How to make congee is actually quite simple. Any type of congee will use the same congee base, so follow our rice porridge recipe to get the silkiest, smoothest basic white congee. Then, when the recipe says to add marinated chicken, you can swap it for beef, pork, sliced fish, shrimp, or other seafood. That's how restaurants do it when they serve jook!
Congee origins: The porridge with a thousand names
The word "congee" was derived from the Tamil language of Ancient India, "kanji." In Cantonese, we call it "jūk" (which kinda sounds like "jook"), but there are many, many different variations and names for it across Asia (like Arroz Caldo in the Philippines!)
Even though congee is commonly known as a rice porridge, that wasn't always the case. Eaten over the course of thousands of years in China, congee was made with whatever grains were available locally: millet, cornmeal, barley, etc.
An expert Chinese chef’s tip for making the smoothest congee
Whisking the congee is our secret for making restaurant-quality congee that’s full-bodied and almost-creamy. This technique will help break down more of the rice grains and let those starches out to thicken the congee. If it gets too thick at any point, you can always thin it out by adding some boiling water.
Why we don't eat jook on Chinese New Year
Congee can be eaten at any meal and occasion, but interestingly, in Chinese tradition, it’s considered a bad omen to eat jook on Chinese New Year.
When I asked my parents about it, my mom explained that in the “old, old days, many people didn't have enough rice to eat. Using relatively small amounts of rice, they made big pots of congee to make their rice last longer.”
She said that, “the rich ate cooked rice, the poor ate jook” and that congee was not considered a high-class food, making it an unlucky meal for the start of the new year.
But, my dad quickly chimed in: “This is not true - if cooked with high-class ingredients, porridge is a high-class meal.”
But historical accounts show that congee was actually enjoyed across all walks of life, from emperors to everyday people.
It's also an ideal food for babies - my mom started feeding us congee when we turned 1, and it's certainly something that we'll enjoy feeding our newborn son very soon!
Ingredients

Instructions
Wash rice
We'll start by washing our rice (1 rice cup) in a bowl:
- Fill the bowl with some water
- Massage and mix the rice around with your hands
- Drain the water
- My dad prefers to repeat this 3 times, for good measure
It may seem counterintuitive to rinse rice that’s just going to be cooked down in water, but this is an essential step! Washing the grains not only removes dirt, but also excess starch that can lead to gummy, sticky congee.

Boil water, chop veggies
To save some time, we'll start boiling some water (8 cup) for later. For jook / congee recipes, the water-to-rice ratio is usually very high. In my dad's recipe, it's 8-to-1.
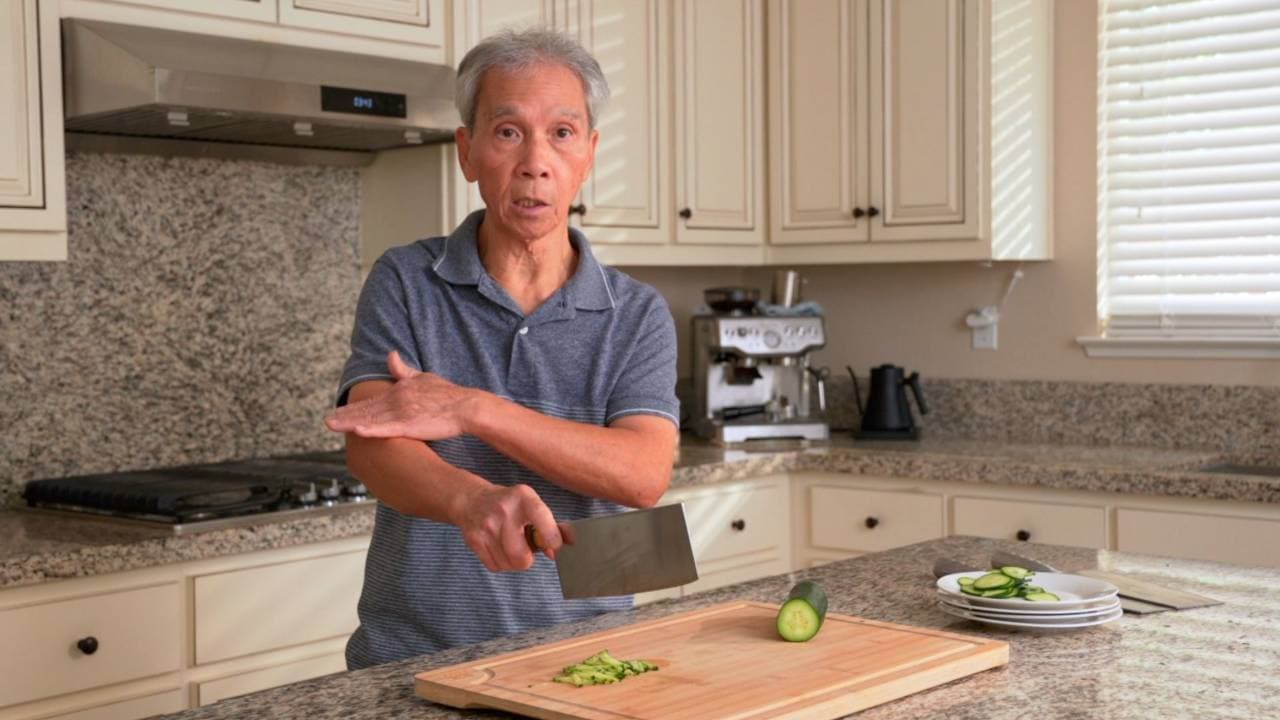
Next, we'll chop our ginger (0.50 oz) into thin slices, and then into thin strips. Chop a few strands of cilantro (1 piece) and green onion (2 pieces) into small pieces.
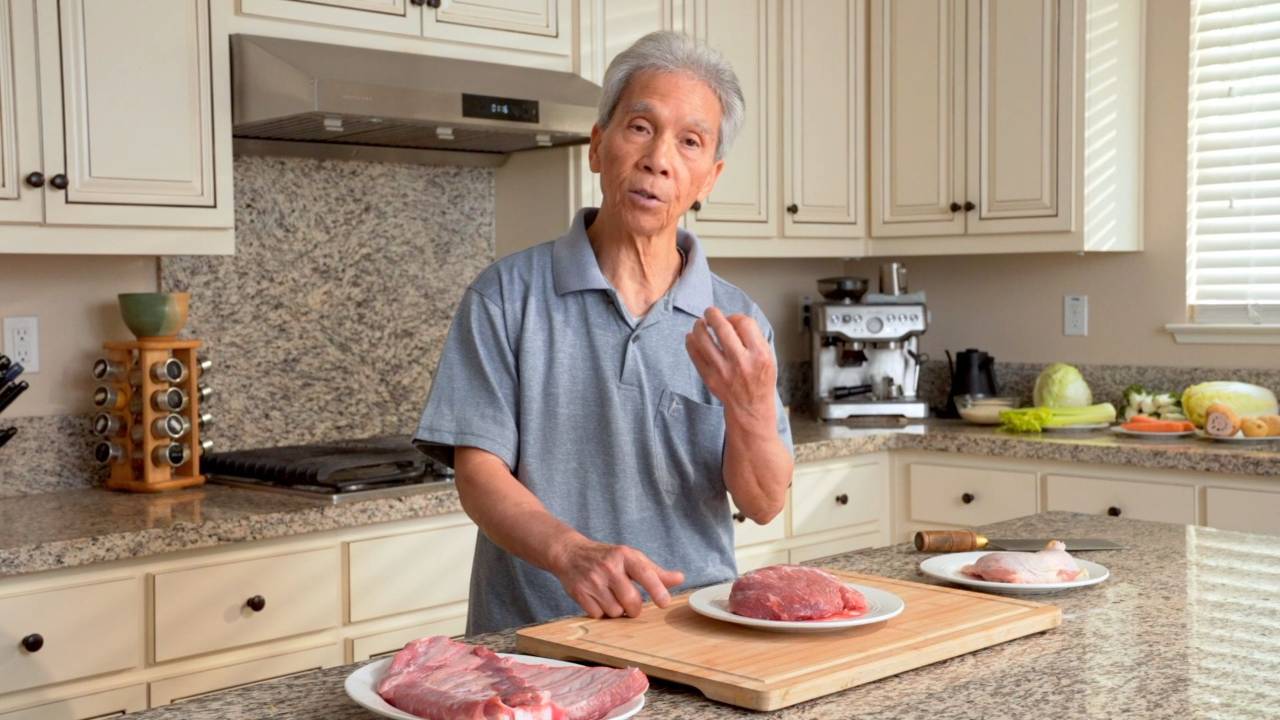
Prepare chicken
Cut the chicken (12 oz) into thin slices and place it in a bowl to marinate.
Add oyster sauce (1 tbsp), cornstarch (2 tsp), chicken bouillon (0.50 tsp), and water (2 tbsp). Mix and massage the chicken and the marinade together for 30 seconds until there's no liquid left. Then, add vegetable oil (2 tbsp) to the bowl and mix it around with chopsticks for another 20 to 30 seconds.
The cornstarch helps glue the flavors to the chicken, and lock the juices inside the meat. The oil helps prevent the chicken from clumping together, and also helps seal the juices inside the chicken as well.
Chef’s Tip: Before cutting, place a towel underneath your board to increase its stability, and decrease the chances that you'll accidentally cut yourself.
Start boiling rice
Pour the boiled water (8 cup) from earlier into a pot, set on high heat, and wait for the pot to boil before adding the rice (1 rice cup). It's important not to add the rice before the pot starts boiling.
Once the pot (water only) is boiling, add the rice and stir it around a bit. Another important tip: Don't stir the rice once the pot is boiling yet again, otherwise it will be more likely to stick to the bottom of the pot.
We'll cover the pot (water and rice) and wait until it's boiling again.
Cover pot and wait
Once the pot is boiling again, we'll partially cover the pot and let it cook at medium heat for 25 minutes.
Depending on what "medium heat" is for your stove, you might need to cook it for longer than that.
Even though this step is fairly passive, it's an important one. My dad explains that Cantonese people are very proud and particular about the quality of their "jūk dái," or the congee base.
Whisk rice
Once we've hit 25 minutes, we can either proceed with this step or cook it for longer.
When my wife and I recreated this recipe using my dad's instructions, I had to cook it for another 10 minutes longer because my "medium heat" wasn't hot enough. Our grains of rice were still fairly solid. It really depends on your stove, and a bit of trial and error.
Anyway, if you're happy with where your rice is at, start whisking the pot rapidly and constantly for 2 to 3 minutes. This helps speed up our cooking time, and helps break down the rice into smaller, fluffier pieces.
If you don't have a whisk, you'll need to cook for another 10 to 20 minutes.
Cook chicken
Set the stove to high heat, and slowly add the chicken over the course of 30 to 60 seconds, stirring constantly as you go. If you add it all at once, it will clump up.
Stir the chicken around for another 1 to 2 minutes. Once the pot is boiling again, check to see that the chicken is cooked through.
Add seasonings, ginger
Almost there! Add the strips of ginger, as well as salt (1 tsp) and chicken bouillon (1 tsp). Stir everything around for 20 to 30 seconds.
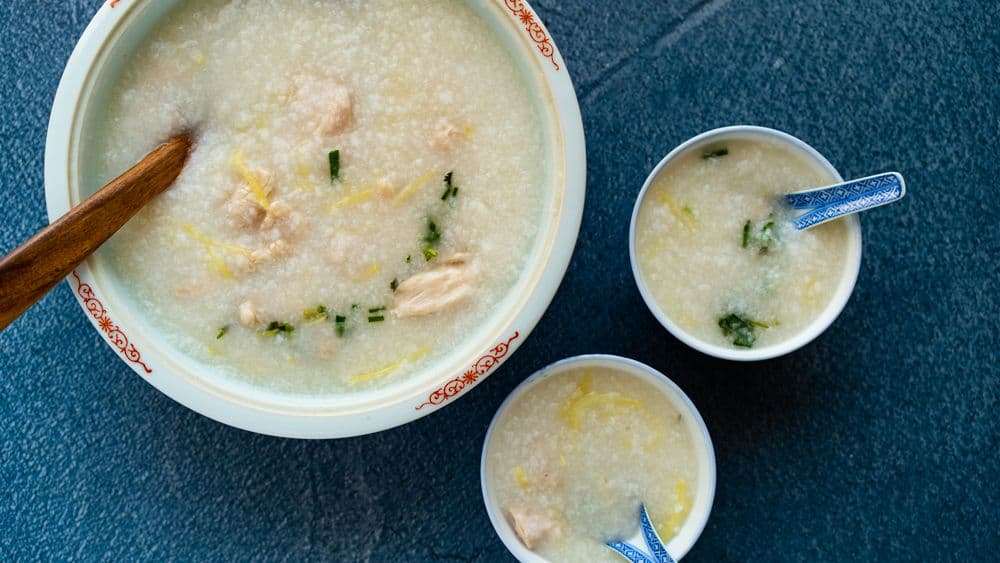
Plate, garnish, enjoy!
Turn off the heat, and pour the jook into your favorite bowl. Garnish with the green onions and cilantro.
Call your loved ones over - it's time to eat!

Pairs well with
View all →Made with love ❤️

We started Made With Lau to celebrate Cantonese culture and honor the legacy of our wonderful parents, Jenny and Chung Sun Lau.
Our hope is that these recipes and stories help you spread the joy, love, and nostalgia that I felt growing up.