mwl-logo

Made With Lau

Recipes

Our Family

Courses

Cookbook Newsletter

mwl-logo

Made With Lau

madewithlau.com

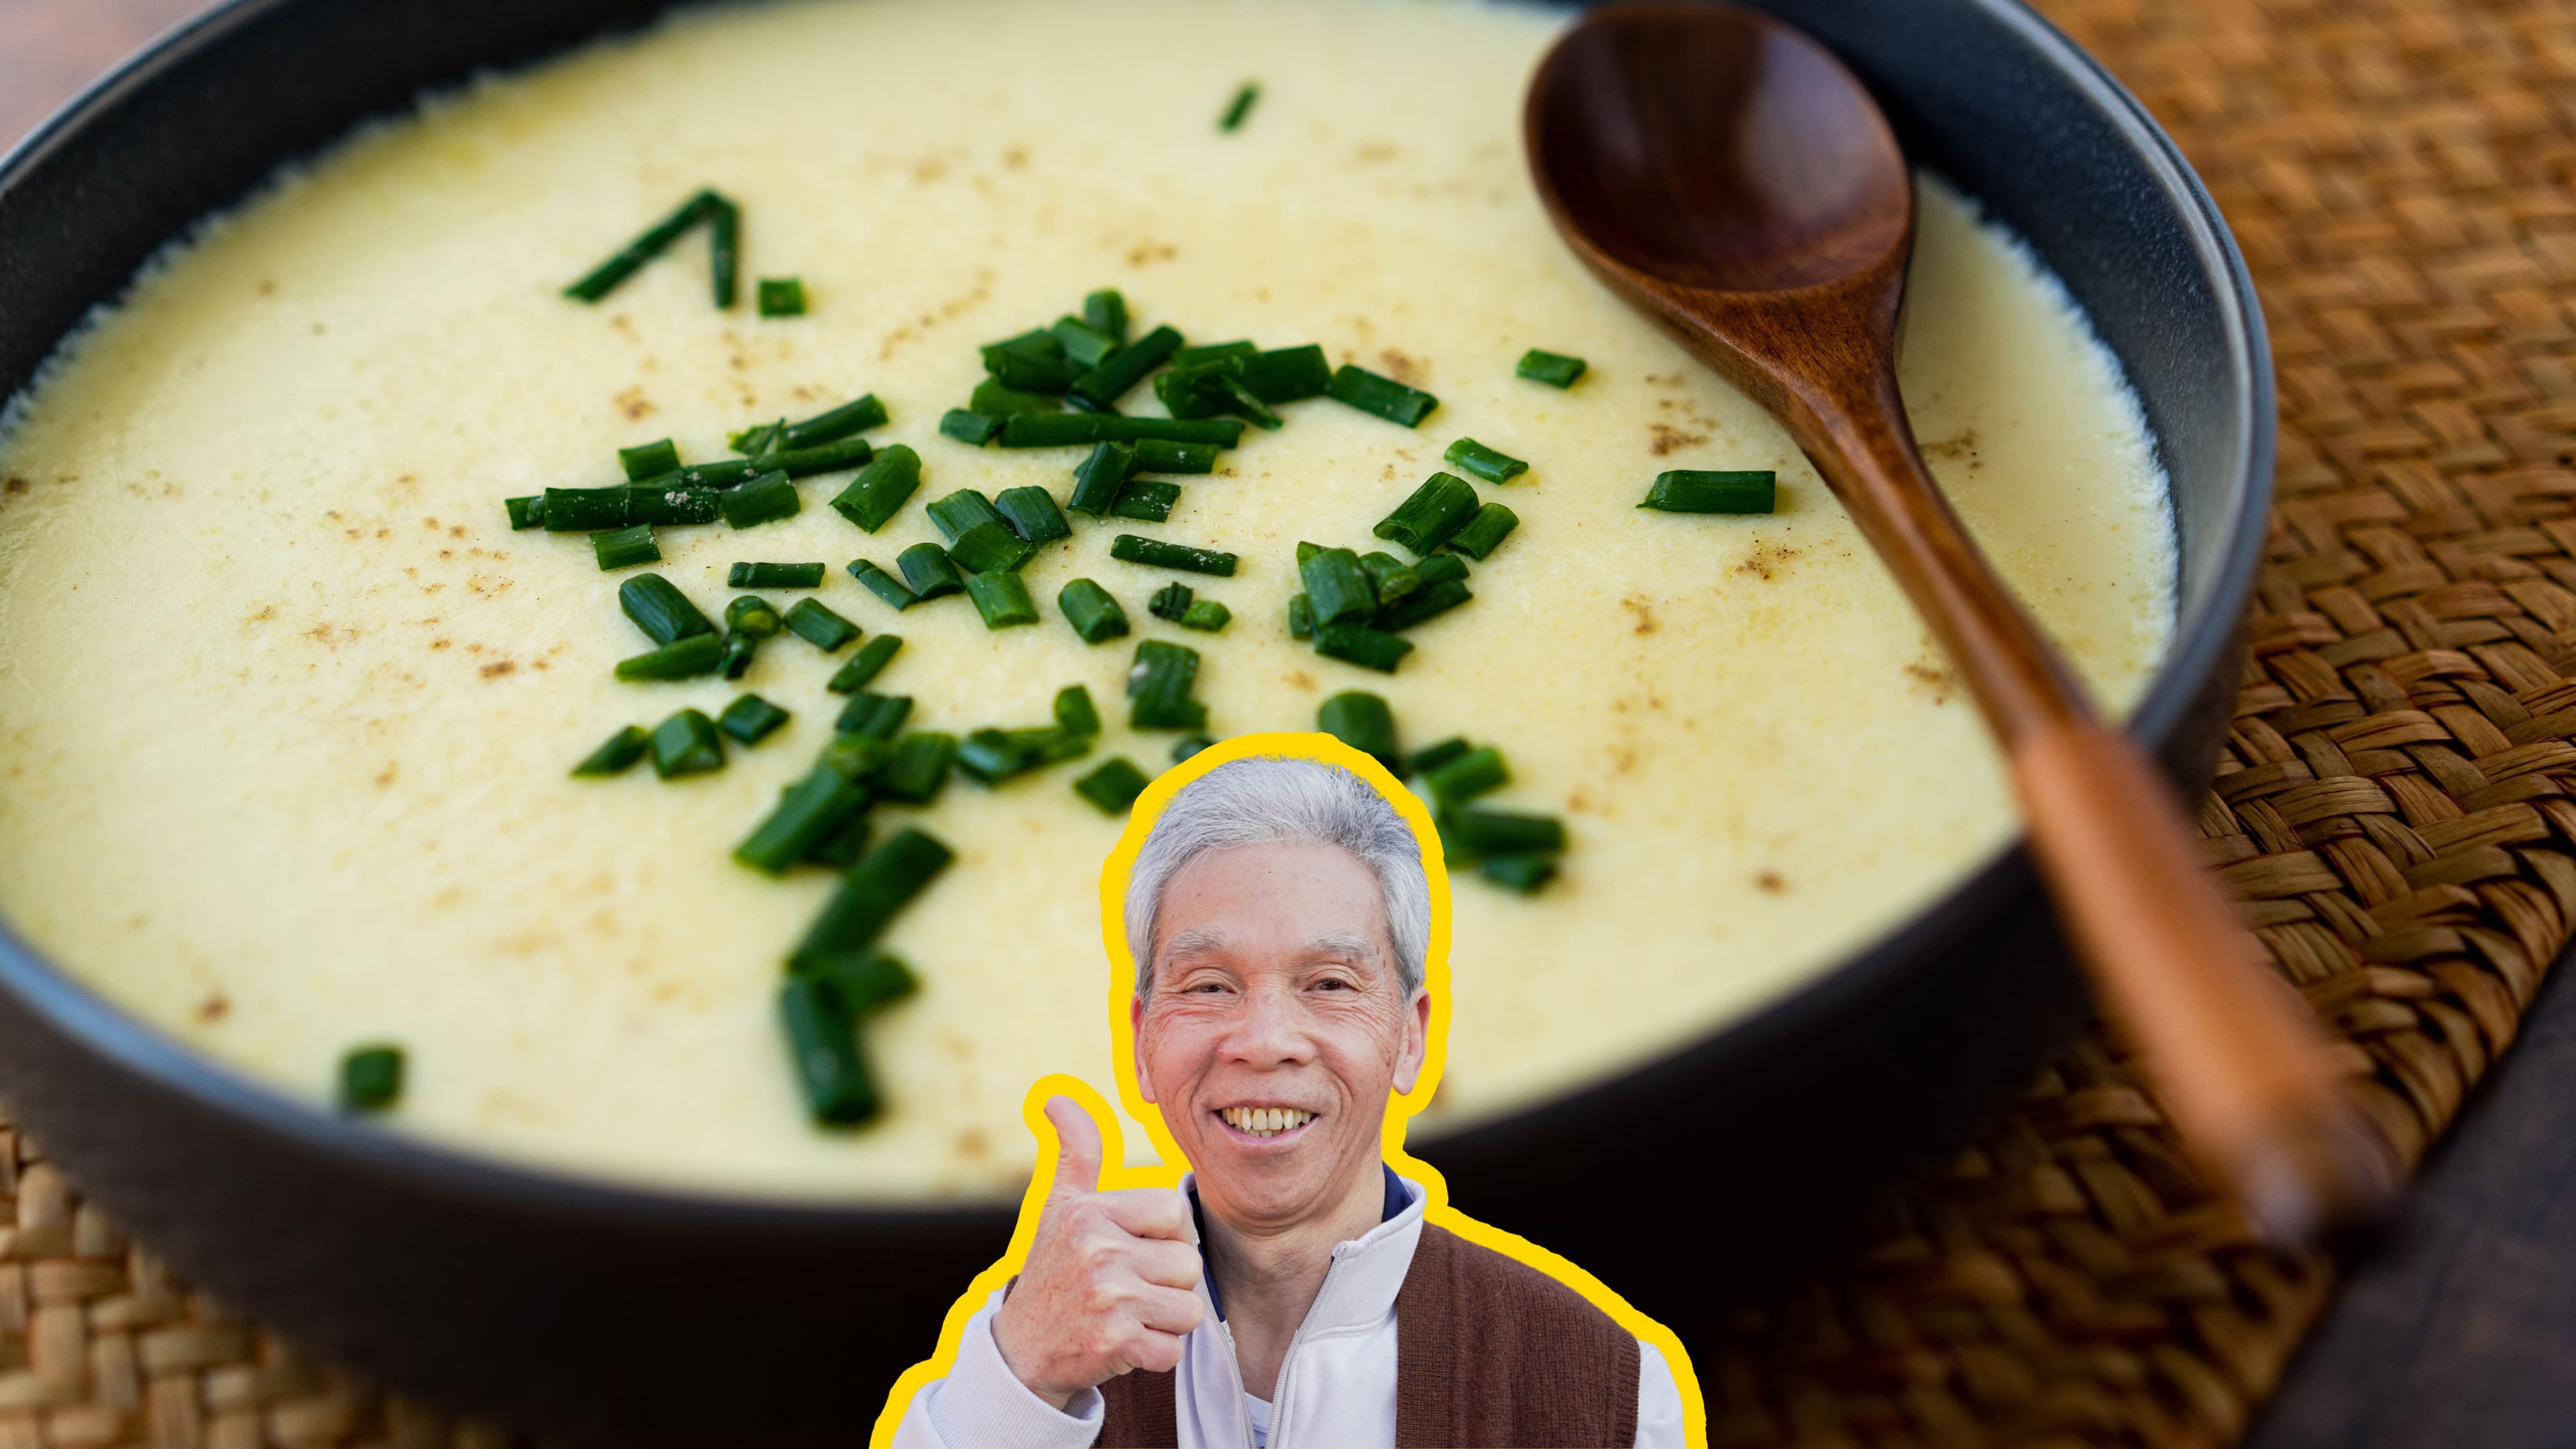
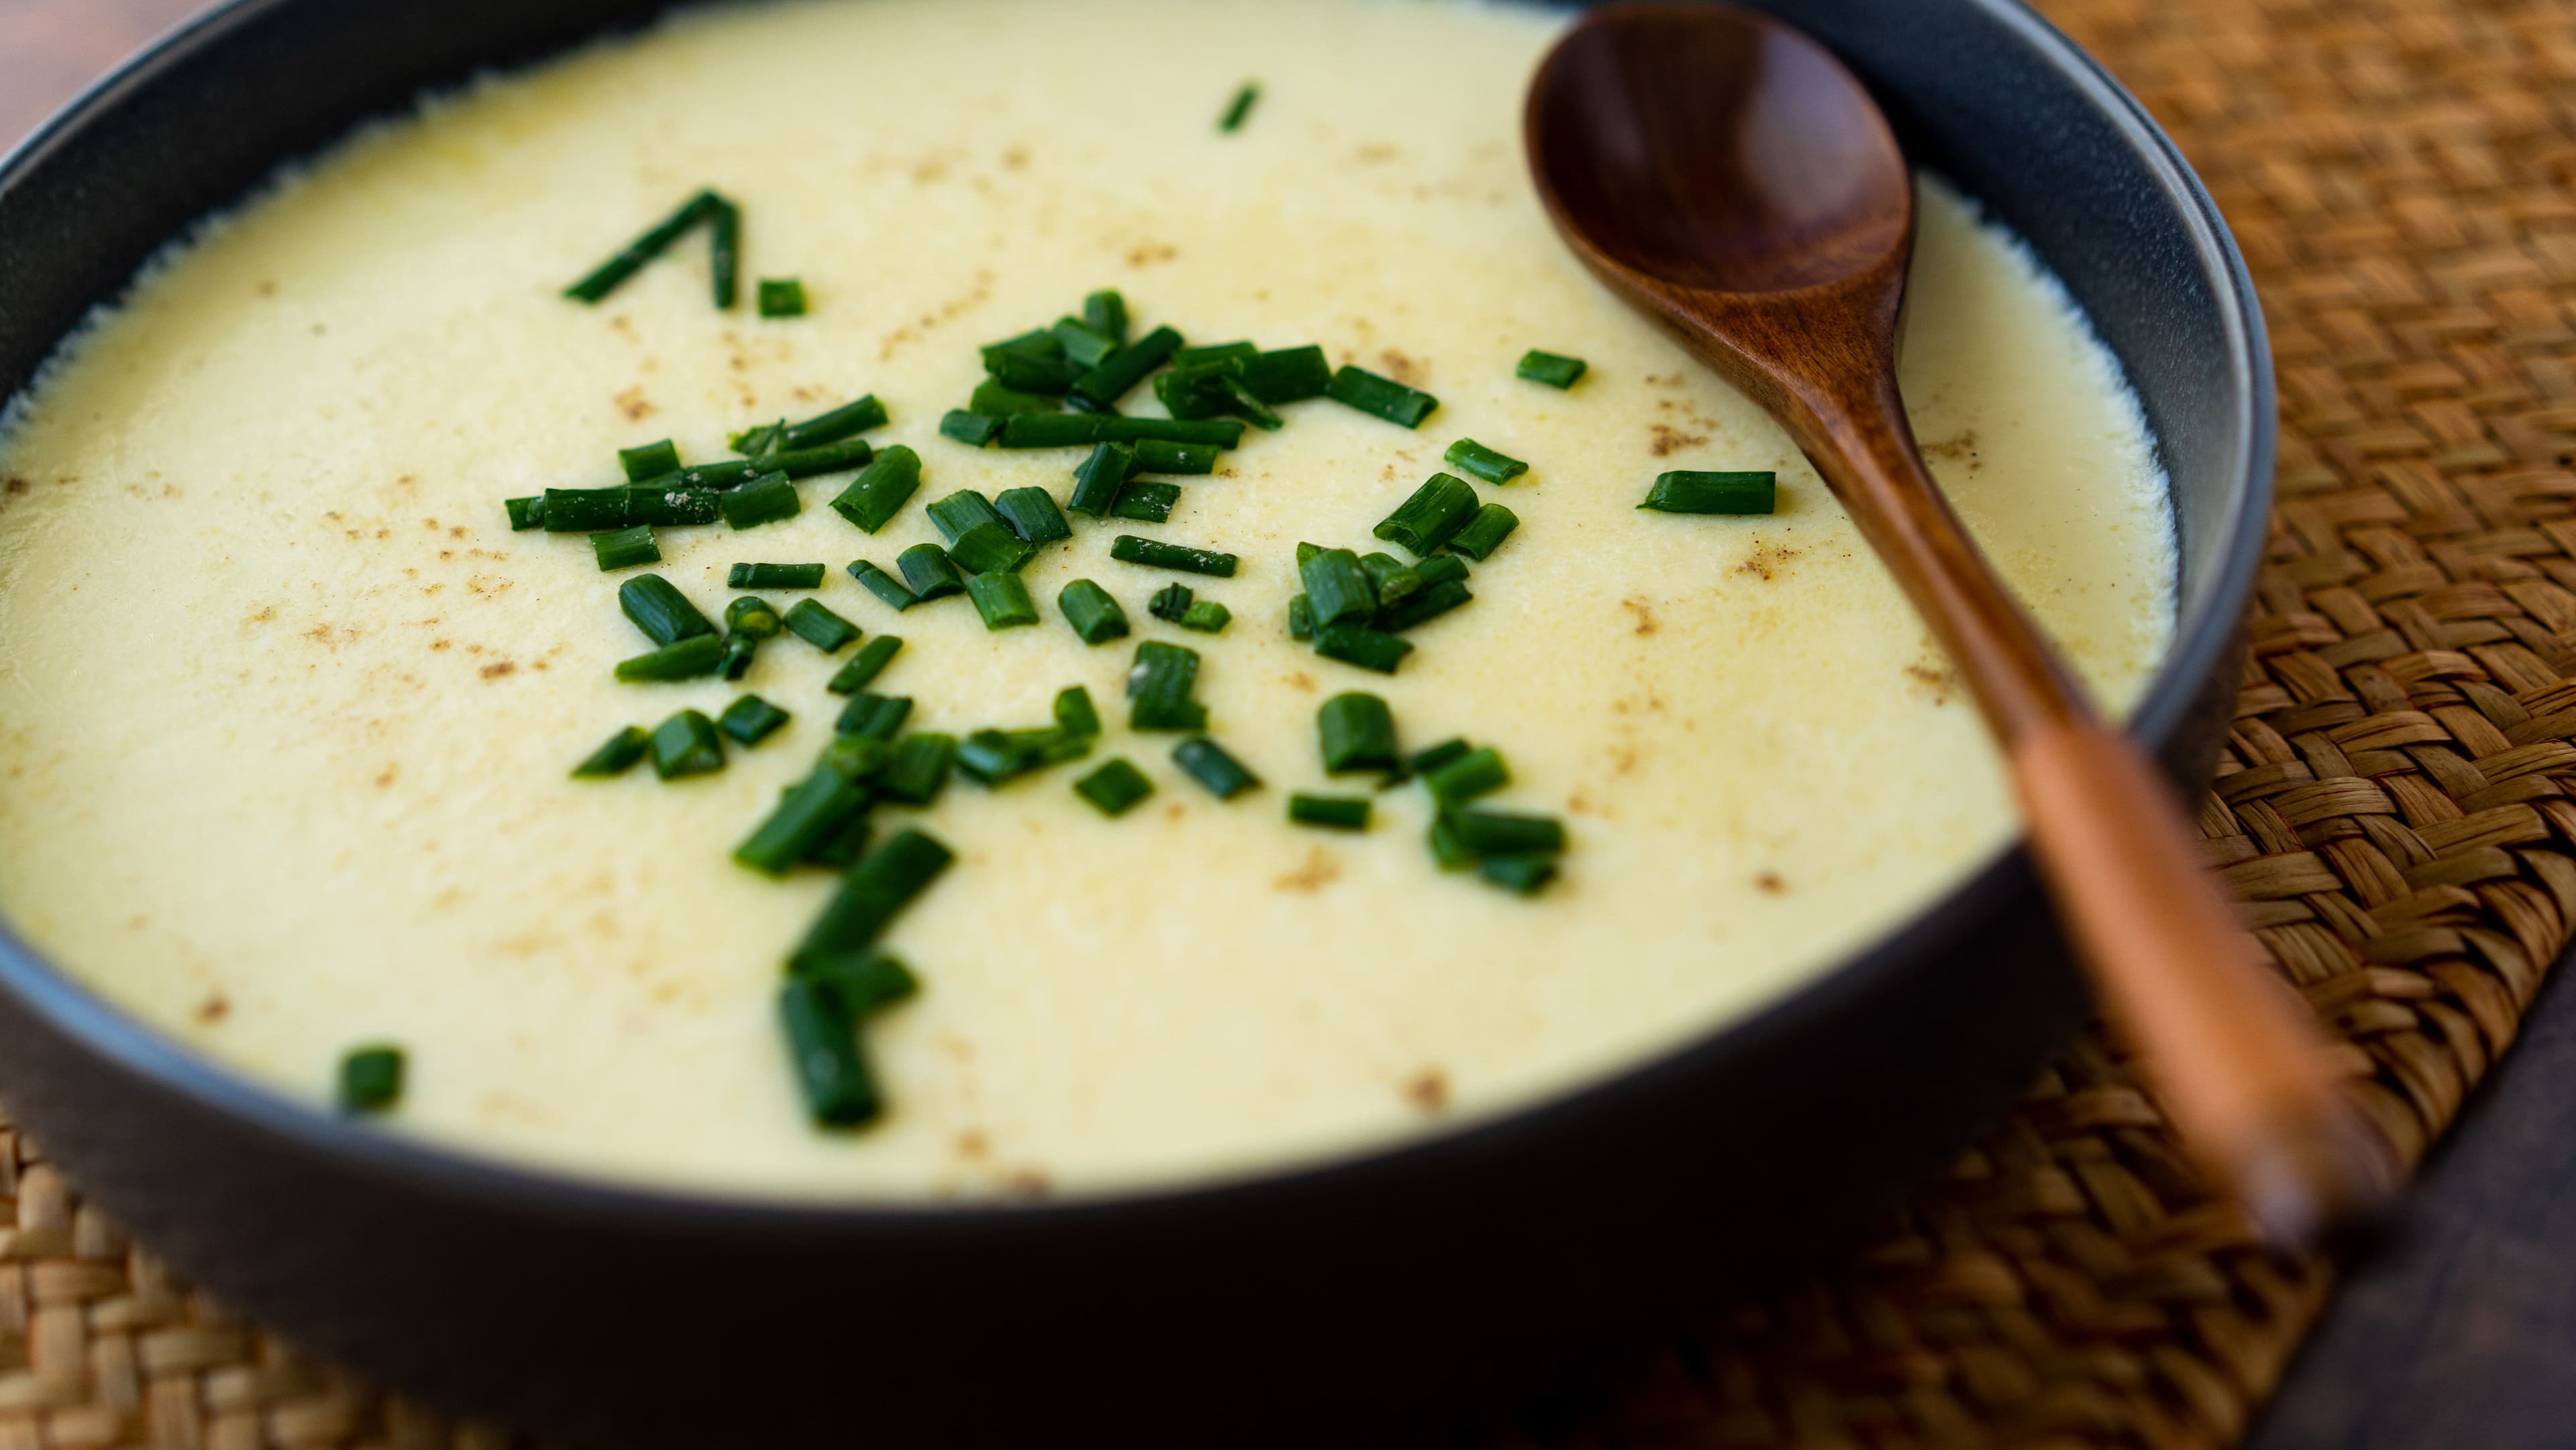
The Steamed Eggs My Dad's Made 100,000 Times

蒸蛋
Prep: 5 minCook: 10 minTotal: 15 minServes: 4

Ingredients

4 egg
2 cupwarm water
2 stalkscallions
0.50 teaspoonsalt
0.50 teaspoonchicken bouillon
1 tbspoil
1 dashwhite pepper

Instructions

1
Cut scallions

First, we chop our scallions (2 stalk) to be added as garnish at the end. This gives our dish more color and flavor.

2
Boil water in the wok

Put the steamer rack in the wok, and place your bowl on top of the rack.

Ideally, your bowl should have enough clearance between it and the wok for your fingers, so you can easily remove it when it's piping hot.

Pour enough water so that the bowl is about a third or halfway submerged in the wok. This helps with more effective heat transfer.

Take the bowl out, and place the lid on the wok.

Set the stove to high heat, and let the water come to a boil.

3
Start mixing eggs

Crack the eggs into a bowl, and add salt (0.50 teaspoon), chicken bouillon (0.50 teaspoon), and oil (1 tbsp). Start mixing the eggs with a fork or chopstick.

4
Prepare warm water and mix with eggs

This is a really important step that determines the steamed eggs’ final fate of silkiness.

We're going to mix warm water (2 cup) with the eggs (0.5 cups per egg).

I really had to probe my dad for an exact temperature range. He legit got annoyed when I asked him, and said "it just needs to be warm!"

The ideal range is about 35° to 45° C or 95· to 113° F. If you don't have a food thermometer laying around, you can microwave the water for about 45 to 60 seconds.

It should be warm to the touch, but not unbearably hot.

Pour a quarter of the warm water (0.50 cup) into the eggs, and mix until bubbles start foaming at the top.

Pour the remaining warm water (1.5 cup), and continue mixing until you see bubbles again.

5
Start steaming eggs

Make sure that the water is boiling in the wok and that your stove is still on high heat.

If it's boiling, remove the lid, and carefully place your bowl inside. You may want to use an oven mitt.

Pour your egg and water mixture into the bowl, and cover the wok.

6
Boil, simmer, wait

After you cover the wok, leave the stove on high heat until the water starts boiling again. This should take anywhere from 1 to 4 minutes.

Once boiling, lower the heat to a simmer, and cook for about 8 minutes.

Chef's Tip: As the dish nears completion, you can test its doneness by gently shaking the wok. The egg should shake with a gelatin-like consistency.

There are more variables for how long to steam eggsthat you can fine tune with more practice:

  • The thickness and material of the bowl you use
  • Your "simmering" heat

For example, during this round of instructions, we used a ceramic bowl. My dad usually uses metallic bowls, which have better heat transfer. For metallic bowls, he just turns the heat completely off for the remaining cook time.

7
Add garnishes and seasonings

Once the dish is done steaming, remove the lid. Add scallion and white pepper (1 dash) to taste.

Some people prefer to mix the white pepper into the egg batter. My dad prefers adding at the end.

Feel free to get creative here with soy sauce, oyster sauce, other garnishes, and etc.

8
Remove bowl from wok

We're done! It's time to remove the steamed eggs from the wok.

Depending on how much clearance you have (and pain tolerance), put on oven mitts and carefully lift the bowl out of the wok.

You may need to use the spatula as a lever for more clearance.

If you're a BOSS like my dad, you can use your bare hands. I am not a boss. I use oven mitts.

Recipe by Daddy Lau · 2× James Beard Award Winner · madewithlau.com

The Steamed Eggs My Dad's Made 100,000 Times

蒸蛋
▶ 1.3M views on YouTube
👍 23.6K likes
Prep
5 min
Cook
10 min
Total
15 min
Serves
4
Daddy Lau
By Daddy Lau · 2x James Beard Awards · 60+ years
Published Aug 2020 · Updated Jul 2025

Why this recipe

The story
Steamed Eggs (蒸蛋) — Daddy Lau
Daddy Lau

Most steamed eggs recipes online are tested only a handful of times. My dad used to make this dish multiple times a day, every day, for 60+ years and can make this in his sleep.

I know you'll love it as much as our community does! This recipe has over 1.3M views, 23.6K likes on YouTube.

My parents used to make steamed eggs for my sister and I all the time as kids. Even now, there's always a 50/50 chance that it'll be a part of the gourmet 10-course holiday spreads that my dad conjures up.

On paper, it's an easy dish to make.

However, the devil's always in the details when it comes to a recipe as simple as this one.

Generally speaking, my dad and most Chinese chefs aim for a creamy, soft, and velvety texture.

To get perfect Chinese steamed eggs, It all boils down to (heh heh) several factors:

  • The water-to-egg ratio
  • The starting temperature of the water mixed with the eggs
  • The amount of time spent steaming

Read on to find out how to make steamed eggs!

An expert chef’s tips for the smoothest, silkiest steamed eggs

Getting luscious, soft steamed eggs requires a delicate balance of ingredients and technique. Our ratio for the best silky, steamed eggs is 2 cups of water to 4 eggs. If you like firmer eggs, use a little less water, like 1.5 cups of water to 4 eggs. Mixing warm water into the beaten eggs will also achieve the best texture.

What's the difference between Chinese steamed egg and Korean steamed egg?

Steamed eggs are enjoyed in many cultures and cuisines, including China and Korea. But there's a huge difference between the two variations! While both are customizable in terms of seasoning and additional ingredients, they use techniques that result in completely different dishes.

  • Chinese steamed eggs are cooked in a steamer setup, typically in a shallow dish. Korean steamed eggs are cooked over direct heat, traditionally in an earthenware pot.
  • You don't touch Chinese steamed eggs while they're cooking. You do stir Korean steamed eggs as they cook, until they start to set.
  • The final texture of Chinese steamed eggs is like a smooth, silky, pudding-like custard. The surface is smooth, like a lake. The final texture of Korean steamed eggs is like a fluffy, poofy cloud. The surface puffs up like a little dome.

Ingredients

Serves4
Understanding Flavor
FUNDAMENTALS
Understanding Flavor
Dive Deeper →
Main Ingredients
4 egg
2 cupwarm water
2 stalkscallions
0.50 teaspoonsalt
0.50 teaspoonchicken bouillon
1 tbspoil
1 dashwhite pepper

Instructions

8 steps · click any step to scrub ↑
1

Cut scallions

scroll to play this step

First, we chop our scallions (2 stalk) to be added as garnish at the end. This gives our dish more color and flavor.

The 10 Essential Cutting Techniques
LESSON 3.3
The 10 Essential Cutting Techniques
Dive Deeper →
2

Boil water in the wok

scroll to play this step

Put the steamer rack in the wok, and place your bowl on top of the rack.

Ideally, your bowl should have enough clearance between it and the wok for your fingers, so you can easily remove it when it's piping hot.

Pour enough water so that the bowl is about a third or halfway submerged in the wok. This helps with more effective heat transfer.

Take the bowl out, and place the lid on the wok.

Set the stove to high heat, and let the water come to a boil.

3

Start mixing eggs

scroll to play this step

Crack the eggs into a bowl, and add salt (0.50 teaspoon), chicken bouillon (0.50 teaspoon), and oil (1 tbsp). Start mixing the eggs with a fork or chopstick.

4

Prepare warm water and mix with eggs

scroll to play this step

This is a really important step that determines the steamed eggs’ final fate of silkiness.

We're going to mix warm water (2 cup) with the eggs (0.5 cups per egg).

I really had to probe my dad for an exact temperature range. He legit got annoyed when I asked him, and said "it just needs to be warm!"

The ideal range is about 35° to 45° C or 95· to 113° F. If you don't have a food thermometer laying around, you can microwave the water for about 45 to 60 seconds.

It should be warm to the touch, but not unbearably hot.

Pour a quarter of the warm water (0.50 cup) into the eggs, and mix until bubbles start foaming at the top.

Pour the remaining warm water (1.5 cup), and continue mixing until you see bubbles again.

5

Start steaming eggs

scroll to play this step

Make sure that the water is boiling in the wok and that your stove is still on high heat.

If it's boiling, remove the lid, and carefully place your bowl inside. You may want to use an oven mitt.

Pour your egg and water mixture into the bowl, and cover the wok.

6

Boil, simmer, wait

scroll to play this step

After you cover the wok, leave the stove on high heat until the water starts boiling again. This should take anywhere from 1 to 4 minutes.

Once boiling, lower the heat to a simmer, and cook for about 8 minutes.

Chef's Tip: As the dish nears completion, you can test its doneness by gently shaking the wok. The egg should shake with a gelatin-like consistency.

There are more variables for how long to steam eggsthat you can fine tune with more practice:

  • The thickness and material of the bowl you use
  • Your "simmering" heat

For example, during this round of instructions, we used a ceramic bowl. My dad usually uses metallic bowls, which have better heat transfer. For metallic bowls, he just turns the heat completely off for the remaining cook time.

7

Add garnishes and seasonings

scroll to play this step

Once the dish is done steaming, remove the lid. Add scallion and white pepper (1 dash) to taste.

Some people prefer to mix the white pepper into the egg batter. My dad prefers adding at the end.

Feel free to get creative here with soy sauce, oyster sauce, other garnishes, and etc.

8

Remove bowl from wok

scroll to play this step

We're done! It's time to remove the steamed eggs from the wok.

Depending on how much clearance you have (and pain tolerance), put on oven mitts and carefully lift the bowl out of the wok.

You may need to use the spatula as a lever for more clearance.

If you're a BOSS like my dad, you can use your bare hands. I am not a boss. I use oven mitts.

劉
Mini Masterclasses
“
His recipes aren't difficult: that's the beautiful part. But when I cook them, I can feel mine aren't quite there. What's missing isn't a recipe. It's the fundamentals.
”
Desmond F. · Mini Masterclass student
Mini Masterclasses are the fundamentals: the part that makes the recipes work.
100+ short video lessons from decades in a professional kitchen: wok heat, knife angles, the tastes you're listening for, how to fix a dish that isn't quite right.
What you're buying
What's inside — a peek at the lessons
6 of 100+ lessons. Free preview marked below.
Reading the wok: when it's hot enough8:42★ Free preview
Wok & heat
Reading the wok: when it's hot enough
Holding the cleaver, three ways6:18🔒 Locked
Knife skills
Holding the cleaver, three ways
Roast Duck11:05🔒 Locked
Exclusive Recipe
Roast Duck
Inside my dad's pantry7:30🔒 Locked
Ingredient Basics
Inside my dad's pantry
Wok Tossing 1015:24🔒 Locked
Fundamentals
Wok Tossing 101
Rice Noodle Rolls9:12🔒 Locked
Exclusive Recipe
Rice Noodle Rolls
Watch the first lesson free.
Drop your email and we'll send the full first lesson + three more sample clips. No card required.
Made With Lau
Mini Masterclasses, lifetime access
100+ video lessons·Never expires·Learn at your own pace
$99
one-time payment
”
“My Chinese cooking has improved by leaps and bounds. I'm now able to recreate my grandmother's recipes through fundamentals and taste memories alone. With Daddy Lau sharing tips from his years in the kitchen, if you listen carefully these tips speak volumes. The fundamentals that you will learn will be priceless.”
D
Desmond F.
Professional chef, 16 years · Singapore
”
“Not only is this THE place for me, a Hong Kong born Cantonese who grew up in Ireland, to relearn all the cooking skills my own Cantonese Mom and Dad taught me. The English translation has also allowed my non-Cantonese speaking, American-born kids to learn about this under-represented side of their heritage. Plus the results are always delicious!”
A
Ann Y.
Hong Kong-born, raised in Ireland
”
“Hearing Daddy Lau's voice brought back memories of my late grandparents who used to cook these meals for me. The Mini Masterclasses improved my cooking skills in various ways, from cutting techniques to preserving your groceries and controlling the heat of the wok. I highly recommend it to anyone, regardless of their experience level.”
S
Shirley P.
Parents from Guangzhou and Toisan · Chicago

The fundamentals you'll learn are priceless.

✓30-day money-back guarantee

Pairs well with

View all →
50 min

Longevity Noodles (三鮮伊面)

View recipe →
25 min

Ginger Scallion Spaghetti (薑蔥撈麵)

View recipe →
60 min

Plant-Based Meal (植物性餐點)

View recipe →

Frequently Asked Questions

Made with love ❤️

The Lau Family

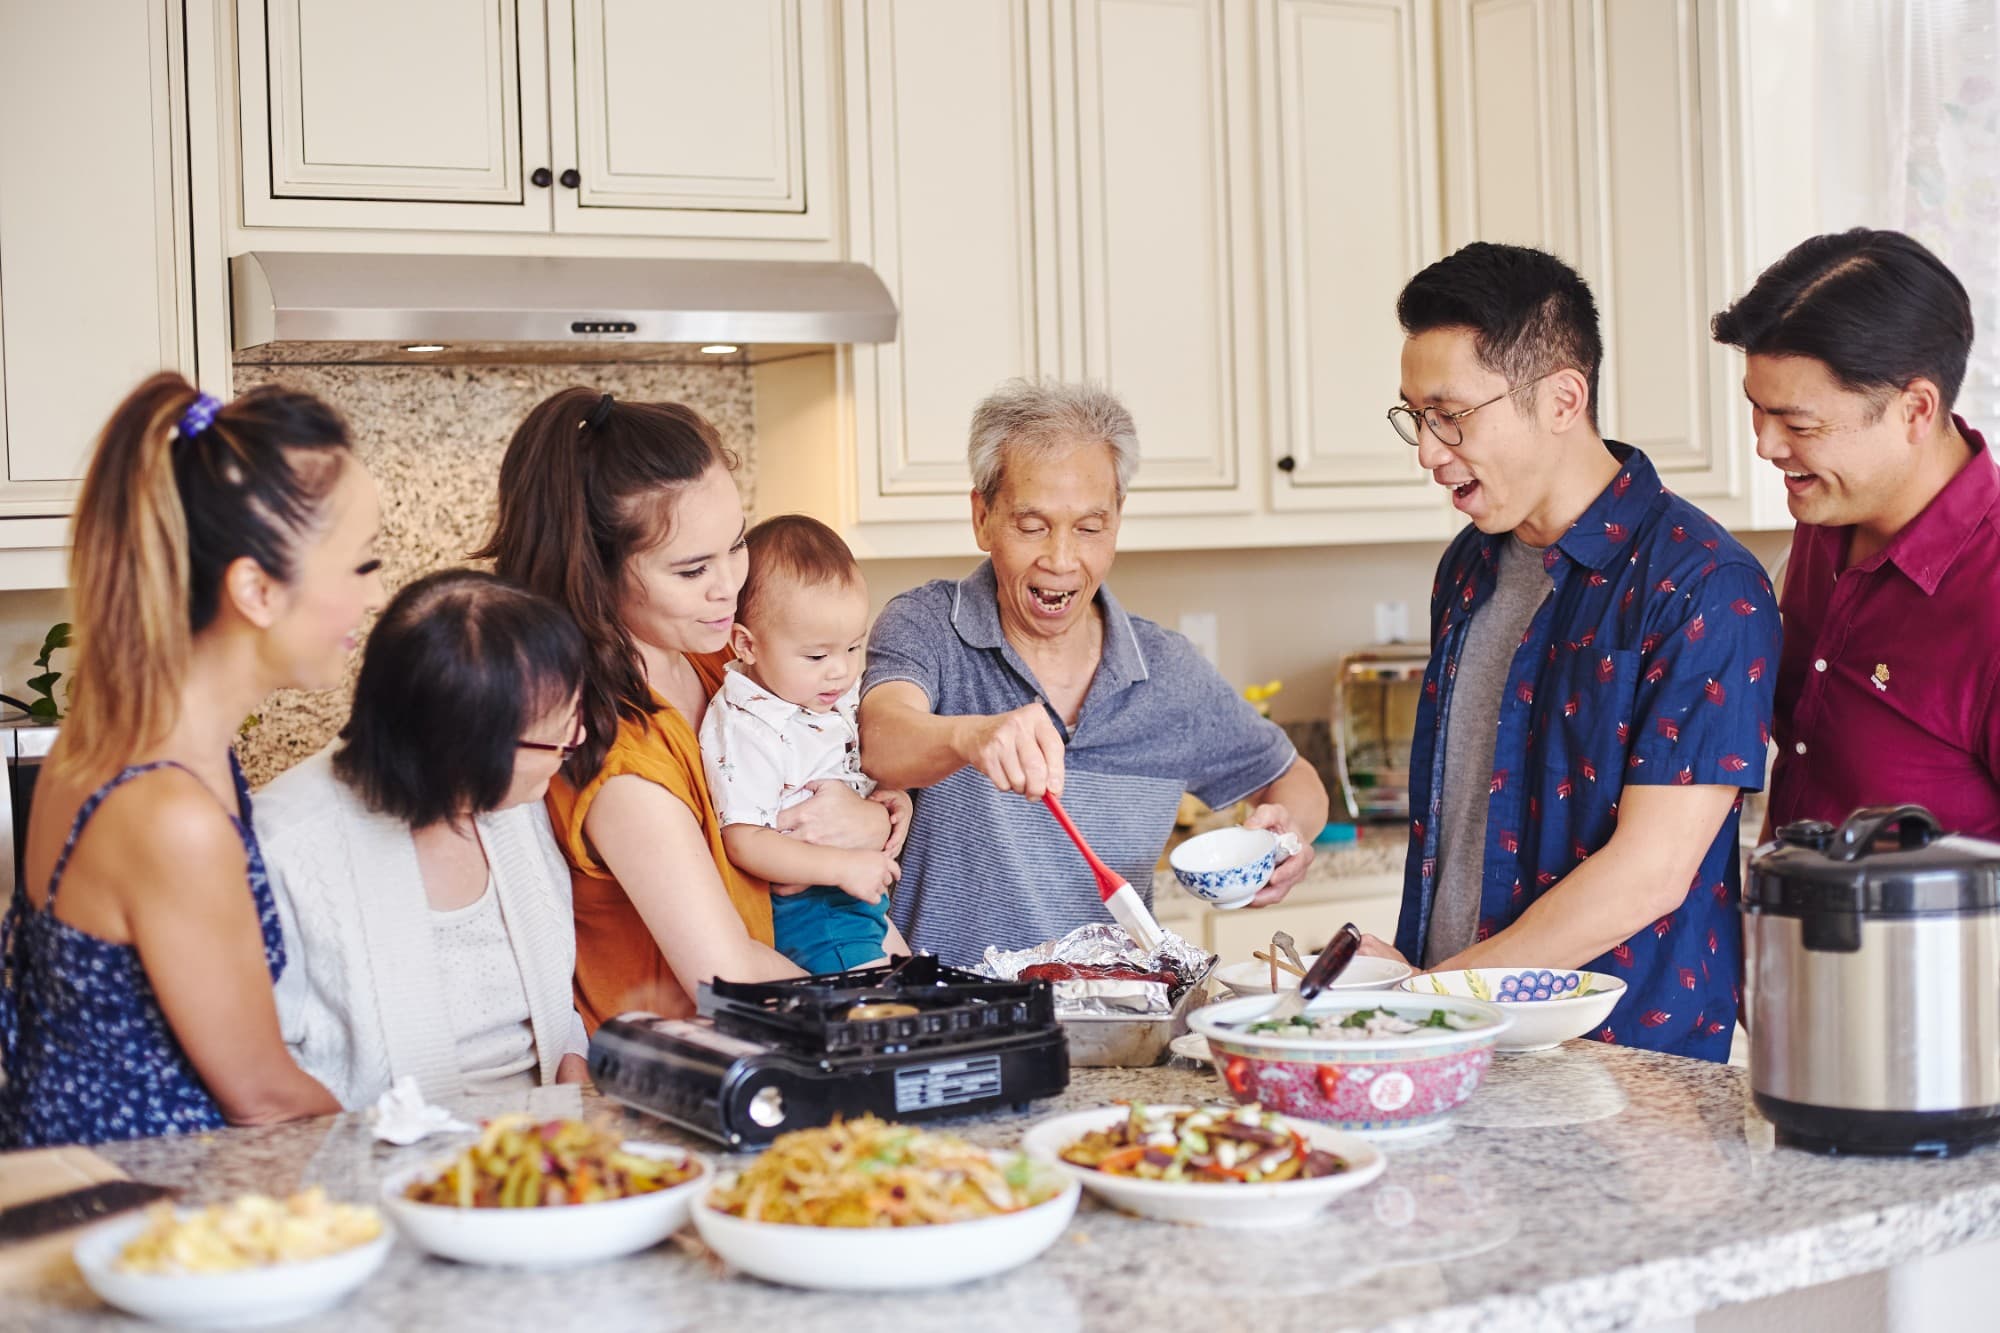
We started Made With Lau to celebrate Cantonese culture and honor the legacy of our wonderful parents, Jenny and Chung Sun Lau.

Our hope is that these recipes and stories help you spread the joy, love, and nostalgia that I felt growing up.

mwl-logoMade With Lau

A family-run Cantonese cooking project from Daddy Lau, Randy Lau, and a small team in the Bay Area.

Recipes
All recipesEasy weeknightsTakeout favoritesSoups & brothsDim sumNoodles
Learn
Mini masterclassesAll courses
About
Our familyCookbook (2027)ContactPrivacy
Made with ♥ in the Bay · © 2026 · Year of the Horse
YouTube · 1.78MInstagram · 412KTikTok · 891K