The Whole Roasted Chicken My Dad's Made 100,000 Times

Why this recipe

Most whole roasted chicken recipes online are tested only a handful of times. My dad used to make this dish multiple times a day, every day, for 60+ years and can make this in his sleep.
I know you'll love it as much as our community does! This recipe has over 317K views, 4.2K likes on YouTube.
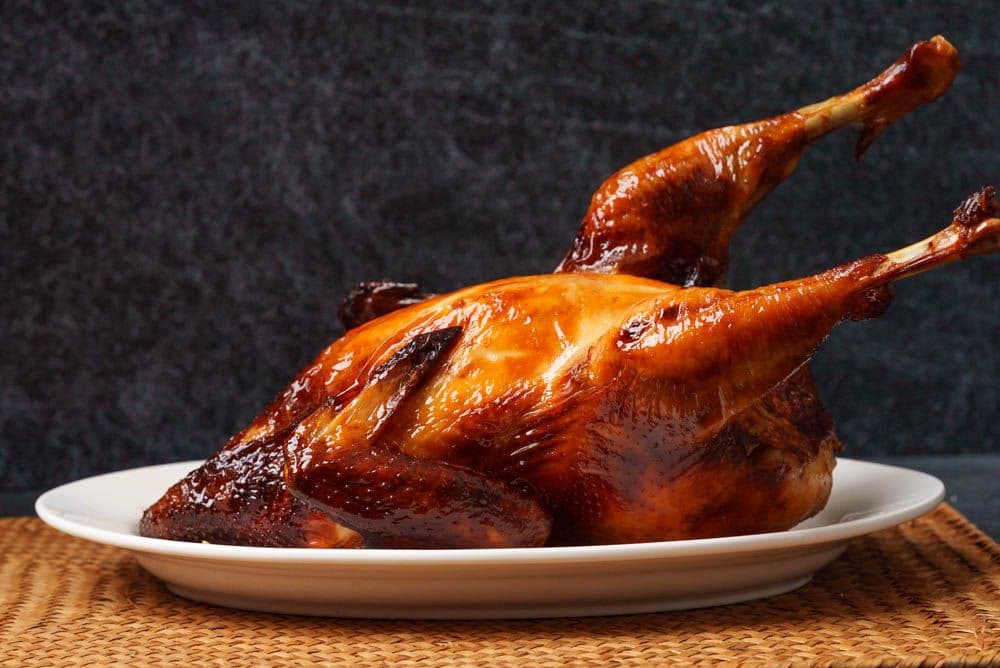
If you love the crunchy, yet succulent Cantonese classic Crispy Skin Chicken, but want a healthier, easier alternative, this recipe is for you. My dad's Whole Roasted Chicken Whole Roasted Chicken (南乳燒雞) with fermented bean curd draws on another traditional Chinese cooking technique — barbecue! — to achieve similar results with no frying.
For this recipe, my dad employs culinary practices usually reserved for Cantonese BBQ dishes like Char Siu and Siu Yuk, along with ingredients that don't pop up in the typical Western-style roast chickens you may be more familiar with. The roast chicken requires some prep work and advanced timing since it needs to marinade and chill, but the roasting itself is very straightfoward and completely hands-off.
This whole chicken preparation is not only incredibly delicious, but also makes a great centerpiece for dinner parties and Lunar New Year celebrations. The completeness of the chicken symbolizes prosperity and wholeness, which is why my dad plates it in a traditional manner that includes the head and all.
Ingredients

Instructions
Clean chicken
Place the whole chicken (1 whole) into a large bowl filled with water. Rinse the outside off with the water.
If you plan on keeping the chicken head, place the salt (1 tablespoon) in the mouth, scrub and rinse out with water. If not, then simply cut the head off. You can also remove the wing tips if you prefer not to cook them.
Remove any remaining organs (such as the lungs) or excess fat from the inside of the chicken.
Be sure to pay extra attention to the back of the chicken as well and remove any feathers.
Cut the feet off below the leg joint. Set aside if cooking them or discard.
Once the chicken is clean, set it aside to let the water drain off.

Prep marinade
Wash the ginger (2 oz) and cut into thin slices. Cut into strips, then rotate 90 degrees and mince. Set aside in a small bowl.
Cut off the green onion whites (1 oz), then dice into small pieces. Add to the same bowl as the ginger.
Add the red fermented bean curd (2 oz), white fermented bean curd (1 oz), five spice powder (1 teaspoon), hoisin sauce (1 tablespoon), oyster sauce (2 tablespoon), salt (0.50 teaspoon), sugar (1 tablespoon), white pepper (0.30 teaspoon), and cooking wine (1 tablespoon).
Mash the ingredients together and mix to thoroughly combine. It should have a paste-like texture. Taste and adjust flavor to your preference.
Marinate chicken
Dry the inside and outside of the chicken with paper towels.
Spoon the marinade into the cavity of the chicken, using the utensil to spread it all around. Be sure to get into all the gaps and crevices.
If you're cooking the feet, place them inside the cavity. This prevents them from cooking too quickly and burning during roasting.
Close the chicken cavity. Pull the flap of skin tight over the hole and secure it to the center of the chicken using bamboo skewers. Repeat on the left and right sides to completely seal the chicken.
Add salt (4 tablespoon) to the outside of chicken and rub it into the skin. Let marinate for 10 minutes.
Blanch and dry chicken
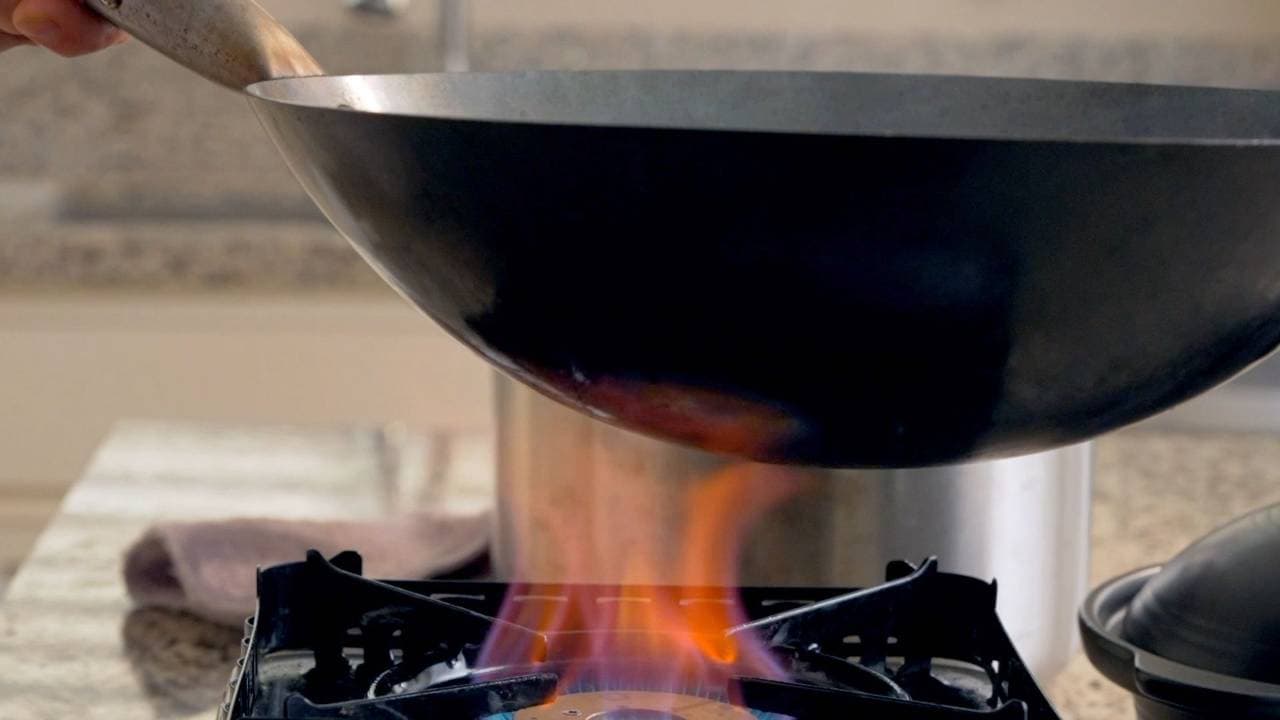
Bring a large amount of hot water to a boil. Use one hand to hold the chicken by the legs over a large heat-safe bowl. Pour the hot water a bit at a time over each part of the chicken, working your way up from the neck and head. Switch to holding it up by the head and neck to blanch the bottom half of the chicken
(Chef's Tip: Blanching the skin is an essential step to getting the skin crispy and should not be skipped. It tightens up the skin and helps it dry out so the glaze can adhere to the skin.)
Place a wire rack on top of a baking tray and set the chicken on top. Use a fan or a hair-dryer on cool (or no heat setting) to air-dry.
Prep and brush on glaze
In a small bowl, combine the rice wine vinegar (2 tablespoon) and red vinegar (3 tablespoon). Microwave for 30 seconds.
Add the maltose (1 tablespoon) and mix until completely dissolved.
Brush an even layer of the glaze onto every part of the chicken.
Let dry for at least 3 to 4 hours in fridge or overnight. When ready to cook, remove the chicken from the fridge and let it sit for 1 hour to come to room temperature.
Roast chicken
Preheat the oven to 365°F (185°C) with a rack near the bottom of the oven.
Line the bottom of a roasting pan with aluminum foil for easy clean-up. Place a raised wire rack on top, followed by the chicken.
Wrap the end of the legs, wing tips and beak with foil to prevent them from burning.
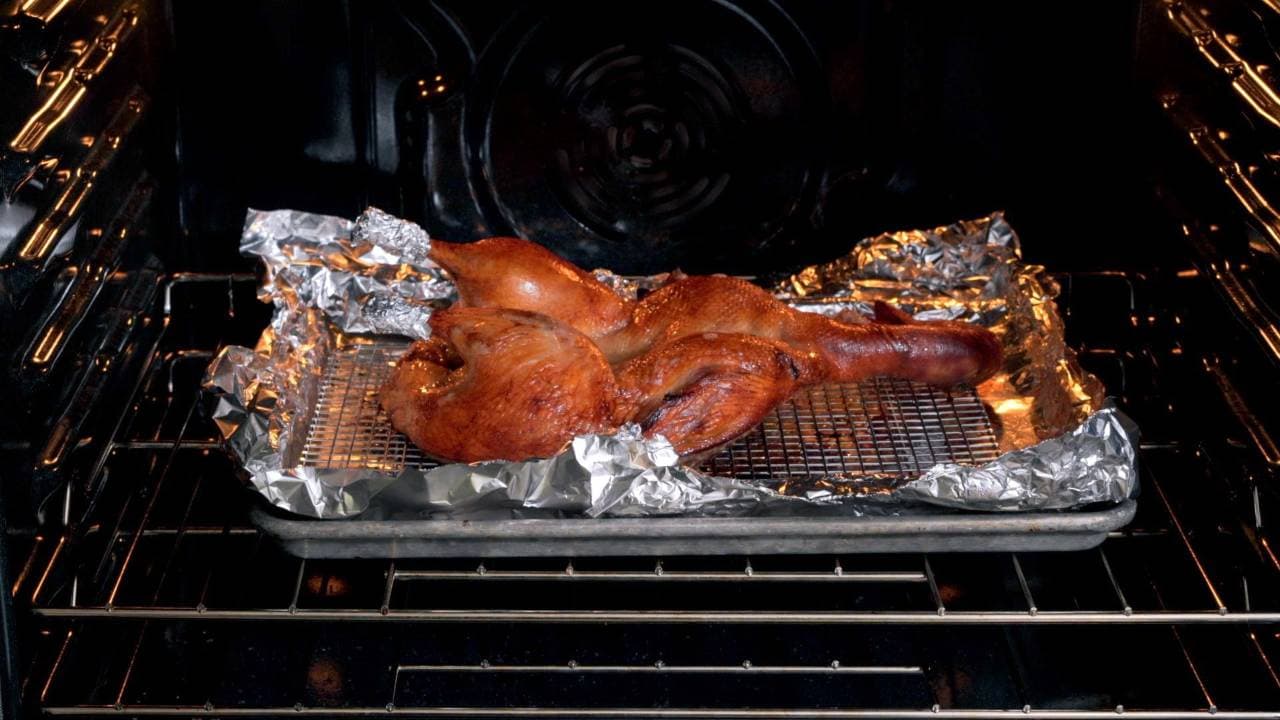
Place chicken in the oven with the breast-side down. Roast for 20 to 25 minutes.
Take the chicken our of oven. Using a paper towel, flip it so the breast-side is now facing up and let it cook for another 20 to 25 minutes, until the skin is nicely browned. Chicken is cooked through when the internal temperature reaches 165°F.
Remove the chicken from the oven and brush on some chicken drippings from the baking pan for extra shine and aroma.
Let it cool for at least 10 minutes before carving.
Carve chicken
Remove the foil and bamboo skewers. Cut off the head and neck.
Open the chicken cavity, remove the chicken feet and pour out any juices.
Now it's time to carve the chicken, making sure to keep the left pieces to your left and right pieces to your right.
Remove the legs by slicing through the joint and pulling them off.
Cut off the wings, again by slicing through the joint and pulling them off.
Cut halfway through the back of the chicken and separate it from the breast.
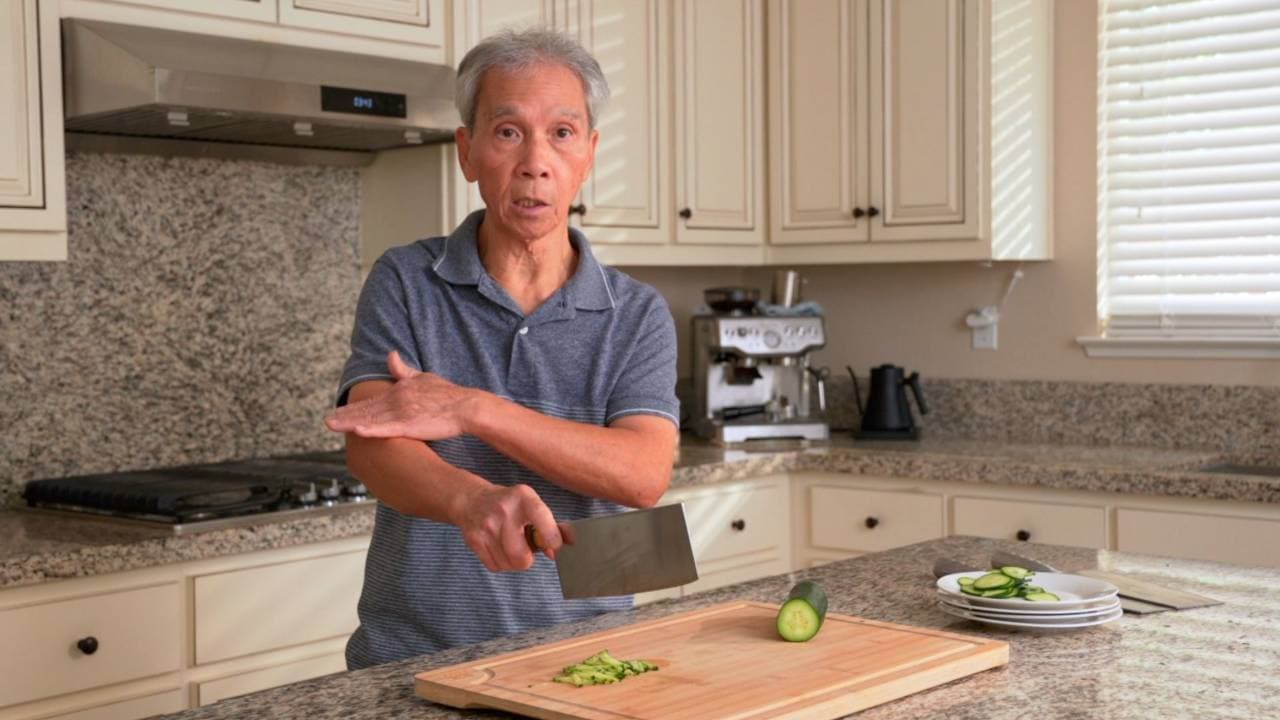
Chop off the tail and set aside on the serving plate. Cut the back piece in half, then into small 1-inch pieces and plate.
(Chef's Tip: For the most efficient chopping, use the bottom of the knife and not the tip.)
If you have the head and neck, chop into small pieces and plate them near the center of the plate.
Next, chop the breast piece in half, then into small 1-inch pieces and set in the middle of the plate.
Chop chicken legs, separating the drumstick from the thigh and cutting into smaller pieces.
Cut the wings into smaller pieces and plate.
Finally, chop the feet into smaller pieces and place at the bottom of the plate.

Pairs well with
View all →Made with love ❤️

We started Made With Lau to celebrate Cantonese culture and honor the legacy of our wonderful parents, Jenny and Chung Sun Lau.
Our hope is that these recipes and stories help you spread the joy, love, and nostalgia that I felt growing up.