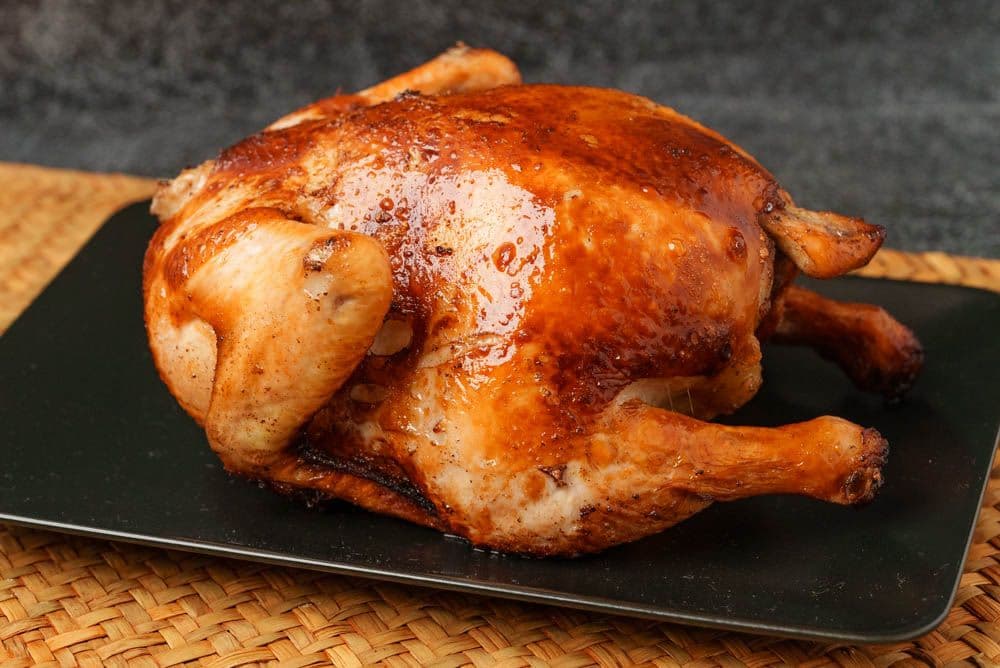
The Crispy Skin Chicken My Dad's Made 100,000 Times

Why this recipe

Most crispy skin chicken recipes online are tested only a handful of times. My dad used to make this dish multiple times a day, every day, for 60+ years and can make this in his sleep.
I know you'll love it as much as our community does! This recipe has over 1.5M views, 13.6K likes on YouTube.
While most of our recipes walk you through rather typical Cantonese-style home cooking, this Crispy Skin Chicken is definitely more of an event! It's a staple of Chinese Michelin star restaurants, and even a part of the typical training regimen for aspiring Chinese chefs.
Test your skills and really wow your family and friends with this impressive Chinese-style fried chicken recipe! They'll love the crispy skin and tender, juicy meat inside, all the while wondering how on earth you pulled it off.
Ingredients

Instructions
Clean chicken
First, prepare the chicken (3.5 lb). Chop off the feet at the joint and discard. It’s important to not cut the feet off above the joint because the skin will shrink when you fry it.
Prepare a large bowl of clean water. Dunk the chicken in the water to wash and rinse it. As you wash it, massage the flesh to tenderize the meat. This washing step is important to rinse off bone shards, bits of innards, other debris, and surface oils. Make sure to wash off any red innards; residue will burn and taste bitter. Also, pull the legs and thighs down and away from the torso to help relax and loosen the chicken.
When the chicken is cleaned to your satisfaction, carefully remove it from the water. Dry the inside and outside of chicken with a clean towel or paper towels. The drier you can get the chicken now, the better it will soak up the seasoning.
Set the chicken aside to dry out a bit more while you prepare the seasoning mix.

Create dry rub & glaze
To create the dry rub, combine salt (0.50 tbsp), five spice powder (1 tsp), and white pepper (0.25 tsp). If you don’t like or don’t have five spice powder, substitute with the same amount of garlic salt. Mix well and set it aside.
In another bowl, combine red vinegar (1 tbsp), white rice vinegar (1.5 tbsp), and honey (2 tbsp). This combination of vinegars is important to get the perfect color, balance of acidic and sweet flavor, and drying effect on the skin. Drying out the skin is essential for crispy skin. Microwave for 10-20 seconds to help the honey dissolve and mix well to combine.
Apply dry rub & salt to chicken
We’ll season only the inside of the chicken with the dry seasoning mix. Pour the mix into the cavity and rub it all over the inside of the chicken as thoroughly as you can. Don’t get the seasoning mix on the outside; it will burn, and the skin won’t fry uniformly.
Rub the outside of the chicken with salt (1.5 tbsp). This will draw out the moisture, which, again, is important for crispy skin!
Set the chicken aside to marinate for 20 minutes, so the inside can soak in the flavors of the dry mix and the salt can do its magic on the skin outside.
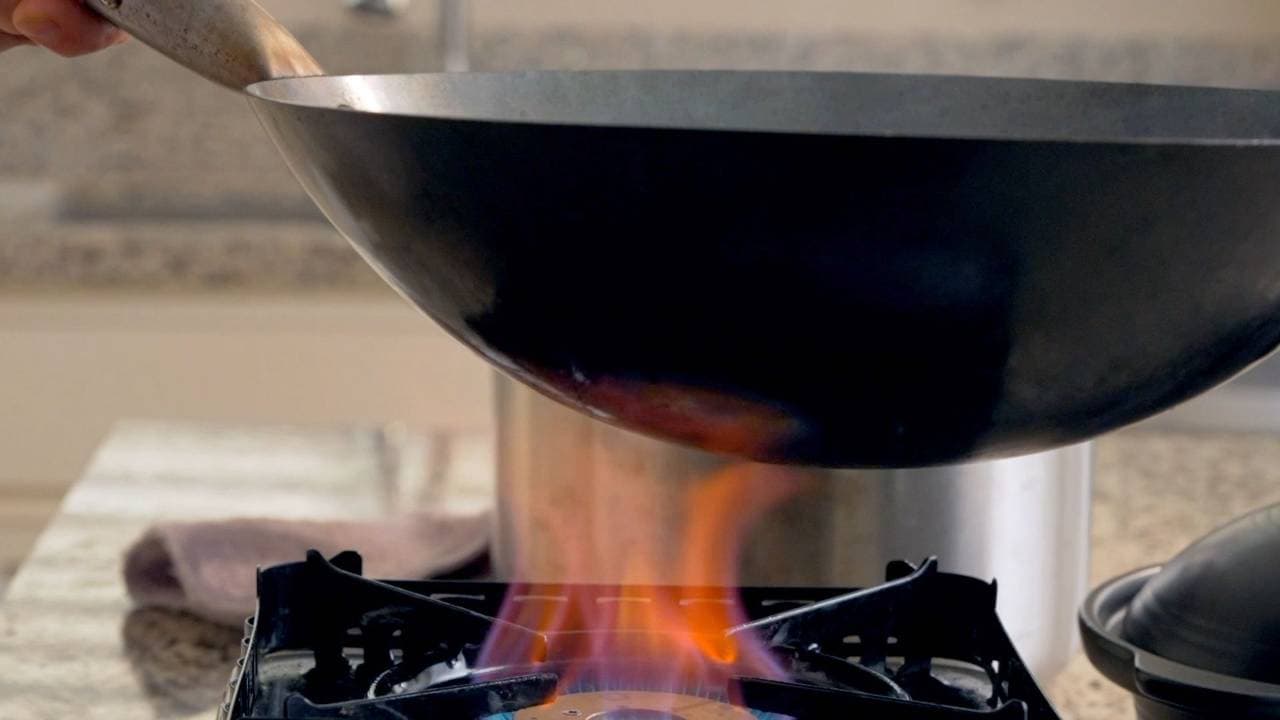
Blanch chicken
Boil a wok full of water on high heat; to fill our wok, we needed about 6 cups.
Hold the chicken over the wok (my dad just grabs it by the neck, but you can wear gloves or recruit a partner) and ladle the boiling water over the chicken. Avoid getting any water in the cavity; you don’t want to rinse away the dry seasoning. Poaching the skin with ladlefuls of boiling water here helps wash away the surface layer of oil and ensures a uniform crispiness when frying. As you ladle the boiling water over the skin, you’ll see it plump up and smooth out.
Change your grip so you can dunk the head of chicken into water for about 20 seconds. Ladle water over and behind the wings; don’t forget the armpits! Cover all the outer surface area of the skin you can see.
It’s ready when the once-wrinkly skin tightens and plumps up.
Brush glaze onto chicken
Prop the chicken up with a sturdy bottle and let it dry for about 20 minutes. It’s ready when water no longer drips from it and the skin feels dry to the touch. You can speed it up by blowing the chicken with a fan.
When the chicken is completely dry, it’s time to apply the honey and vinegar mix from earlier. Use a basting brush to thoroughly glaze the outside of the chicken. Paint every bit of skin you can see; again, don’t forget niches and corners like the armpits.
Let the chicken dry out on a plate in the refrigerator for 2-3 hours or overnight. Optionally, brush the chicken a second time with another coat of the honey and vinegar glaze and dry again for more consistent color.
Create salt dip
Heat a dry wok on low heat.
Add salt (2 tbsp). Stir constantly and cook until it turns slightly yellow, which should take about 45 seconds. Turn off the heat and transfer the salt to a bowl.
While the salt is still hot, add five spice powder (0.50 tsp) and white pepper (0.50 tsp). Stir until well combined. This seasoned salt is typically served in small plates alongside the chicken for people to dip their pieces of chicken into.
Start 1st fry
Use sharp kitchen shears to cut off the neck of the chicken. This will make the chicken easier to fry; we’ll fry this separately later, though you can discard if you wish.
Fill your wok with oil (1 lb) so that it can cover at least half the chicken, and heat it to 300°F (149°C). It took nearly a lb of oil to fill our wok. This oil can be reused to cook other dishes afterwards. You can test the temperature of the oil with a thermometer, or by checking for small bubbling when poking a wooden chopstick into the oil.
When the oil is hot enough, lay a metal slotted spatula in the wok and slowly place the chicken into the wok, over the spatula, with the breast side facing down. The slotted spatula will keep the chicken from directly touching the wok, which would cause sticking and burning.
Turn the heat off and use a ladle to scoop and pour the hot oil over the chicken. Keep at it until the bottom of the chicken has turned golden brown, for 8-10 minutes. When the oil drops to 212°F (100°C), or the boiling point of water, turn the heat onto low to bring the oil back up; keep the oil temperature around 212°F (100°C).
Flip the chicken over and cook until the other side turns a golden brown, which will take 5-6 minutes. Continue ladling hot oil over the exposed areas of the chicken.
Turn the chicken on one side to cook the thigh for 1 minute, then turn it onto the other side and cook the other thigh for 1 minute.
Turn the heat off and transfer chicken to a plate for the moment. If there are any burnt bits of chicken in the oil, use a fine-mesh sieve to remove them.
Fry head & continue 1st fry
Keeping the oil temperature at around 212°F (100°C), fry the chicken head for 4 minutes.
Increase heat to raise the oil temperature to 375°F (190°C). This secondary stage of the first fry requires more maneuvering, so get a partner to help if you need to: instead of putting the chicken in the oil, hold the chicken in a large spider strainer over the wok and ladle the very hot oil over it. Spend 1-2 minutes ladling the hot oil over, making sure to evenly cover all the surface of the skin.
Turn the heat off and put the chicken down (finally!) into the oil, again keeping that strainer or slotted spatula between the chicken and the wok to keep the chicken from sticking and burning. Let the chicken cook for another 6-7 minutes, flipping it over from time to time. The goal is to get a consistent golden brown color across the entire chicken.
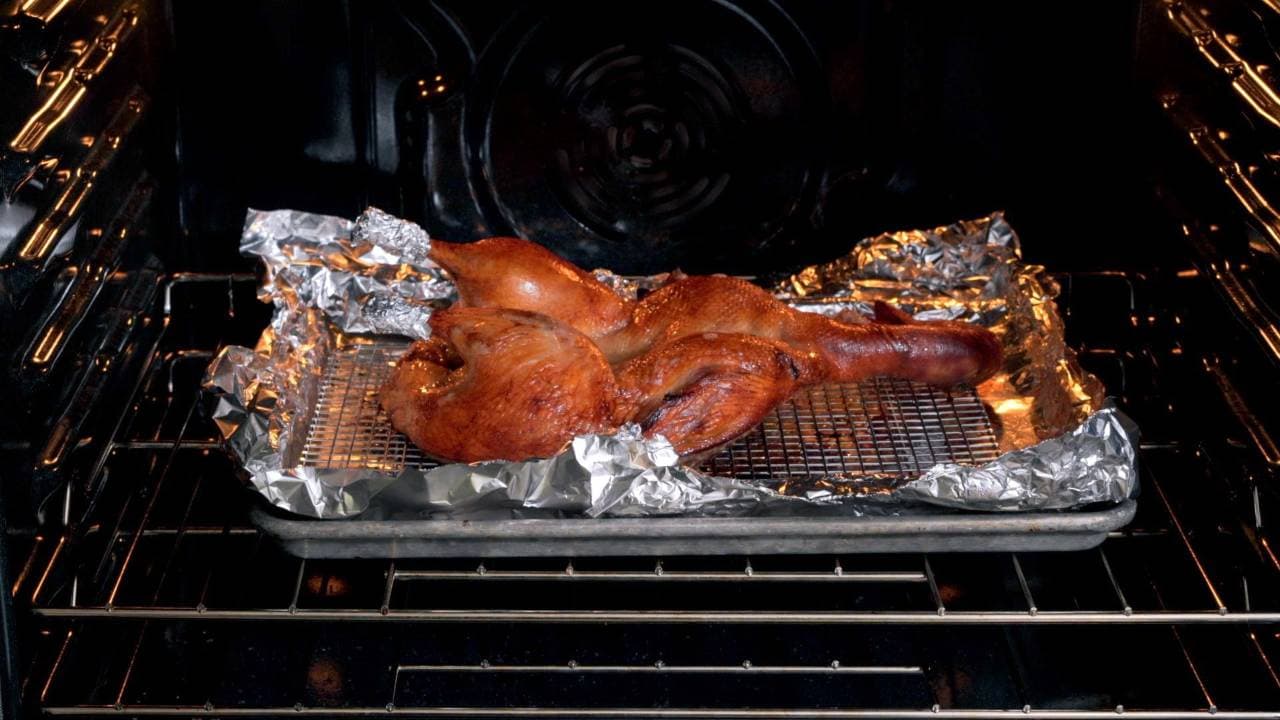
Set the chicken aside on a wire rack to cool completely, which will take at least 30 minutes. If you want extra crispy skin, let it cool and dry for even longer.
However, the longer you wait for crispier skin, the more moisture the inside of the chicken loses, so you’ll be choosing between the most succulent meat and the crispiest skin. You can wait for 2-3 days before the second fry (if you do so, please keep the chicken at safe temperatures in the refrigerator).
2nd fry
When you’re ready for the second fry, heat up the oil to 375-400°F (190-204° C) and maintain the temperature there. Place the chicken with the breast side down onto a spider strainer.
Hold the chicken over the wok and ladle oil over its entirety. Tilt the chicken to get oil into the nooks and crannies, such as under the wings. Spend about 4 minutes ladling the hot oil over the chicken until the skin crisps up to your liking.
Dip the chicken, breast side down, in the hot oil a few times to fry the breast side.
Turn off the heat, and let the chicken sit on a plate or wire rack so the excess oil can drain. Rest for 30 minutes, then chop it up for serving. We don’t recommend waiting much longer before digging in, as the juices inside the chicken will start to soften the crispy skin.
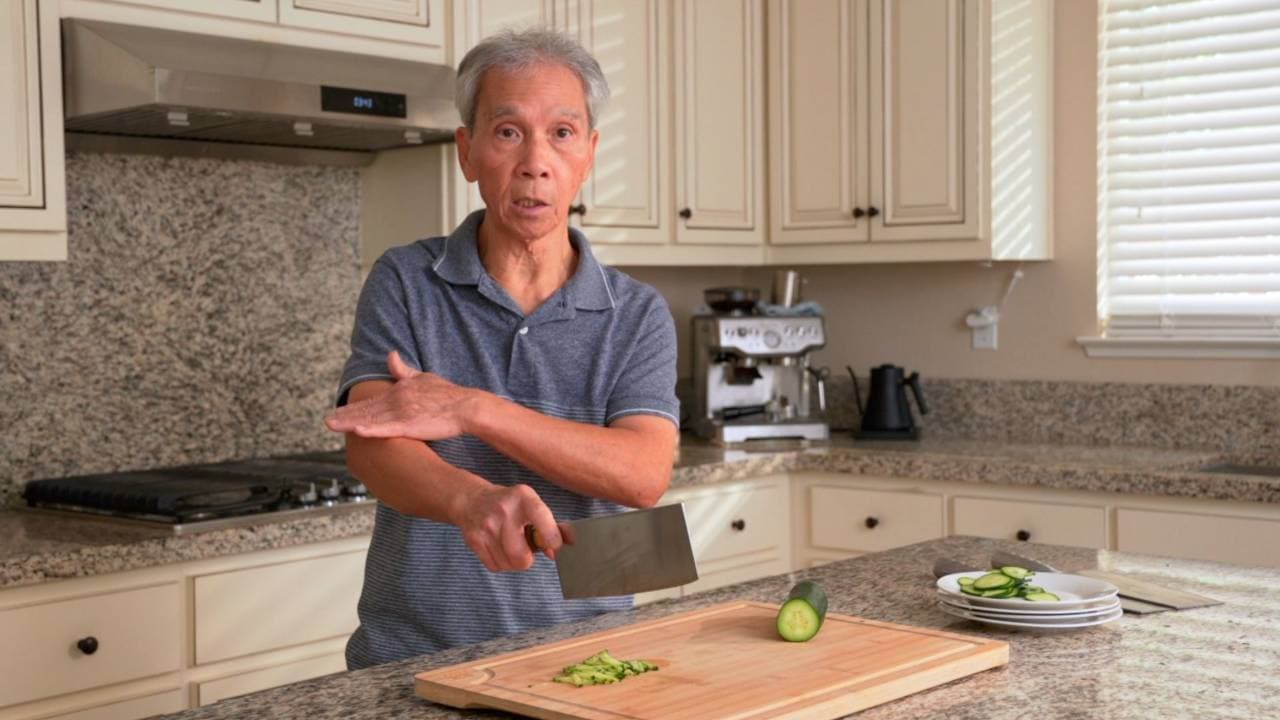
Chop chicken
Get to carving! If you haven't taken a cooked chicken apart before, just take it section by section.
You don't need a particularly heavy knife for this, as chicken bones are hollow and not very dense. It's perfectly safe and effective to slice through where you can, and when that's not enough pressure, to set your knife on the chicken where you want to cut and then help push down with your other hand.
Remember to put each section back to recreate the whole chicken.
First, remove the rear end.
Chop the chicken in half lengthwise to get two symmetrical halves.
Cut along the joint to separate the wing. Then, cut in along the thigh and pull the thigh away. You'll end up with the drumstick and thigh in one piece, separated from remaining body, which is mostly breast. Cut that in half lengthwise, and then chop each half into 1-inch wide pieces.
Cut the drumstick away from the thigh, and chop both of those parts into 1-inch pieces as well.
Also, separate the wing tip from the chicken wing. Chop the wing in half if you wish.
Repeat this process with the other half of the chicken.
For presentation, chop off the long unwieldy neck and plate just the chicken head.

Pairs well with
View all →Made with love ❤️

We started Made With Lau to celebrate Cantonese culture and honor the legacy of our wonderful parents, Jenny and Chung Sun Lau.
Our hope is that these recipes and stories help you spread the joy, love, and nostalgia that I felt growing up.