The Pan-Fried Tilapia My Dad's Made 100,000 Times

Why this recipe
Most pan-fried tilapia recipes online are tested only a handful of times. My dad used to make this dish multiple times a day, every day, for 60+ years and can make this in his sleep.
I know you'll love it as much as our community does! This recipe has over 130.1K views, 2.8K likes on YouTube.
All you need is 15 minutes and a bag of frozen tilapia to make a gourmet fish dinner. My dad's recipe for pan-fried tilapia is super easy and fast — perfect for nights when you want to get a meal on the table quickly or need a dinner party-ready entree that doesn't take a lot of prep work.
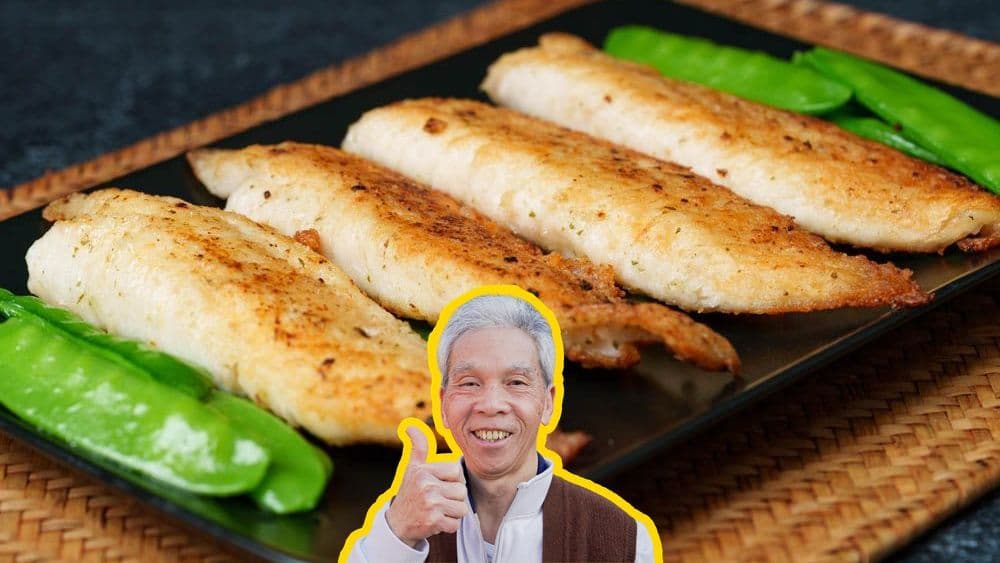
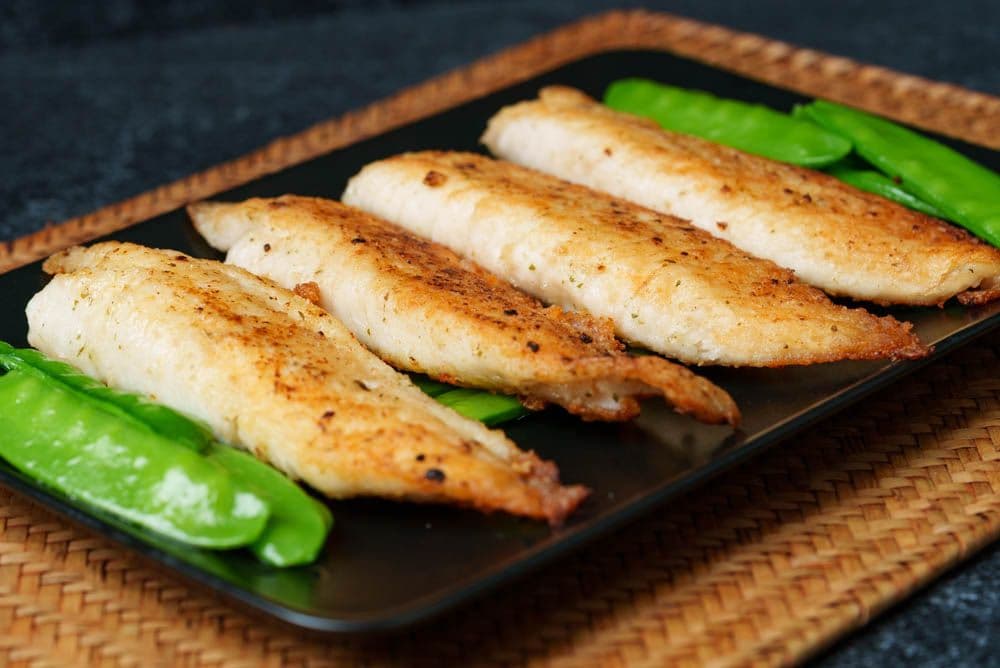
Daddy Lau's key to the best pan-fried tilapia is a simple seasoning mixture and cornstarch coating. Cornstarch not only seals in moisture inside the fish, but also forms an aromatic crust.
This dish also calls for snow peas, although you can swap in whatever vegetables you have in the fridge). Make a pot of rice and you've got a complete meal.
Ingredients

Instructions
Prep snow peas
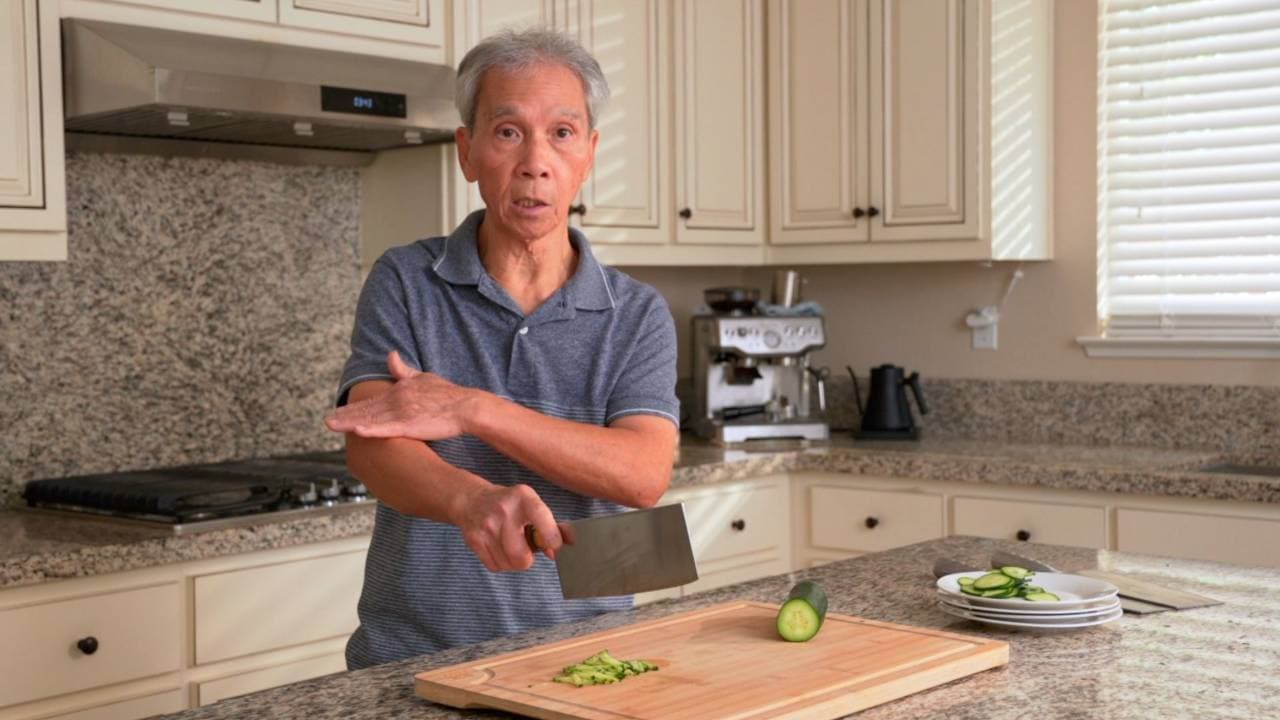
Destring the snow peas (3 oz). Hold the snow pea in one hand and use the other to pull the string down the edge, following it its natural path, until it returns to the end where you started. Remove and discard.

Prep tilapia
Dry the tilapia (18 oz), if needed. Season both sides of the fillets with white pepper (1 teaspoon) and garlic salt (1 tablespoon). Spread it around and pat the seasonings into the fish.
Coat both sides of fillets with cornstarch (1 tablespoon). Spread it around and pat the cornstarch into the fish.
Blanch snow peas
In a small pot, bring water up to a boil. Add the oil (0.50 teaspoon), followed bu the snow peas. Blanch for 30 to 40 seconds.
Remove the snow peas from water and drain.
Pan fry tilapia
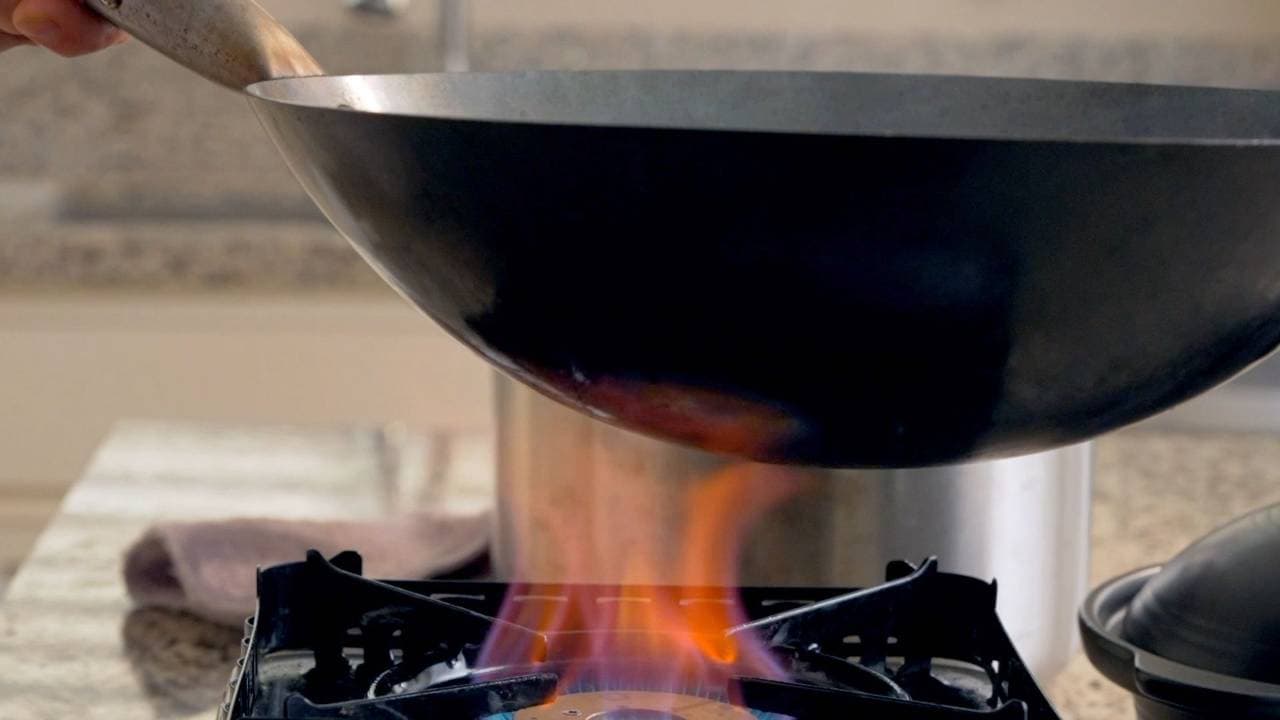
Heat a pan on high heat (only if it's not nonstick) for 1 to 2 minutes, or until slightly smoking.
Lower head to medium, add the oil (2 tablespoon).
(Chef's Tip: Be sure to use plenty of oil and heat the pan thoroughly. This not only helps prevent the fish from sticking, but also helps form a beautiful crust.)
Gently add the tilapia fillets. Pan fry for 2.5 to 3 minutes, moving around slightly with chopsticks or a spatula, but not immediately after adding them to the pan.
Press down on the fish. Flip the tilapia fillets and pan fry for 2.5 to 3 minutes. Tilt the pan slightly to ensure that the oil spreads evenly around the pan.
Add the cooking wine (1 teaspoon), pouring around the edge of pan. Turn the heat off and cover for 30 40 seconds.
Turn the heat back on to medium, pan-fry for 30 to 40 seconds until the liquid evaporates.
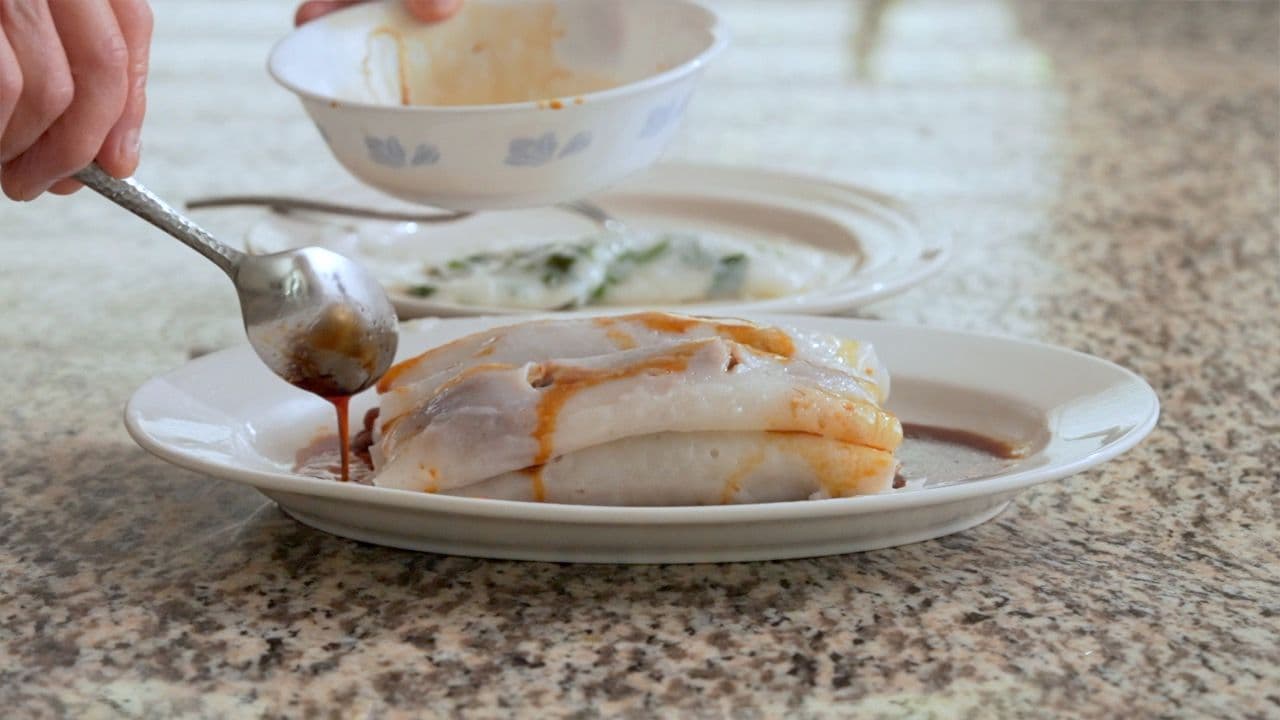
Turn the heat off. Place half the snow peas on the bottom of the plate, then place the tilapia fillets on top. Finish plating the rest of the snow peas around the side of the dish.

Pairs well with
View all →Made with love ❤️

We started Made With Lau to celebrate Cantonese culture and honor the legacy of our wonderful parents, Jenny and Chung Sun Lau.
Our hope is that these recipes and stories help you spread the joy, love, and nostalgia that I felt growing up.