Scrambled Eggs With Chives

This homestyle dish is pure comfort.

Cooking Summary
Ingredients: (detailed list)
- Main Ingredients: chive, egg, oil
- Seasoning Ingredients: white pepper, rice wine vinegar, salt, sugar
- Slurry Ingredients: potato starch, water
Jump To Section
Overview
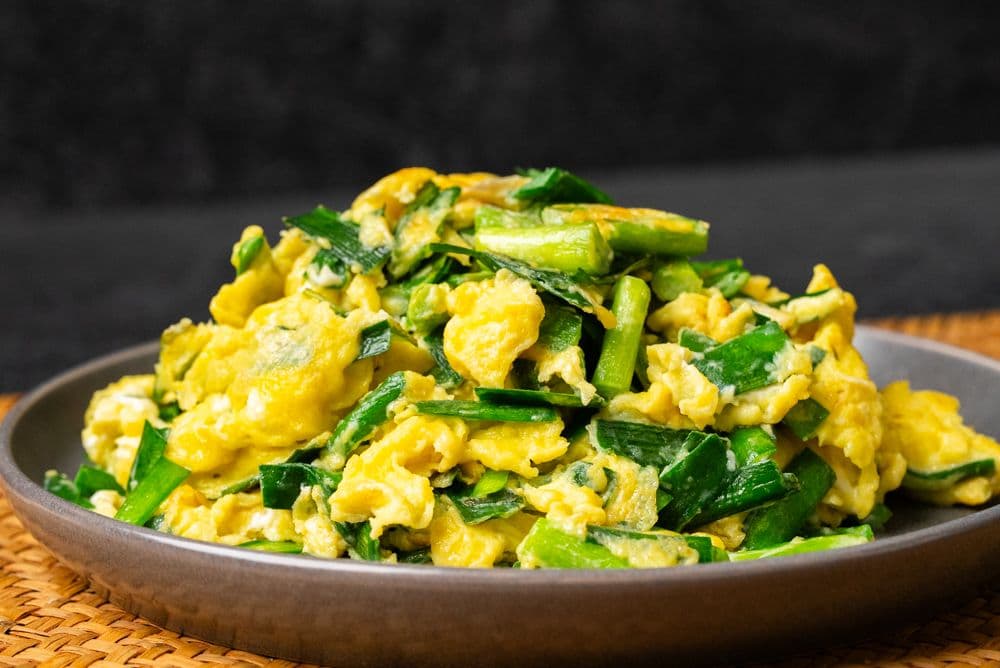
Scrambled Eggs With Chives (韭菜炒蛋) is a dish that always reminds me of childhood. It's so incredibly comforting and easy to prepare—you can likely cook it in 10 minutes or less!
As with any simple dish, the ingredients and technique make all the difference. Be sure to use the freshest eggs you can find (my dad has a tip on how to check for this in the steps below) and chives that are in season.
According to my dad, the ratio of chive to egg is another important part of this classic homestyle dish. Use too many chives and the texture will be off; use too few and its distinct flavor will be lost. Follow his guidance below and we guarantee you'll get the most flavorful and fluffy Scrambled Eggs With Chives.
Why this recipe
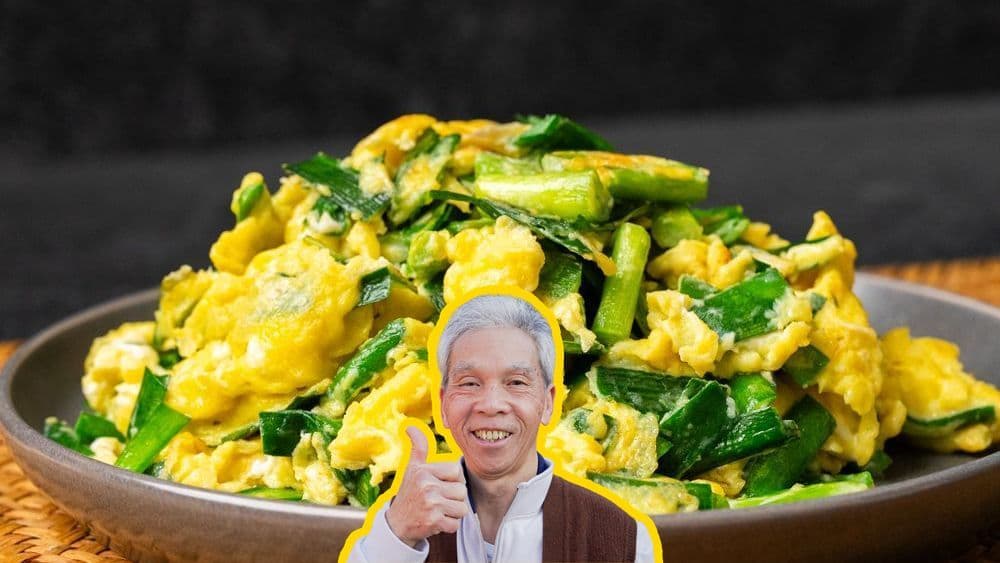
Most scrambled eggs with chives recipes online are tested only a handful of times. My dad used to make this dish multiple times a day, every day, for 60+ years and can make this in his sleep.
I know you'll love it as much as our community does! This recipe has over 6.4K views, 127 likes on YouTube.
Ingredients
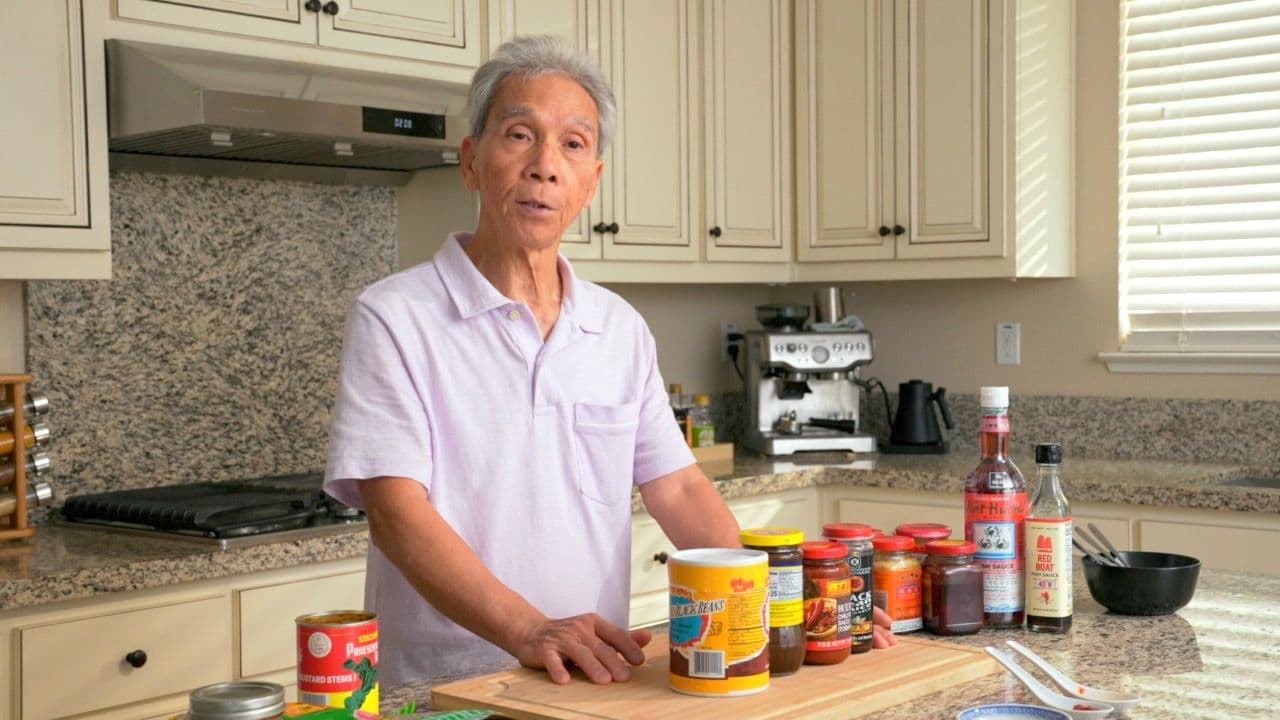
On Chinese chives
Also called garlic chives, Chinese chives are a different variety of the ones commonly used in Western cooking. Chinese chives have flat leaves and boast a deliciously pungent flavor that appears in classic dishes such as the Shrimp and Chive Crystal Dumplings (韭菜餃) enjoyed at dim sum or the crispy Chinese Chive Pockets (韭菜盒子) of Northern China. They're also commonly found in other Asian dishes, such as Korean Chive Kimchi and Japanese Meat-Wrapped Chive Skewers. When selecting chives at the market, it's best to look for bunches that are vibrantly green and crisp and avoid any that are yellow and wilting.
How to make Scrambled Eggs With Chives
Fill a large bowl with water, place the chives (8 oz) inside and let them soak for 3 to 4 minutes.
Dunk the top of the chives in and out of the water to rinse off any remaining dust and debris. Flip around and do the same with the ends. Shake off the excess water.
Trim off and discard the ends.
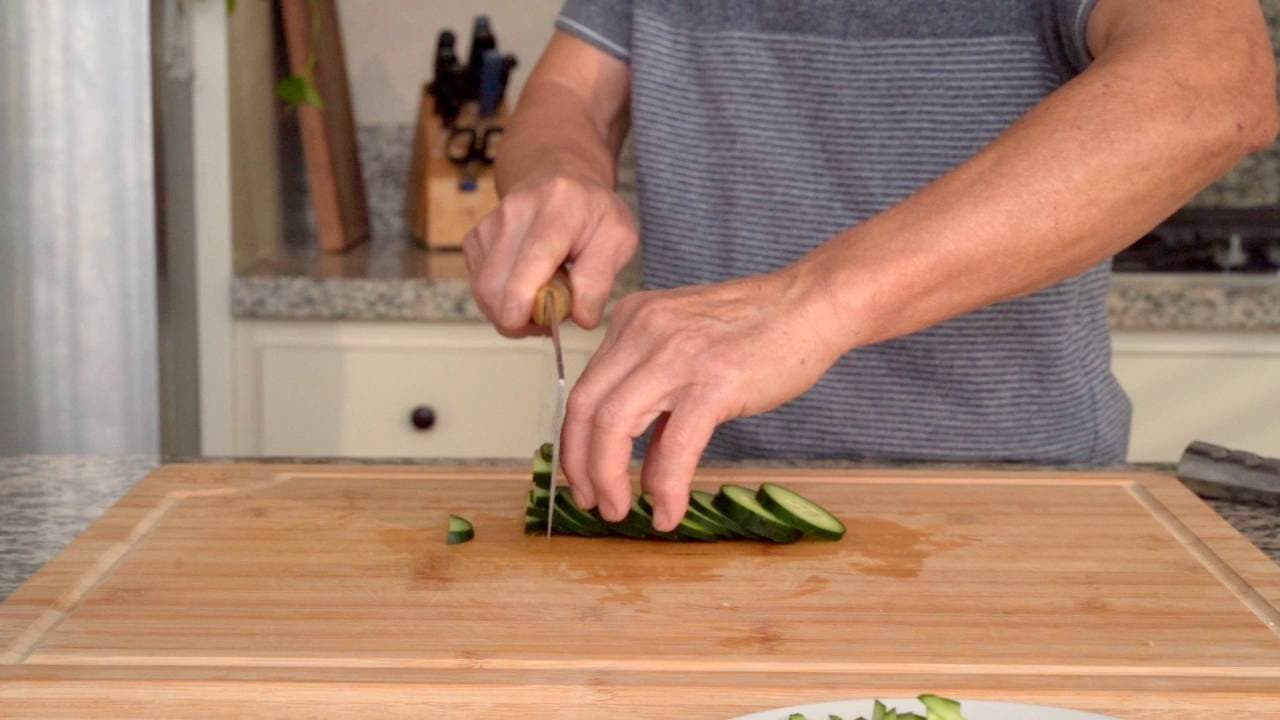
Cut the chives into 3/4 inch-long pieces.
Crack the eggs into a large bowl.
(Chef's Tip: To ensure that he's using the freshest eggs, Daddy Lau cracks each egg individually into a small bowl. If the yolk is intact, it means the egg is fresh, then he'll transfer it into the large bowl.)
To the bowl of eggs, add the white pepper (¼ teaspoon), rice wine vinegar (1 teaspoon), salt (1 teaspoon) and sugar (1 teaspoon).
In a separate small bowl, combine the potato starch (1 teaspoon) and water (2 teaspoon) and mix.
Once the potato starch has thoroughly dissolved, pour the slurry into bowl of eggs.
Using a pair of chopsticks, beat the eggs until bubbles form, then set aside.
Heat a flat-bottomed wok or frying pan on high heat.
Once the wok starts to smoke, reduce heat to low. Add the oil (1 teaspoon) and swirl it across the bottom of the wok.
Add the chives and gently stir them around. Increase the heat to medium and stir fry until fragrant, about 1 minute.
Transfer the cooked chives to the bowl of beaten eggs and gently mix them in.
Wipe the bottom of the wok clean with a paper towel, removing any stuck-on bits. Bring wok up to temperature again on high heat. Once it starts to smoke, add more oil (2 tablespoon).
Beat the egg mixture one more time, then pour it into the wok. Gently stir with chopsticks for about 15 seconds or until the bottom has set.
Use a spatula to gently flip the egg over and cook for another 40 seconds.
Pour some additional oil (½ tablespoon) around the edge of the wok and stir for another 10 seconds, then turn off the heat.
To prevent the eggs from overcooking in a hot wok, immediately transfer them to a plate and serve.
Top 3 Mistakes
- Using too much heat on eggs:
Follow the recipe’s heat changes instead of leaving the burner high throughout. Eggs cook quickly, and controlling the heat helps preserve the soft texture rather than drying them out.
- Leaving bits in the wok:
Wipe away stuck-on bits after cooking the chives, then reheat the wok and add fresh oil. A clean cooking surface helps the egg mixture cook without catching on those leftover pieces.
- Skipping the starch slurry:
Dissolve the potato starch in water separately before adding it to the eggs. Mixing the slurry first keeps dry starch from clumping when you beat the egg mixture for cooking.
Frequently Asked Questions
What's the secret to making fluffy eggs?
It's all in the mixing! Beating the eggs until they're bubbling, then adding a bit of vinegar or oil and sugar helps create beautifully fluffy eggs.
Why are some chives so tough?
Older, mature chives and ones that are not in season are tougher in texture. Chives are in season right before summer so that's when they're most tender.
Pairs well with
View all →
Made with love ❤️
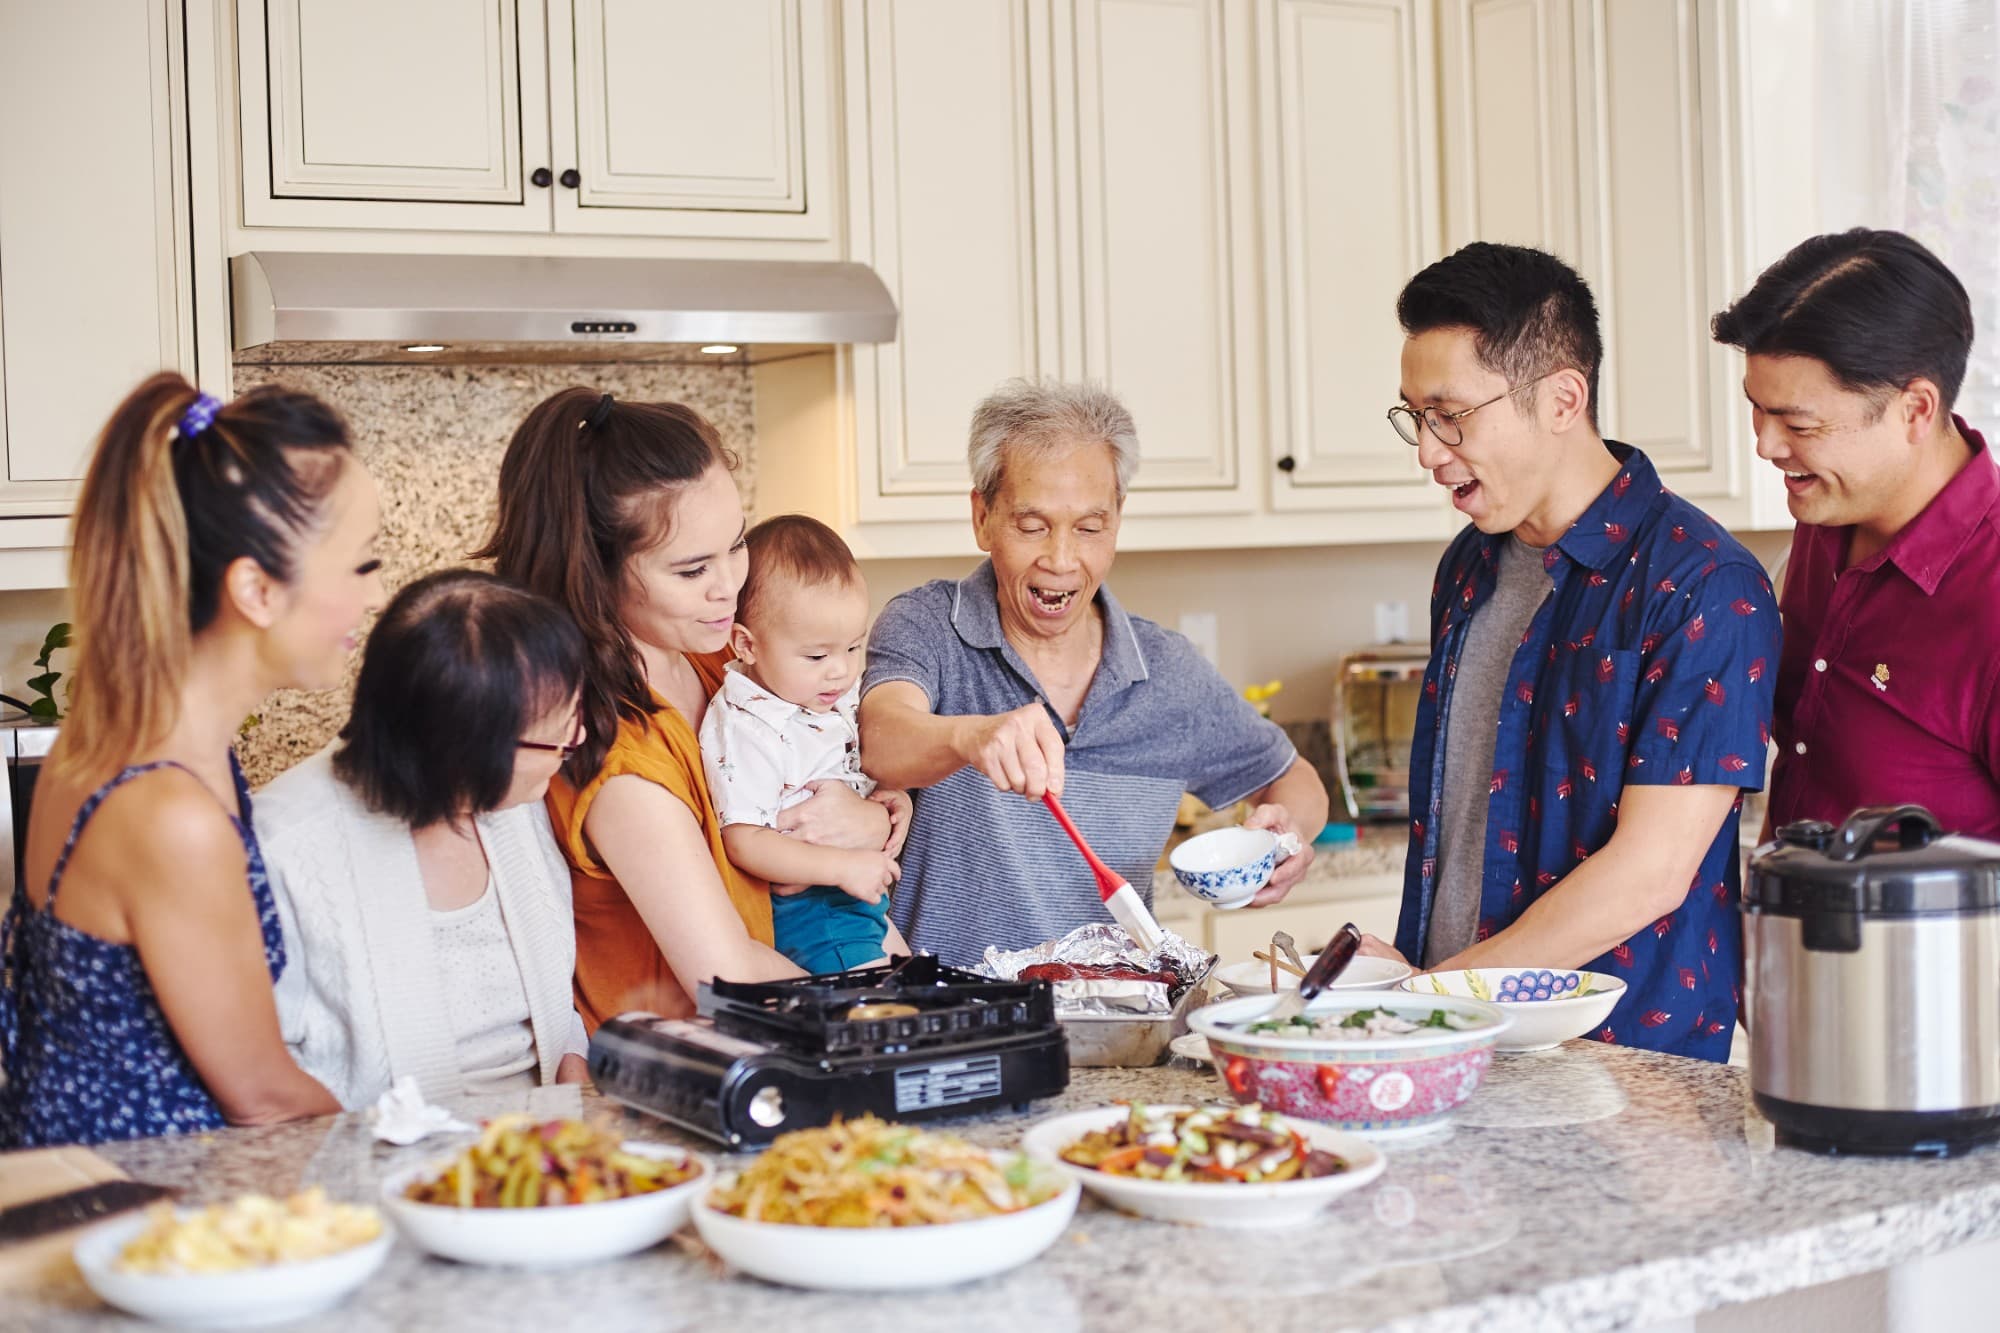
We started Made With Lau to celebrate Cantonese culture and honor the legacy of our wonderful parents, Jenny and Chung Sun Lau.
Our hope is that these recipes and stories help you spread the joy, love, and nostalgia that I felt growing up.