The Salt and Pepper Squid My Dad's Made 100,000 Times

Why this recipe

Most salt and pepper squid recipes online are tested only a handful of times. My dad used to make this dish multiple times a day, every day, for 60+ years and can make this in his sleep.
I know you'll love it as much as our community does! This recipe has over 696.9K views, 9.4K likes on YouTube.
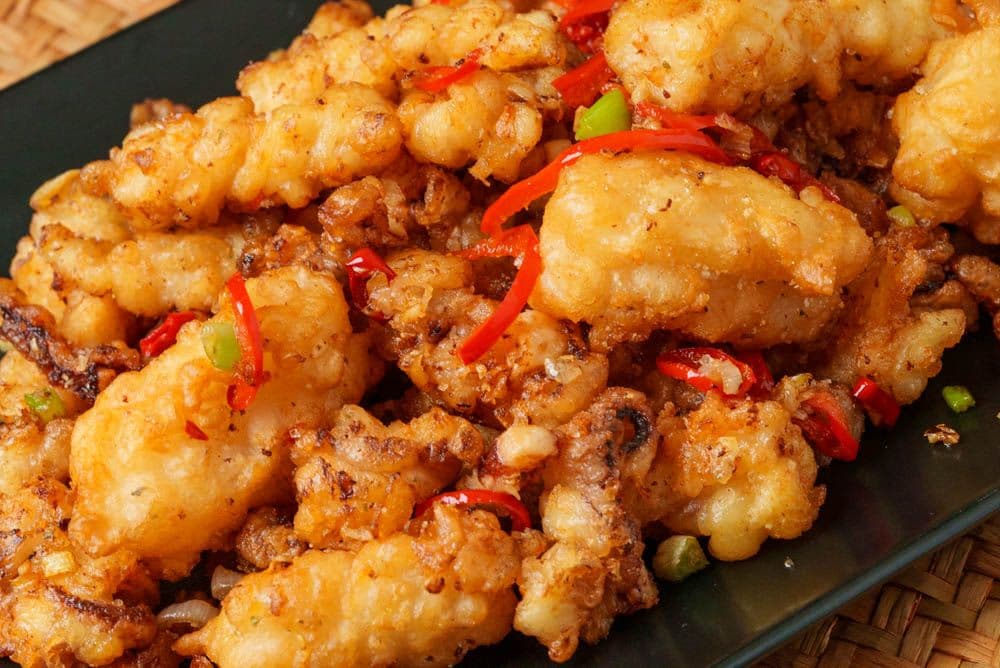
Salt and Pepper Squid is an iconic Cantonese dish, one you can find on menus of Chinese restaurants everywhere. There's so much to love about it, from the crispy, yet tender texture of the squid to the aromatic, slightly spicy kick you get from the classic salt and pepper seasoning.
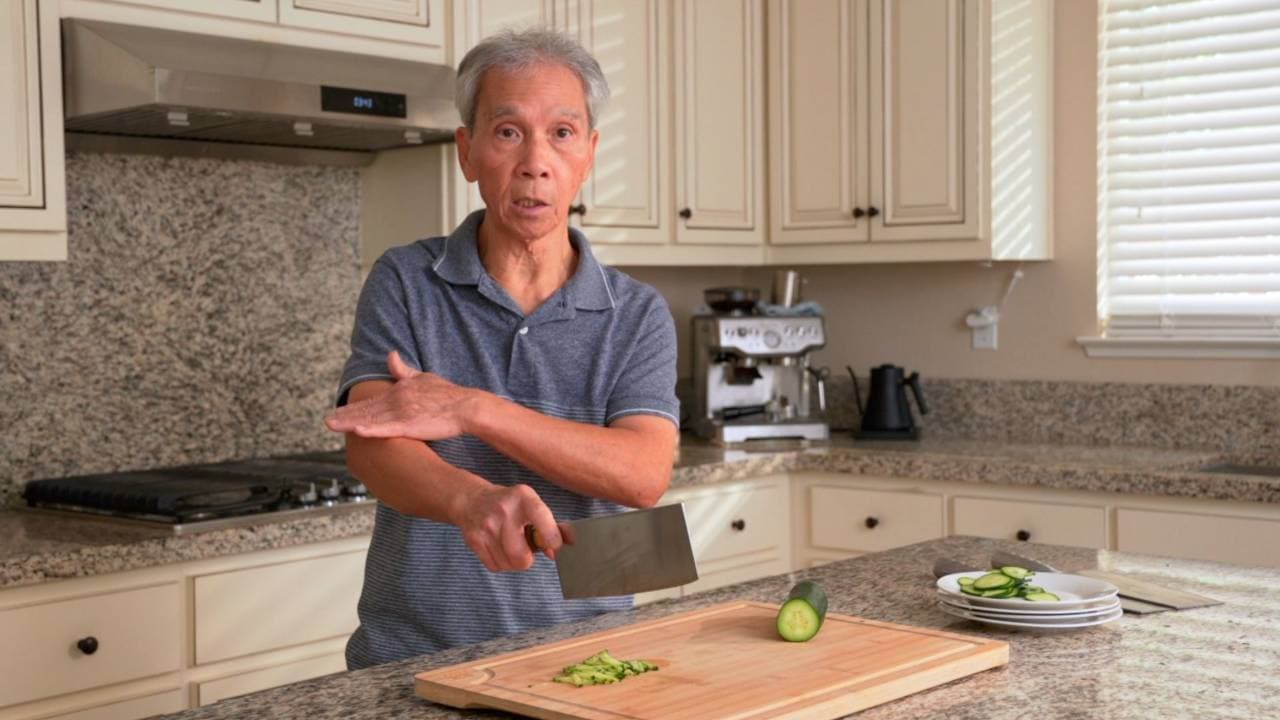
My dad will share his version of the dish and reveal his tricks for prepping the squid so it doesn't get tough and rubbery.
This isn't the first salt and pepper preparation we've had on Made With Lau! My dad previously shared his recipe for irresistible Salt and Pepper Tofu, which is a great vegetarian option and shows just how versatile the seasoning is.
A expert Chinese chef's tip for the crispiest salt and pepper squid
While many fried squid recipes call for a dry batter, my dad prefers a wet one which, in his expert opinion, not only yields a nicer crust, but also seals in miosture so the squid stays tender and juicy.
Ingredients

Instructions
Clean squid
Pull the head of the squid (1 lb) out, separating it along with the tentacles from the body. Cut open body lengthwise and remove the innards, cleaning out the inside as much as possible. Remove the interior “bone.” Place the body in a bowl of cold water and rinse. Pull out any stringy tendons that remain.
Separate the fin from the body, using a knife if needed to make a cut. Next, peel the outer skin off from the body. You can find it by checking one of the corners, then firmly, but gently, gripping and pulling. Remove from the bowl and pour out the dirty water. Refill with clean water and place the body piece back in.
Do the same for the fin and place into the bowl of water with the body.
Separate the tentacles from head. Cut off the area just above the eyes and discard the head. Remove the eyes and also discard. Place the tentacles in the bowl and wash.

Cut squid
Set the cleaned body and fin onto a cutting board. With a cleaver or knife, scrape any remaining debris off both sides.
Place the stomach side of the body facing up and cut it in half lengthwise. Hold your knife at a 45-degree angle and gently score the inside of the body pieces diagonally at about every 1/4 to 1/2 inch. Be careful not to cut all the way through. This scoring helps keep the squid tender.
Rotate the piece 90 degrees and score down the whole length again, creating a cross-hatch pattern.
Cut into long triangular pieces, roughly 1 inch wide. This will create the beautiful curls that salt and pepper squid is known for. The shape doesn't need to match exactly, but they all should be similarly sized.
Repeat with the remaining body piece, followed by the fin. Then, cut the tentacles into 1- to 2-inch long pieces. Butterfly the thicker sections of tentacles lengthwise.
Finally, cut the remaining thick “head” into small, thinner pieces, removing any hard pieces such as the beak. Cut into thin strips that are roughly the same size as the tentacles.
Rinse the cut pieces again with fresh water and drain.
Marinate squid
Pat the squid pieces dry using paper towels. My dad's preferred method is to place them between two sheets, which he then rolls so as much of the moisture can be absorbed as possible. Once dried, place in a large bowl.
Add the white pepper (0.25 teaspoon), cooking wine (1 tablespoon) and egg yolk (1 large) to squid and mix to thoroughly coat, preferably by hand. Next, add the potato starch (1 tablespoon) and mix again.
If using precooked, frozen squid, defrost completely and dry with a paper towel. There's no need to marinate.
Prep aromatics & vegetables
Cut the red bell pepper in 1/4-inch thick strips. Dice the Thai bird's eye chili (2 small).
Peel the garlic (3 clove) and trim off the root end. Smash and mince the garlic, chopping at different angles to get a finer mince.
Dice just the white parts of the green onion (3 piece).
Prep frying batter
In a bowl, combine the all-purpose flour (4 tablespoon) and potato starch (2 tablespoon).
Add the water (4 tablespoon) in slowly, giving the batter a mix every now and then until the consistency resembles gummy mashed potatoes. The batter is on the thicker side since the squid already contains a lot of moisture.
Add the baking powder (1 teaspoon) and salt (0.50 teaspoon), then stir to thoroughly combine. Finally, add the oil (1 teaspoon) and mix.
Prep seasoning
In a small bowl, combine the garlic salt (2 teaspoon) and white pepper (0.25 teaspoon) and thoroughly mix.
Fry squid
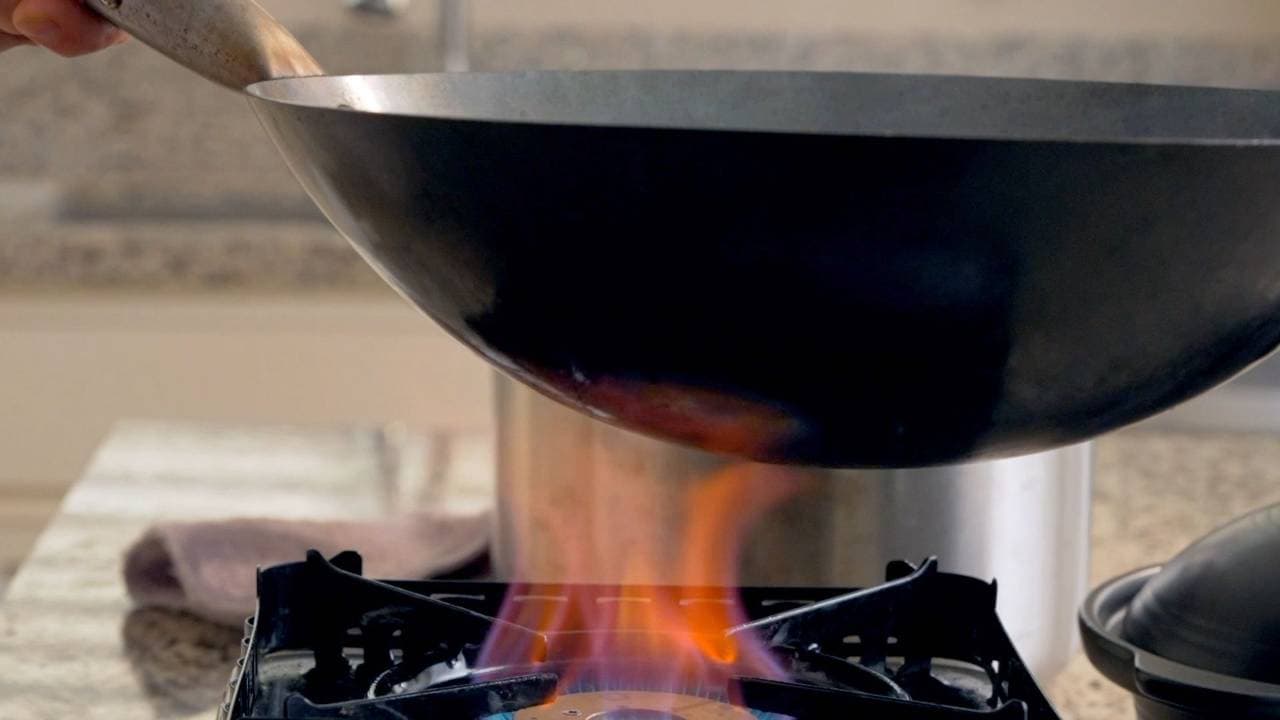
Heat the oil (2 cups) in a wok to 350°F over high heat. Once the heat reaches temperature, lower the heat.
Chef's Tip: If you don't have a thermometer, you can use my dad's chopstick trick. Place a wooden chopstick into the oil once it's been heating up for a few minutes. If it starts to bubble, then the oil is ready for frying
For fresh marinated squid
Once the oil is almost ready, add the batter to marinated squid and coat thoroughly by hand. Doing this step right before frying ensures that the batter will better stick to the squid.
When oil is at 350°F, slowly add in pieces of squid a few at a time without crowding the wok. Fry in batches if needed (we did it in two), making sure to bring the oil back up to 350°F. Daddy Lau uses his hands to add the squid in because it's more precise, but drops them in right near the surface of the oil to prevent any splashing. Cook until squid curls and turns golden brown, about 2.5 to 3 minutes while stirring occassionally, then remove from the oil.
Once all the squid has been fried once, heat oil to 380°F. Place the first batch of fried squid back in and cook for 30 to 4o seconds. Remove, then repeat with the second batch.
Set aside 1 tablespoon of the frying oil for later.
For frozen pre-cooked squid
Squeeze out any remaining water from the thawed squid. Place into the batter and coat thoroughly.
When oil is at 350°F, add squid in a few pieces at a time. Cook for 30 to 40 seconds (we don't need to fry for as long since the squid is already cooked), then remove from oil.
Heat oil to 380°F.
Fry squid again, cooking for 20 to 30 seconds, then remove from oil. Set aside 1 tablespoon of the frying oil for later.
Stir-fry dish
Heat a new wok on high. You can also use the same one as before as long as it's been cleaned.
When the wok is hot, add the reserved 1 tablespoon of oil (you can also use new oil) and lower the heat.
Add garlic and stir fry til aromatic, about 20 to 30 seconds.
Add red chilis and stir fry for 10 to 20 seconds.
Add green onions and cook about 10 to 20 seconds.
Add the red bell pepper and cook about 10 to 20 seconds.
Finally, add the squid and stir fry about 40 to 50 seconds more.
Swirl 1 tsp of cooking wine into wok and mix, about 15-20 seconds
Sprinkle in the salt and pepper seasoning a bit at a time while tossing the squid, about 30 to 40 seconds. There's no need to use all seasoning—you can serve the dish with extra seasoning so each person can add more if preferred.
Taste test, plate, and serve!

Pairs well with
View all →Made with love ❤️

We started Made With Lau to celebrate Cantonese culture and honor the legacy of our wonderful parents, Jenny and Chung Sun Lau.
Our hope is that these recipes and stories help you spread the joy, love, and nostalgia that I felt growing up.