The Egg Rolls My Dad's Made 100,000 Times

Why this recipe
Most egg rolls recipes online are tested only a handful of times. My dad used to make this dish multiple times a day, every day, for 60+ years and can make this in his sleep.
I know you'll love it as much as our community does! This recipe has over 2.2M views, 31.8K likes on YouTube.
Egg Rolls vs Spring Rolls
In the US, the terms egg roll and spring roll are basically used interchangeably, but they’re actually different. The Cantonese name of what we're making is 春捲 ceon1 gyun2, meaning spring rolls, so technically... calling these spring rolls would be more accurate.
But one advantage to calling these deep-fried treats by the name "egg roll" is that we can more easily differentiate from the Vietnamese-style cold appetizer "spring rolls" or "summer rolls", which are the vegetables, herbs, noodles, and shrimp rolled in a rice paper wrap.
The disadvantage to using the name "egg roll" for these 春捲 ceon1 gyun2 is that there's a similar deep-fried appetizer with a thicker, doughier, chewier wrapper that is called egg rolls.
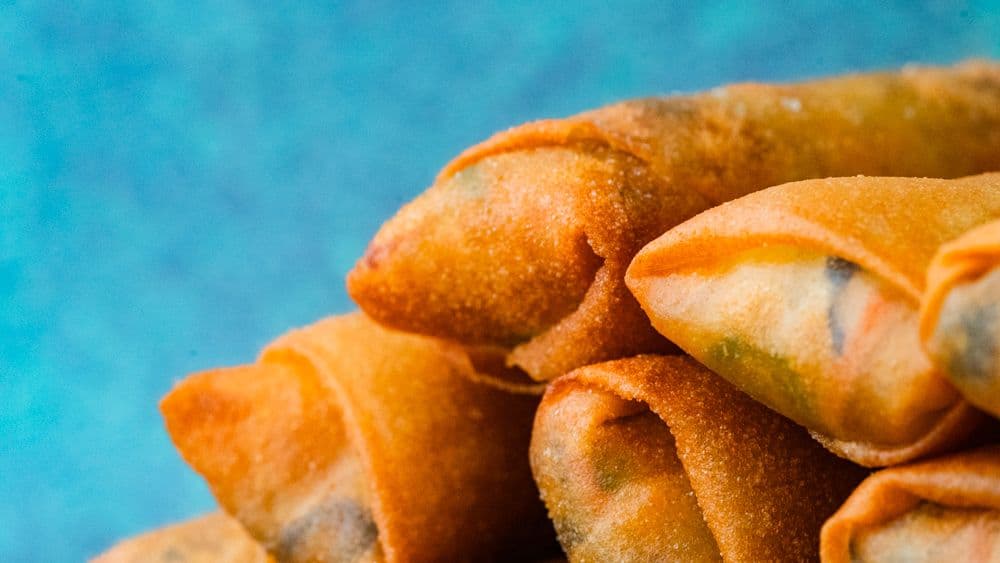
There are versions of this deep-fried treat all over the world; lumpia is another world favorite. With this savory recipe, we’re making the smaller, traditional Cantonese-style roll with thin, crispy skin, so we should call this a spring roll.
Thank you, Kikkoman!
This recipe is brought to you in part by Kikkoman. My dad has been using Kikkoman flavors throughout his 50-year career as a chef, and it's a privilege to get to partner with them on such an iconic recipe, Egg Rolls!
- Kikkoman products are a major flavor enhancer and bring out the “umami” taste, and helps balance and round out flavors
- Kikkoman® Less Sodium Soy Sauce is perfect for home cooks who are looking to cut down on their sodium levels, without sacrificing flavor
- Kikkoman offers wide range of Gluten-Free Asian sauces, including Gluten-Free Oyster Sauce and Gluten-Free Hoisin Sauce
- The KikkomanUSA.com Chinese site offers easy Asian recipes that home cooks can enjoy any night of the week
You can learn more about Kikkoman and follow them on social media here:
- Website: https://www.KikkomanUSA.com
- Facebook: https://www.facebook.com/KikkomanChineseUSA (Kikkoman 萬字在美)
- Instagram: https://www.instagram.com/kikkomanusa_chinese/ (Kikkoman 萬字在美)
Ingredients

Instructions
Prepare dried ingredients
We'll be using a bunch of dried ingredients, so we'll start by rehydrating them all separately.
Soak the vermicelli noodles (2 oz) in warm water to rehydrate. It shouldn't take more than 10 minutes for them to become pliable.
Soak the dried shiitake mushrooms (0.50 oz) in hot water for 10-15 minutes.
Similarly, soak the cloud ear fungus (0.25 oz) in hot water for 10-15 minutes. If you've managed to find fresh ones, skip the rehydrating step.

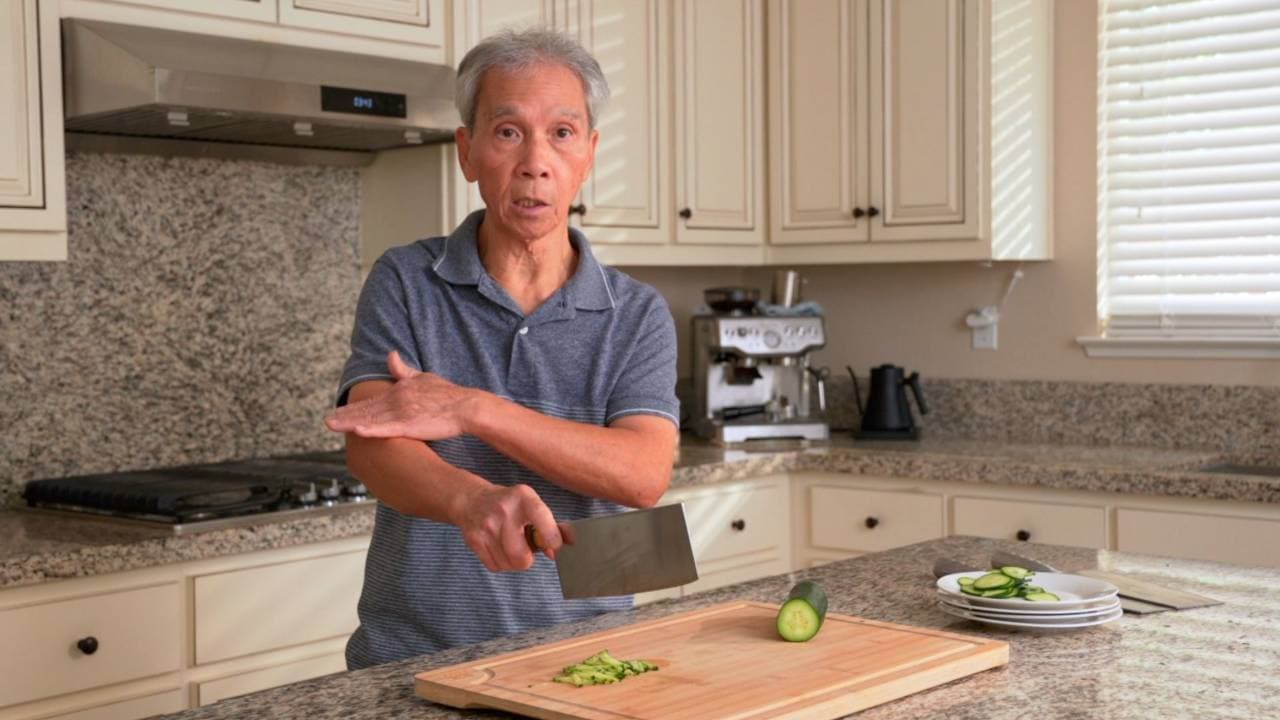
Cut ingredients
First, prepare the cabbage (8 oz). Cut away and discard the hard stalk in the center, where it's very thick and dense. Stack the leaves and chop into very thin strips.
Cut the rehydrated cloud ear fungus and shiitake mushrooms into very thin strips as well.
Cut the celery (4 oz) into 2-inch segments first, then into thin strips.
Chop the snow peas (1 oz) into thin strips.
Stabilize the carrot (3 oz) for a safer cutting experience by slicing off one side and creating a flat surface for it to lay on. If the carrot is long, cut it into 2-inch segments. Then, cut into thin slices, and then into thin strips.
Smash, peel, and roughly mince the garlic (3 clove).
If you're noticing a pattern here, yes, all of the filling ingredients are going to be very thin strips, like tiny noodles. The finer you slice them, the more flexible they'll be, which will make wrapping them easier. If they're on the thicker side, then they'll be a little pokier.
Don't worry if your strips are not super thin, though, because we'll be stir-frying everything, and that'll help soften them up a little.
Create glue
In a small bowl, mix together flour (2 tbsp) and water (2 tbsp). Set it aside for later.
Stir-fry filling
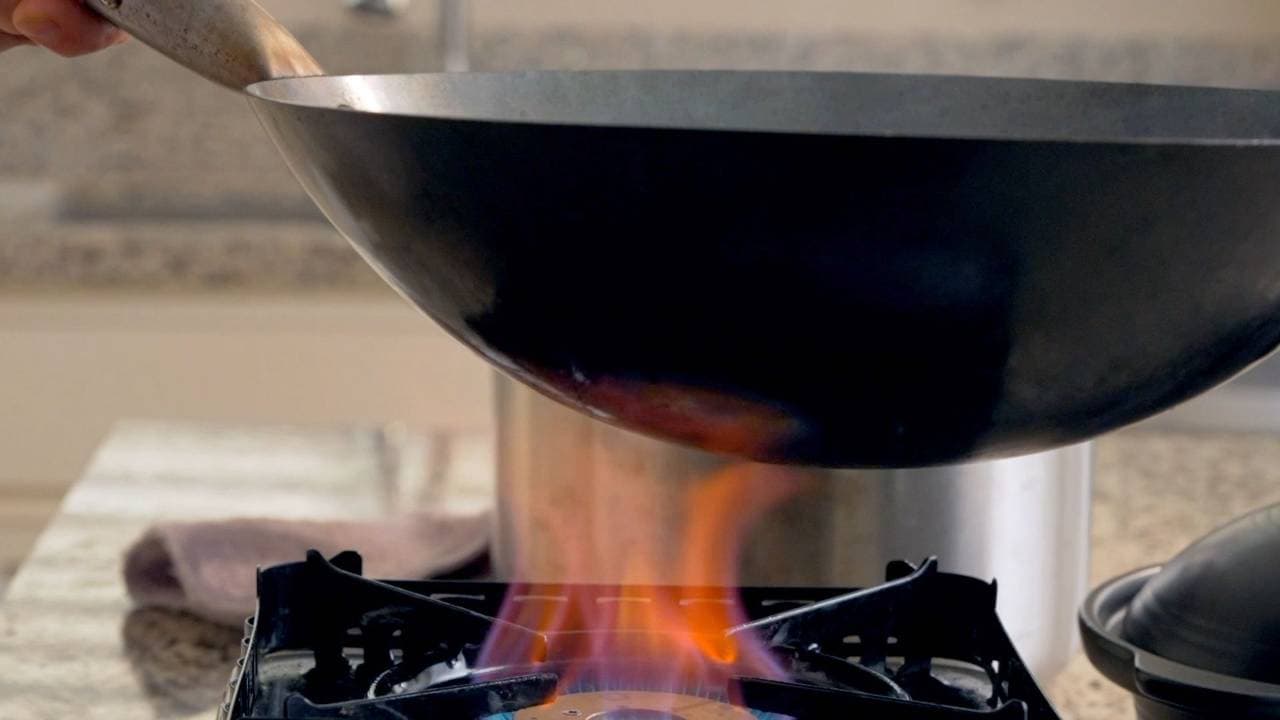
Heat your wok on high heat until it's hot, or about a minute.
Add oil (1 tbsp) and give it a swirl to coat the wok. Let it heat up for 30-40 seconds.
Add garlic, and fry it until it's aromatic.
Add the shiitake mushrooms, and cook for 20-30 seconds.
As you add each additional ingredient, mix them in thoroughly as they cook.
Add the celery and the cabbage. Cook for 30 seconds.
Add the carrot and cloud ear fungus. Cook for 30-40 seconds.
Use scissors or kitchen shears to cut the vermicelli a few times. The shorter segments will be easier to cook, combine, and wrap later. We'll add them at the end.
Season the filling with salt (1 tsp), sugar (1 tsp), white pepper (0.25 tsp), and oyster sauce (1 tbsp). We used the vegetarian version because we happened to have it at home, but you can use regular oyster sauce instead.
Mix the seasoning in well to distribute, and then add the snow peas.
Finally, push all the ingredients to the sides of the wok to make a small hole in the center. Add the cut-up vermicelli to that hole. All the juices and moisture that the vegetables have released will flow down to the center, and the vermicelli will (very helpfully and deliciously!) soak it all up. Mix the vermicelli in the center to give it a good head start on soaking up the moisture, and then mix it in with the rest of the filling.
Add sesame oil (1 tbsp) and stir-fry for another 30-40 seconds, making sure everything is well-combined.
Turn off the heat and plate the filling to help it cool down for the wrapping step.
Wrap rolls
The wrappers are usually slightly stuck together. You'll want to peel each individual wrapper off and create a loose stack. Do this for the number of egg rolls you're making. Quickly put the rest back in the packaging so they don't dry out.
You also don't want the ones you're using for this session to dry out, so gently put your stack of wrappers in a plastic bag or container. Take one wrapper out when you're ready to wrap it, and leave the rest covered.
Lay the wrapper with a corner pointing at you, like a diamond. Put 2 tbsp of filling in the wrapper, between the middle and the corner that's pointing to you. (After wrapping a few, you'll find a sweet spot. Just like pancakes, the first one is always the ugliest!)
From here, the process is pretty similar to wrapping a tiny burrito.
Bring the wrapper corner that's closest to you and wrap it up and over the mound of filling, then tuck the tip under and firmly pull the covered section back towards yourself to tighten. Keep enough pressure on it to press out air pockets and keep the filling together, but be gentle as to not rip the wrapper.
Keep the pressure pushing on the filling as you roll towards the middle. Be sure not to let the filling spread out too far horizontally, or your roll will be long and thin like a pencil.
At the halfway point, make a crease where the filling ends on the left, and fold that side of the wrapper up and over. Do the same crease and fold with the right.
Dab some of the flour-and-water glue on the top corner of the wrapper. As always, keep firm pressure on the roll as you roll it up to the end. The glue will seal the end of the roll.
Repeat with the rest of the filling and wrappers until all your egg rolls have been wrapped up.
(Stack the completed rolls with the sealed corner down, so that gravity can help keep them tightly sealed.)
Deep-fry rolls
Heat oil (16 oz) in a deep pot over high heat. Let the oil reach 330°F (165°C), then turn the heat to low.
Add the egg rolls in batches of 6 as to not overcrowd the pot. As they cook, move them around and flip them so they fry evenly.
Fry on low heat for about a minute and a half, then turn the heat to high.
Similar to the double-fry method when we make Orange Chicken and Salt & Pepper Pork, the first stage of cooking at lower heat does more to cook the entire piece through, while the second stage of cooking at higher heat is meant to make the exterior crispy and crunchy. This time, though, there's no need to pull the food out and put it back in; we'll just up the heat while everything is in the pot.
Fry at high heat for a minute and a half, until they're golden brown and crispy. Remove the cooked egg rolls from the oil. My dad likes to use a spider strainer and let the excess oil drip back into the pot for a few seconds.
The residual heat from the oil will continue to cook the wrapper, so expect the golden brown to deepen a tad even after pulling them out of the pot.
Plate the cooked egg rolls. Remember to lower the heat when you start the next batch.
Enjoy quickly for maximum crunch! (but also, super freshly fried food is maximum yeet hay, so do let them cool down for a bit before serving.)

Pairs well with
View all →Made with love ❤️

We started Made With Lau to celebrate Cantonese culture and honor the legacy of our wonderful parents, Jenny and Chung Sun Lau.
Our hope is that these recipes and stories help you spread the joy, love, and nostalgia that I felt growing up.