Beef Fried Rice

One of the most underrated fried rice dishes out there!

Cooking Summary
Ingredients: (detailed list)
- Main Ingredients: white rice, water, beef, ginger, green onion, eggs
- Beef Marinade: oyster sauce, light soy sauce, white pepper, cooking wine, cornstarch, water
- Fried Rice Seasoning: white pepper, salt, light soy sauce, dark soy sauce, sesame oil
Jump To Section
Top 3 Mistakes
- Slicing meat with the grain:
Cut across the visible muscle fibers rather than along them. Following the recipe’s slicing direction makes the pieces easier to chew and helps keep the finished meat tender.
- Leaving ingredients too wet:
Drain and dry the ingredients as directed before they reach the pan. Extra water changes how they cook, making it harder to get the browning and texture the recipe calls for.
- Burning the garlic early:
Watch the aromatics closely once they hit the hot oil. Follow the recipe’s heat and timing, moving on when they become fragrant rather than letting them turn dark and bitter.
Overview
My dad’s Beef Fried Rice is simple to make and packed with flavor and textures in every bite: from the seasoned rice, the marinated beef, to the pillowy eggs.
Fried rice can sometimes be intimidating as it can be a technical dish, but my dad’s recipe is foolproof for home cooks, battle-tested after serving hundreds of thousands of fried rice dishes in Chinese restaurants.
For some other fried rice ideas.. try our Egg Fried Rice or Ginger Fried Rice!
Thank you, Kikkoman!
This recipe is brought to you in part by Kikkoman. My dad has been using Kikkoman flavors throughout his 50-year career as a chef, and it's a privilege to get to partner with them on such an iconic recipe, Beef Chow Fun with Gravy!
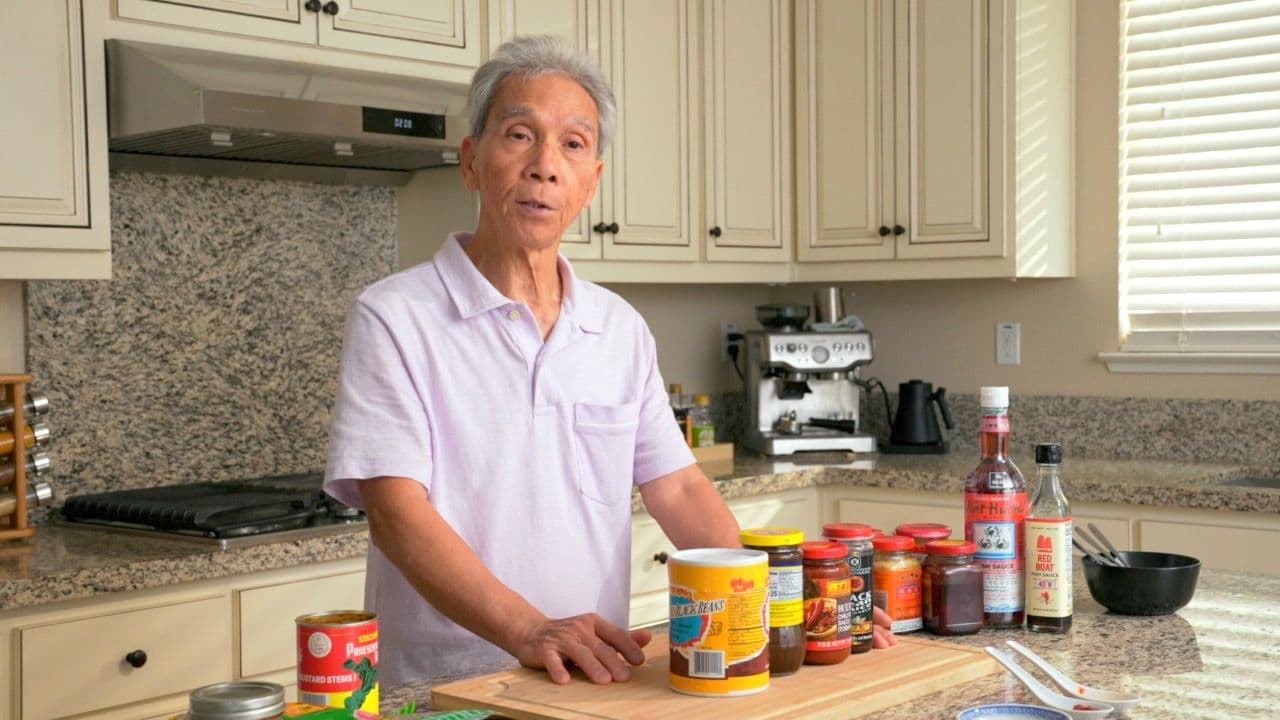
- Kikkoman products are a major flavor enhancer and bring out the “umami” taste, and help balance and round out flavors
- Kikkoman® Less Sodium Soy Sauce is perfect for home cooks who are looking to cut down on their sodium levels, without sacrificing flavor
- Kikkoman offers a wide range of Gluten-Free Asian sauces, including Gluten-Free Oyster Sauce and Gluten-Free Hoisin Sauce
- The KikkomanUSA.com Chinese site offers easy Asian recipes that home cooks can enjoy any night of the week
You can learn more about Kikkoman and follow them on social media here:
- Website: https://www.KikkomanUSA.com
- Facebook: https://www.facebook.com/KikkomanChineseUSA (Kikkoman 萬字在美)
- Instagram: https://www.instagram.com/kikkomanusa_chinese/ (Kikkoman 萬字在美)
Ingredients
Why this recipe
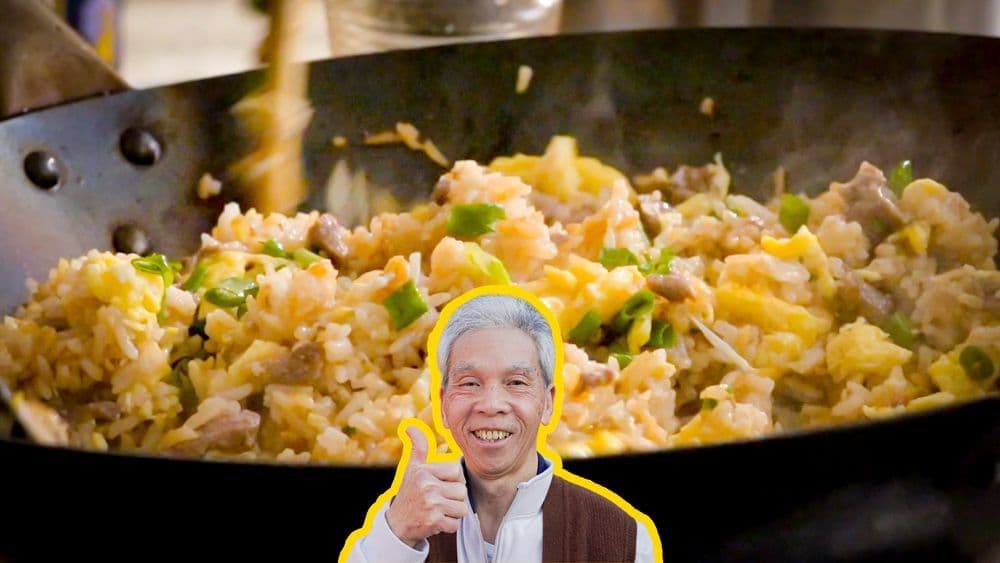
Most beef fried rice recipes online are tested only a handful of times. My dad used to make this dish multiple times a day, every day, for 60+ years and can make this in his sleep.
I know you'll love it as much as our community does! This recipe has over 117.2K views, 3.2K likes on YouTube.
How to make Beef Fried Rice
If you’re using fresh rice (16 ounce), wash and cook the rice in a rice cooker. Use a smidge less water than usual; drier rice is easier to fry.
If you’re using leftover rice, microwave it for about 60-90 seconds until warm, and break apart the clumps prior to cooking.
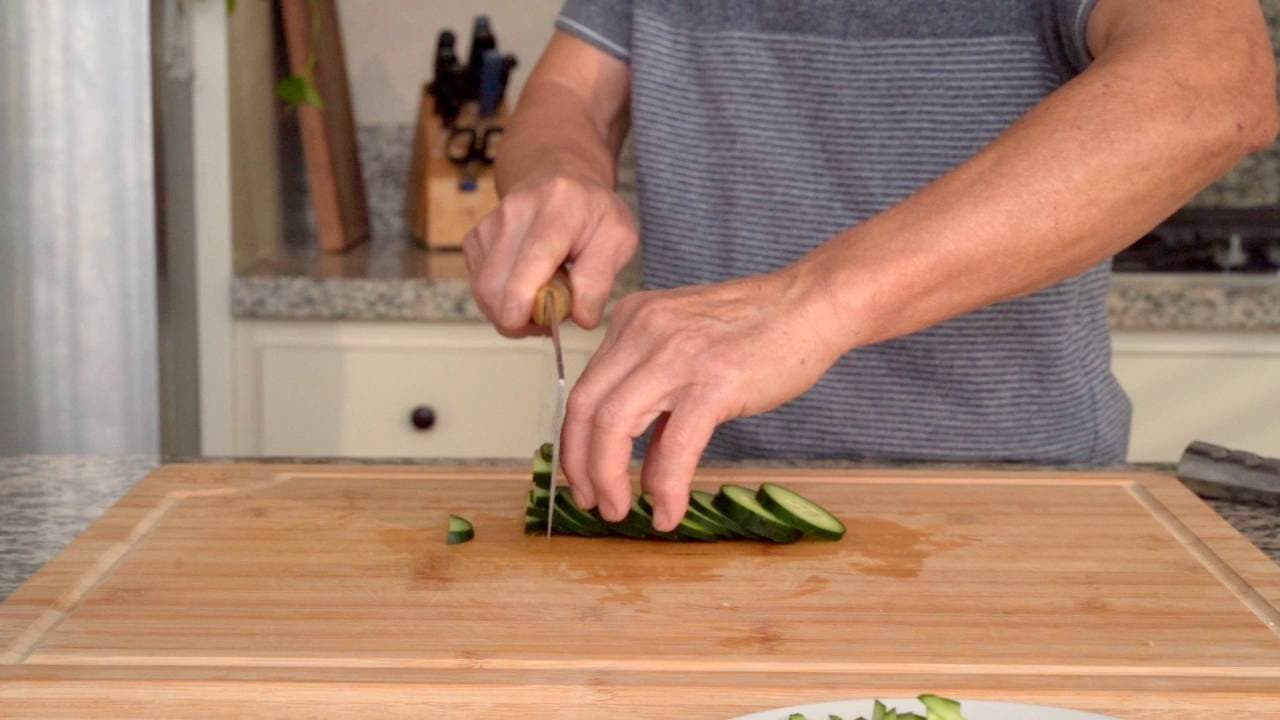
Cut the ginger (1 ounce) into thin slices, then julienne into thin strips. Set aside.
Dice the green onion (2 piece) into small pieces. Set aside, separate from the julienned ginger.
Crack the eggs into a bowl. Don’t beat them yet.
Cut the beef (8 ounce) into small slices against the grain. If you can see that you’ll end up with very long slices, then you can divide the beef into more manageable chunks before slicing.
Rinse beef with cold water. You’ll see a lot of redness wash out; getting rid of that extra myoglobin helps maintain a fresh flavor with minimal gaminess. Drain the liquid and squeeze out excess water.
Measure out the beef marinade of oyster sauce (1 tablespoon), light soy sauce (1 teaspoon), white pepper (0.25 teaspoon), cooking wine (1 teaspoon), cornstarch (1 teaspoon), and water (1 tablespoon), either into a separate bowl or on the side of the bowl where you put your beef. Mix the marinade until well-combined, then mix it into the beef.
When the rice is done cooking, it’s time to fry!
Heat a wok on high heat.
While waiting, fluff up the freshly cooked rice. Add 1/4 teaspoon salt to eggs and beat well.
Add 1 tbsp of oil to the wok and give it a swirl to coat. Be thorough and get the oil as well-distributed as you can.
Pour the beaten eggs into the wok. Stir constantly as you cook for about 20 seconds on high heat. The eggs should be nearly cooked through but still quite moist; remember, they’ll be going back into the wok later.
Transfer the (nearly) cooked eggs to bowl.
Add another tbsp of oil to the wok, then add beef.
Spread it out so that more beef is touching the wok. Let it cook undisturbed so that the beef can brown, or about 20 seconds. Then, flip the beef over with a spatula to brown the other side. It should take another 20 seconds.
If the beef is not browning to your liking, you can increase the heat. Cook until the beef is about 80% cooked through (mostly cooked through with occasional pink; like the eggs, the beef will return to the wok later on), then transfer it to a bowl.
There should be plenty of residual oil in the wok from cooking the eggs and the beef. Add ginger to the wok, and stir-fry until fragrant, which should take 15-20 seconds.
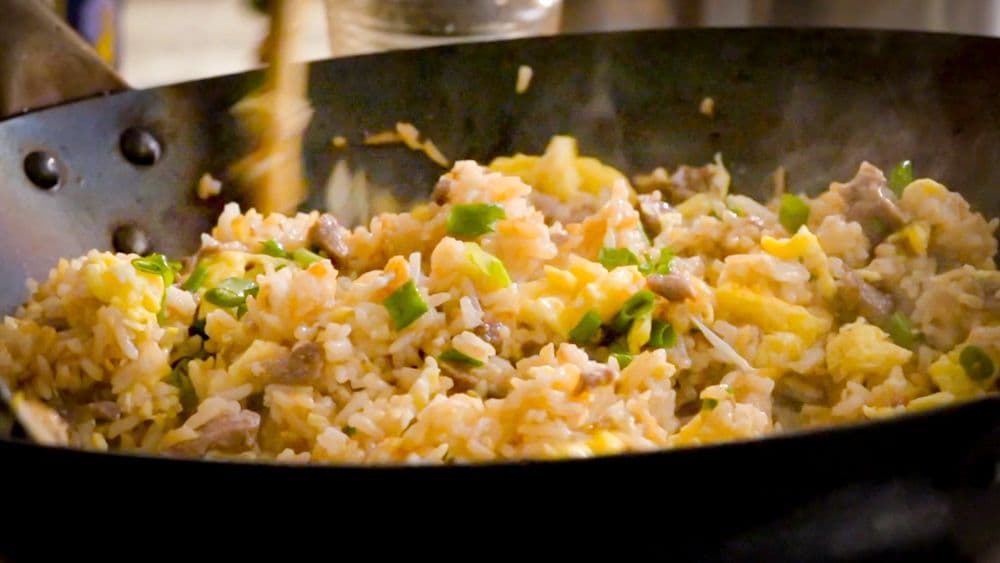
Add the rice to the wok and spread it out. Drizzle some extra oil, a tbsp or so, around the perimeter of the wok to prevent sticking. Lower the heat and let the bottom layer of rice cook without stirring. Letting the rice fry undisturbed will get you that fragrant wok hei, but it’s important to lower the heat so it doesn’t burn.
After giving the rice a chance to fry, or about 30 seconds, start stirring and loosening up the rice. Break it up into individual grains and mix it with the ginger. Cook for about 2 minutes.
As you’re frying the rice, give it several 15-second periods where you’re not disturbing it, so it can develop that aromatic wok hei. You want to hear some crackling sounds coming from the frying rice.
Season with white pepper (1 dash), salt (1 dash), and light soy sauce (2 teaspoon). When you’re adding it to the rice, sprinkle and drizzle the ingredients around to get a head start on even distribution; don’t dump it into one spot.
Drizzle more oil around perimeter of wok if the rice begins to stick, about 1 tsp. Add dark soy sauce (1 teaspoon) for color.
Stir well to distribute all the seasonings, and cook for about a minute.
Add the beef and egg back to the wok. Now that everything is well-cooked and browned and fragrant, you will want to work with faster motions.
Stir-fry all the ingredients together until they’re well-combined, about 30 seconds.
Drizzle sesame oil (1 tablespoon) over top for added aroma.
Add the chopped green onion and mix it in.
Turn off the heat and serve. Enjoy!
Frequently Asked Questions
What is the secret to great fried rice?
The secret to delicious, restaurant-quality fried rice lies both in the rice and the seasoning. My dad's technique of fluffing cooked rice, then flipping and tossing as he stir fries ensures that there's no mushy, clumpy rice. It's also important to season both the eggs and rice to give it great flavor.
How do you prevent rice from clumping?
It's all in the rice-to-water ratio. Don't use too much water since soft rice sticks together, making it difficult to stir fry. For fried rice, my dad uses a 1:1 ratio of water to rice. Also make sure to fluff the rice after it's done cooking.
Pairs well with
View all →
Made with love ❤️
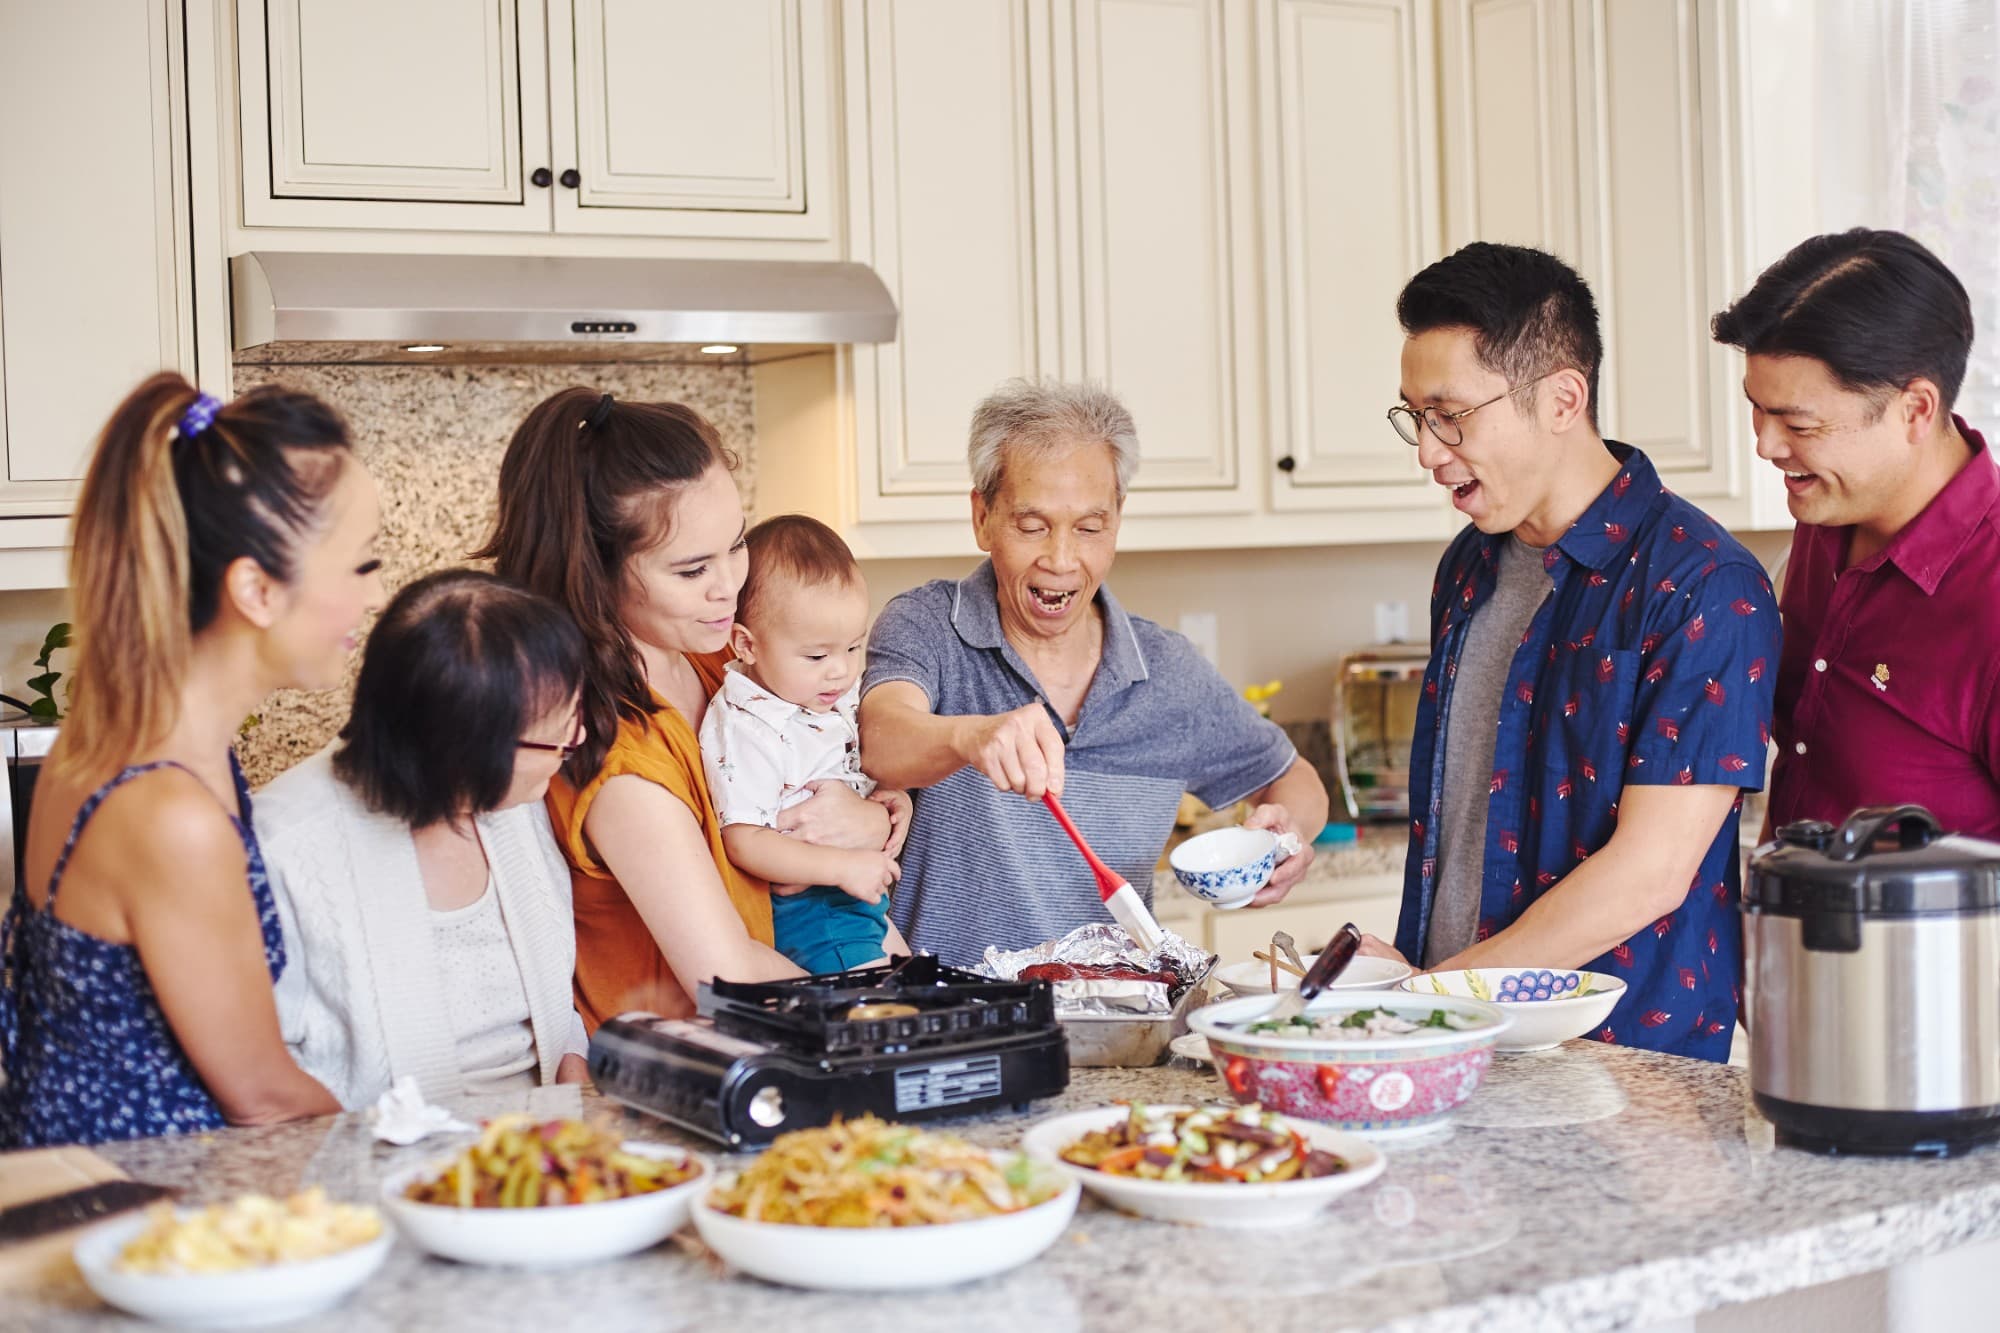
We started Made With Lau to celebrate Cantonese culture and honor the legacy of our wonderful parents, Jenny and Chung Sun Lau.
Our hope is that these recipes and stories help you spread the joy, love, and nostalgia that I felt growing up.