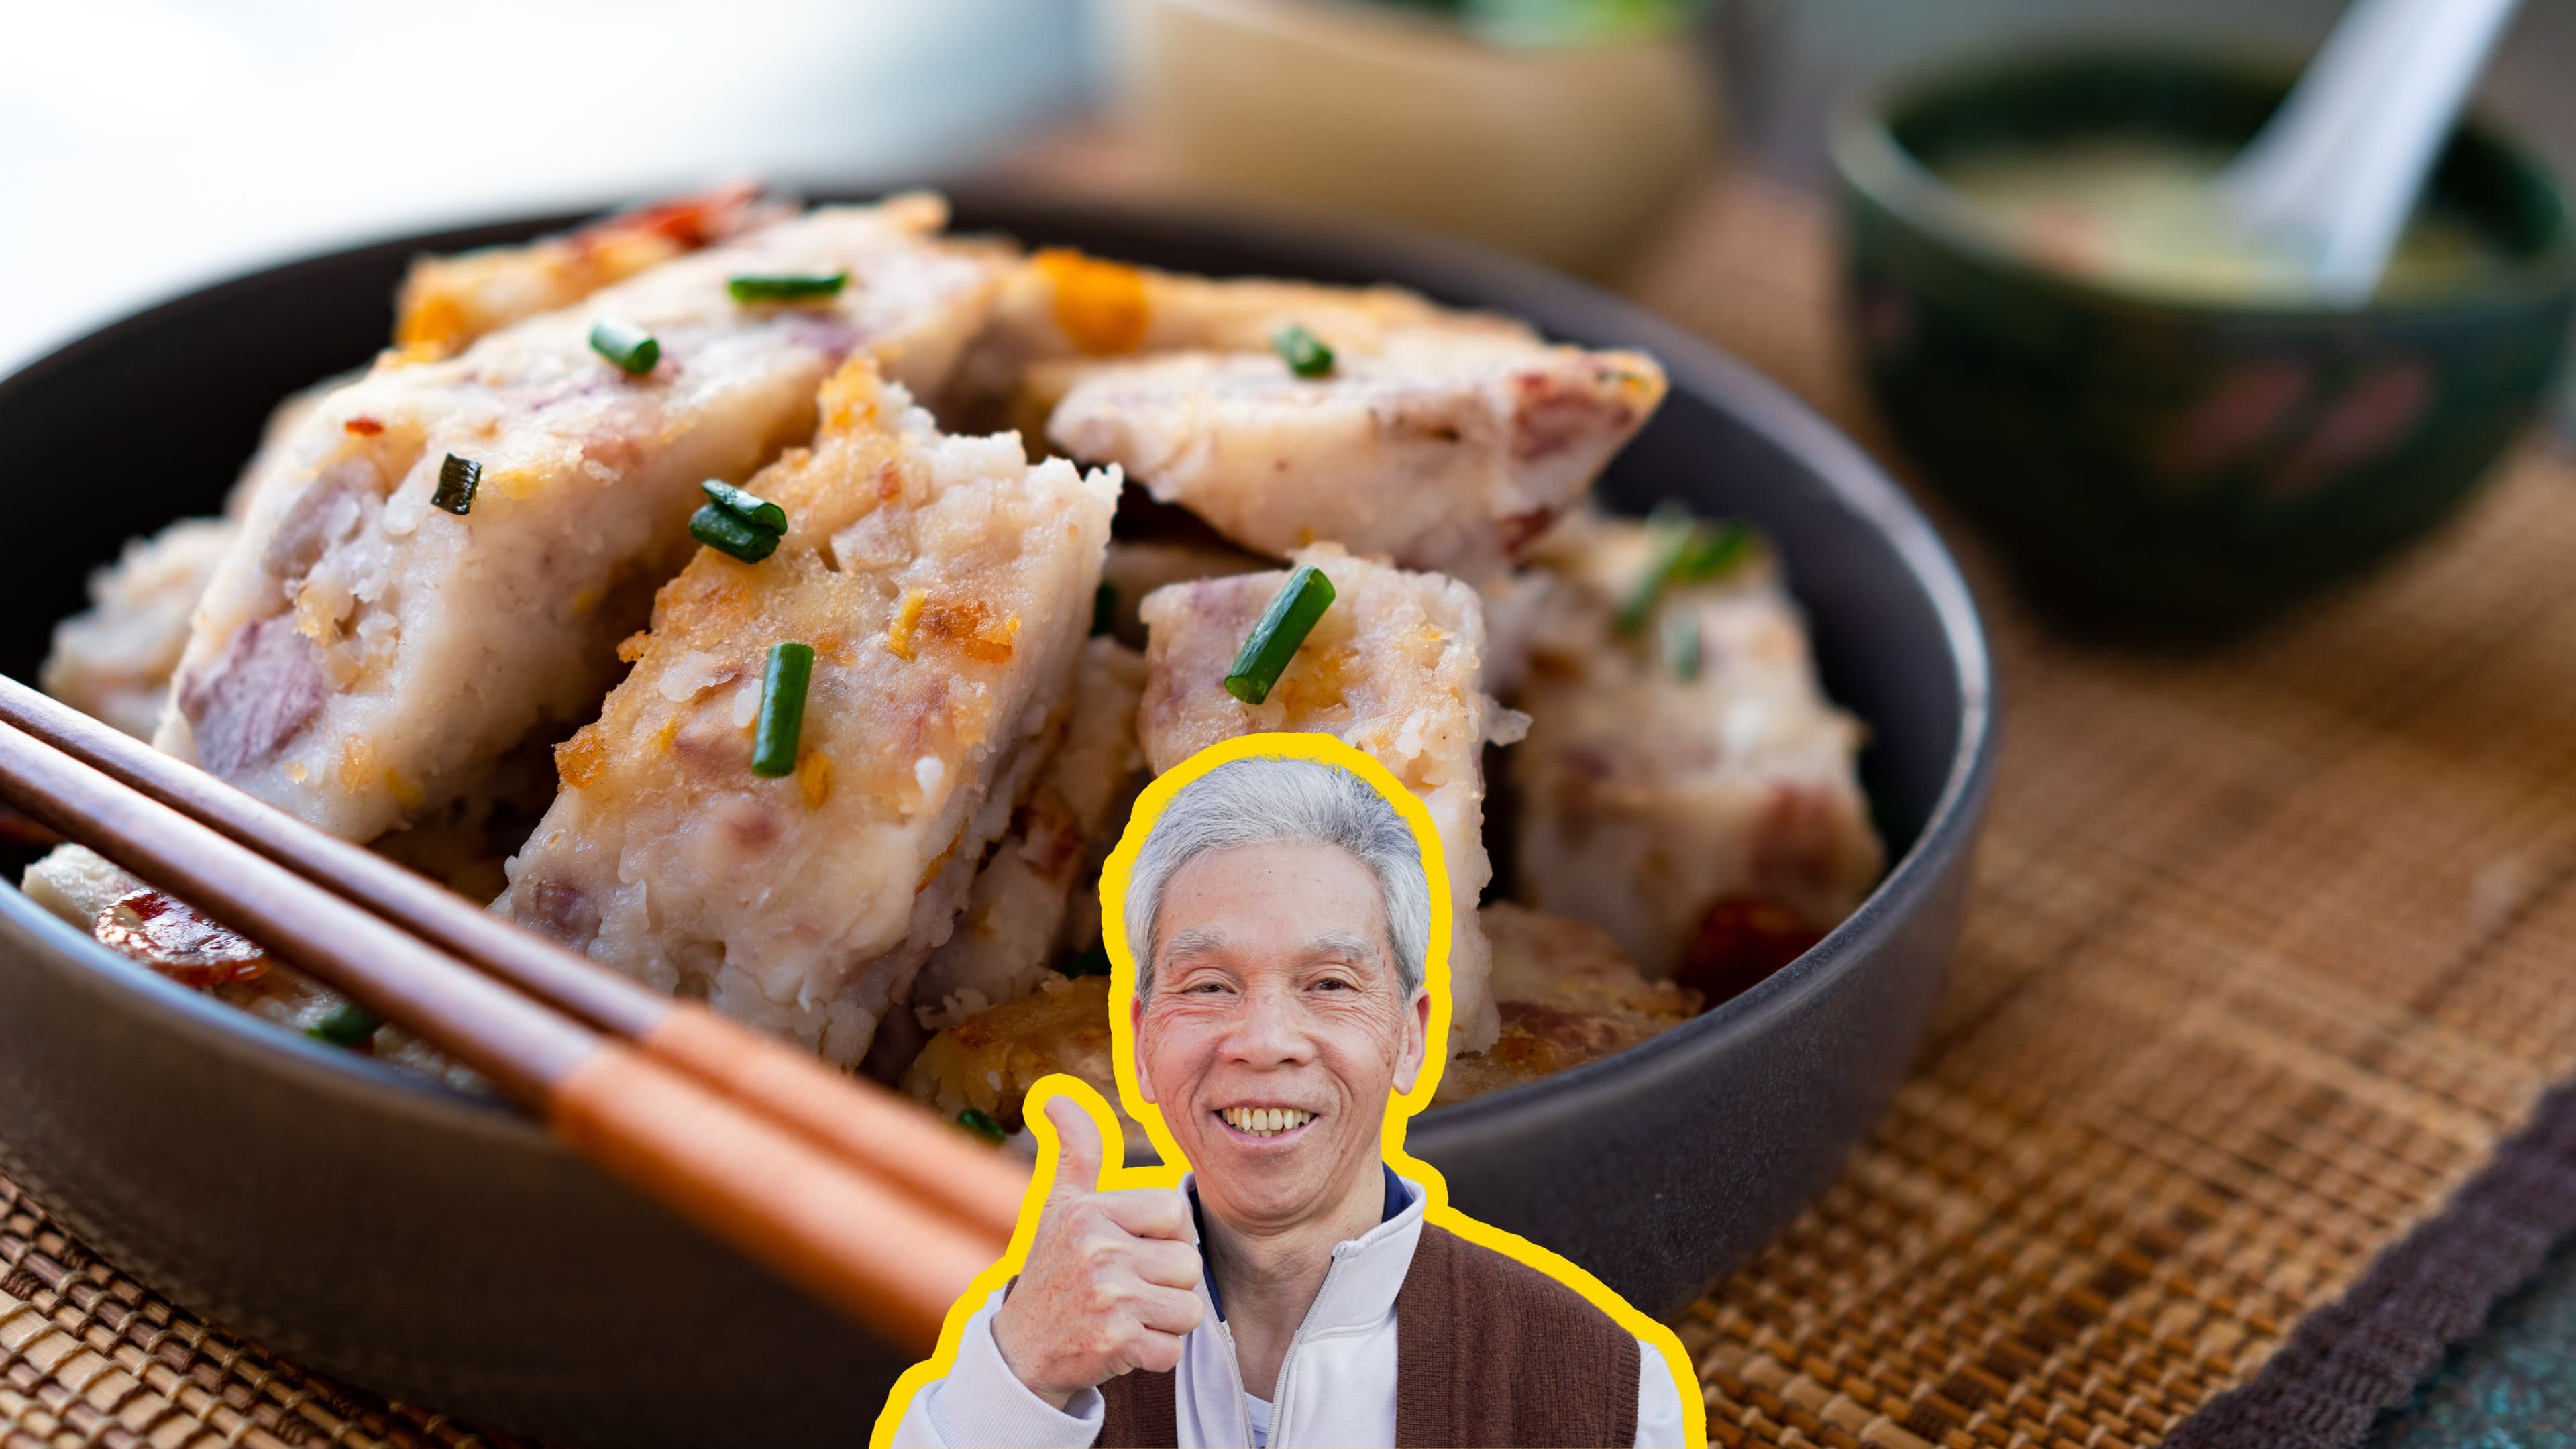
The Taro Cake My Dad's Made 100,000 Times

Why this recipe
Most taro cake recipes online are tested only a handful of times. My dad used to make this dish multiple times a day, every day, for 60+ years and can make this in his sleep.
I know you'll love it as much as our community does! This recipe has over 607.3K views, 9.5K likes on YouTube.
I don't think the Lau family has ever eaten dim sum without calling over a few orders of taro cake.
We're not alone - taro cake is one of the most popular dim sum dishes around the world.
Taro cake is also commonly made around Chinese holidays, as a symbol of prosperity in Chinese tradition.
Taro Cake - A Good Omen
Many Chinese superstitions, good and bad, are based on word play.
For the same reason that the number "4" is bad luck because it sounds similar to the word for "death", taro cake and other cake recipes are popular around the holidays because they symbolize higher growth and prosperity.
Particularly for "cake 糕", the word shares the same exact tone and pronunciation as the Chinese word for "high 高" - "gōu".
"cake" and "high" have different characters, but Chinese tradition has come to attribute cakes with higher success, rising happiness, better health, and prosperity.
For me, eating taro cake definitely has a direct effect on my happiness!
Ingredients

Instructions
Wash and rehydrate dried shrimp
The first thing we'll do is wash and rehydrate our dried shrimp (0.50 oz).
In a bowl, wash the shrimp in warm water for a few seconds and drain the bowl. Pour hot water into the bowl, and let the shrimp rehydrate for 5-10 minutes.
The shrimp should be soft and tender to the touch when rehydrated.

Chop ingredients
Next, we'll chop our Chinese sausage (1 link), ginger (0.25 oz), garlic (2 clove), green onion (1 whole piece). For the Chinese sausage, cut off a few coin-sized slices as garnish for later, and cut the rest into small pieces.
Mince the ginger and garlic, and chop the green onion into small pieces.
When the dried shrimp is fully rehydrated, chop the shrimp into very fine pieces. The shrimp provides an unmistakable potent flavor, and the smaller the shrimp, the more evenly distributed the flavors will be.
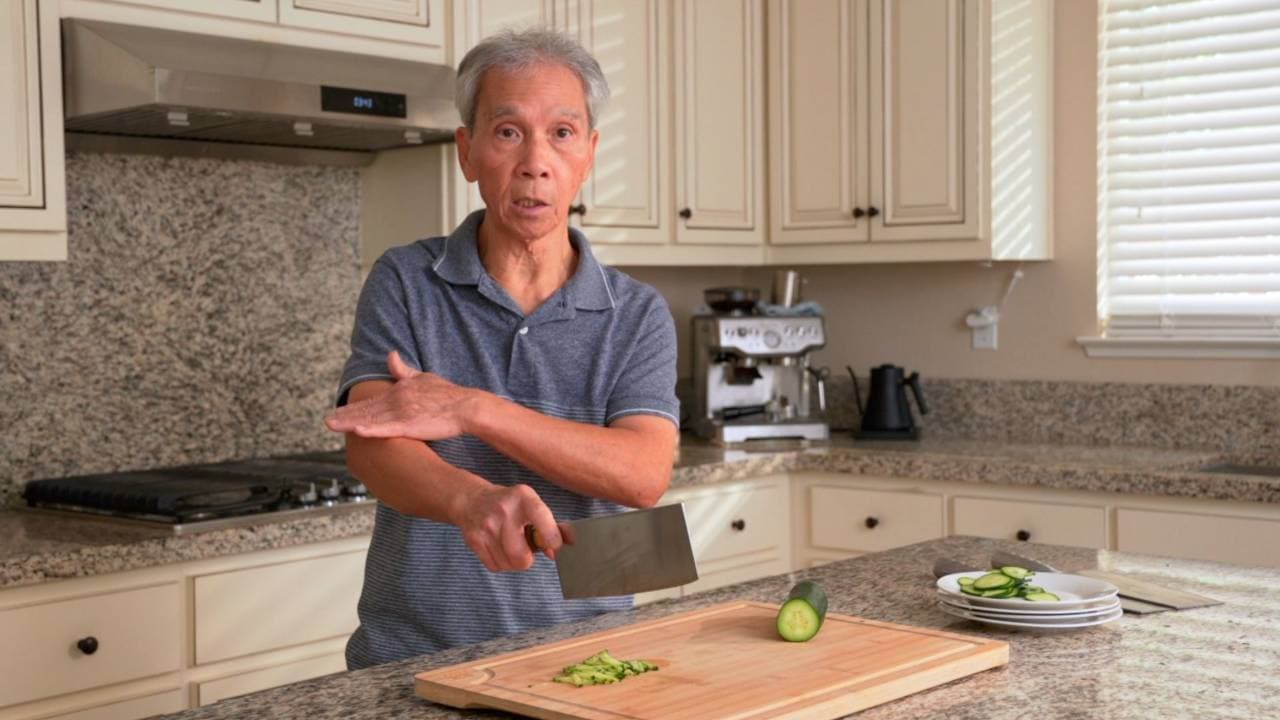
Cut taro
As I mentioned before, it's best to wear food-safe gloves when handling taro, and to place a hand towel underneath our cutting board to reduce the risk of injury.
- Cut off the end of the taro root (we won't be using it for this recipe).
- Cut off the amount of taro (1.5 lb) we need for the recipe, using a food scale to verify if you have the right amount.
- Cut away at the perimeter to remove the skin, and wash with cold water.
- Then, cut the taro into slices, strips, and finally, peanut-sized cubes.
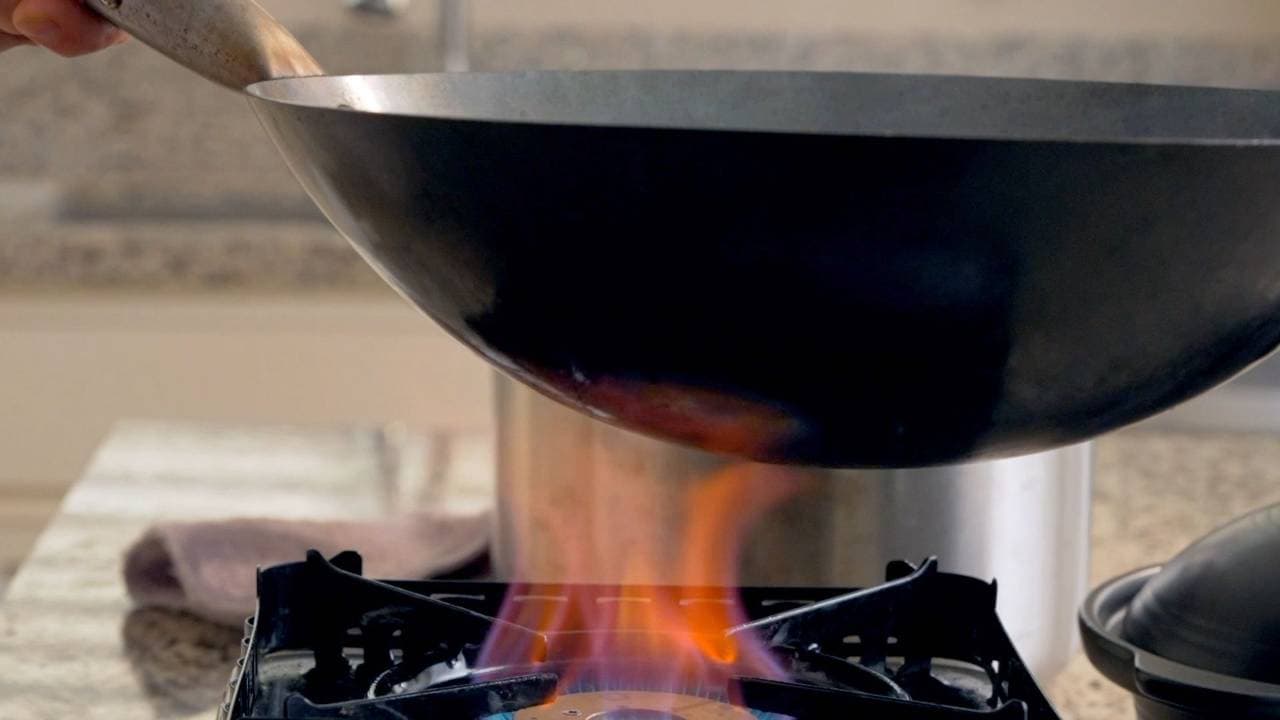
Heat wok, prepare flour
Set the stove to its highest heat setting, and heat the wok for 3-5 minutes as we prepare our regular rice flour (0.50 lb).
Using a food scale, weigh out the rice flour into a bowl, add water (1.5 cup), and mix together for 30-60 seconds.
If you aren't able to get a food scale, you can roughly use 1.5 cups of flour. This conversion really depends on the weight of the flour and how densely you're packing your measuring cup.
Cook garlic, ginger, shrimp, Chinese sausage
After the wok is hot enough (you should see it releasing a tiny amount of smoke), add vegetable oil (1 tbsp) and mix it around the surface of the wok.
We'll be cooking our garlic, ginger, shrimp, and lap cheung for about 2 minutes in total. Gradually add each ingredient, stirring constantly.
Here's my dad's order and approximate timing:
- Add garlic and ginger, cook for 20 seconds
- Add shrimp, cook for 40-50 seconds
- Add lap cheung, cook for 45-60 seconds
The goal is to release the flavors and aromas before we add the taro.
Boil water, start cooking taro
Before we add the taro, start boiling water - enough water for the taro (1.5 cup) + enough water to minimally submerge the plate in the wok as it sits on top of the steamer rack.
Pour the taro into the wok, and stir it around for a minute so that it absorbs the flavors of the garlic, ginger, shrimp, and Chinese sausage.
Add flavors to wok
Add salt (1 tsp), sugar (1 tsp), chicken bouillon (1 tsp), and oyster sauce (1 tbsp) to the wok, and stir it around for another minute.
Add water, cover the wok, bring to boil
Pour the boiling water into the wok, stir for a few seconds, and cover the wok until it starts boiling again. Your time may vary, but this took us about 2-3 minutes.
Coat plate with oil
Coat the plate that you'll be using with a little bit of vegetable oil. This is so that when we're done cooking, the taro cake won't stick to the plate.
Uncover wok, add flour mix, sesame oil
When boiling, uncover the wok. My dad recommends sampling the taste of the taro with a spoon to see if you're happy with the flavors at this point.
Stir the flour mixture for a few seconds and pour it into the wok, as well as sesame oil (1 tsp) and white pepper.
Stir the wok around for about 90 seconds, so that the flour and taro are evenly mixed together.
Transfer to plate, smooth out the cake
Scoop out the taro cake mixture into the plate you oiled earlier, and smooth out the surface of the cake so it's flat.
Once we're done, wash the wok before we start steaming.
Start steaming the taro cake
Place a steamer rack in the wok, and add enough boiling water to the wok so that when the plate sits on top of the rack, the water is just touching the bottom of the plate.
Adding pre-boiled water helps speed up our cook time.
Place the plate of taro cake onto the steamer rack, cover the wok, and steam for about 20-25 minutes.
The thickness of the plate affects the time we need to steam the cake for. If we're using a thicker plate (as shown in the video), we need to steam for 3-5 minutes longer than we would if we were using a thinner or metallic plate.
Uncover wok, add garnish, and cool
Once the 20-25 minutes is up, let's uncover the wok. To check if the taro cake is ready, poke it with chopsticks. If it's not ready, the cake will stick to the chopsticks.
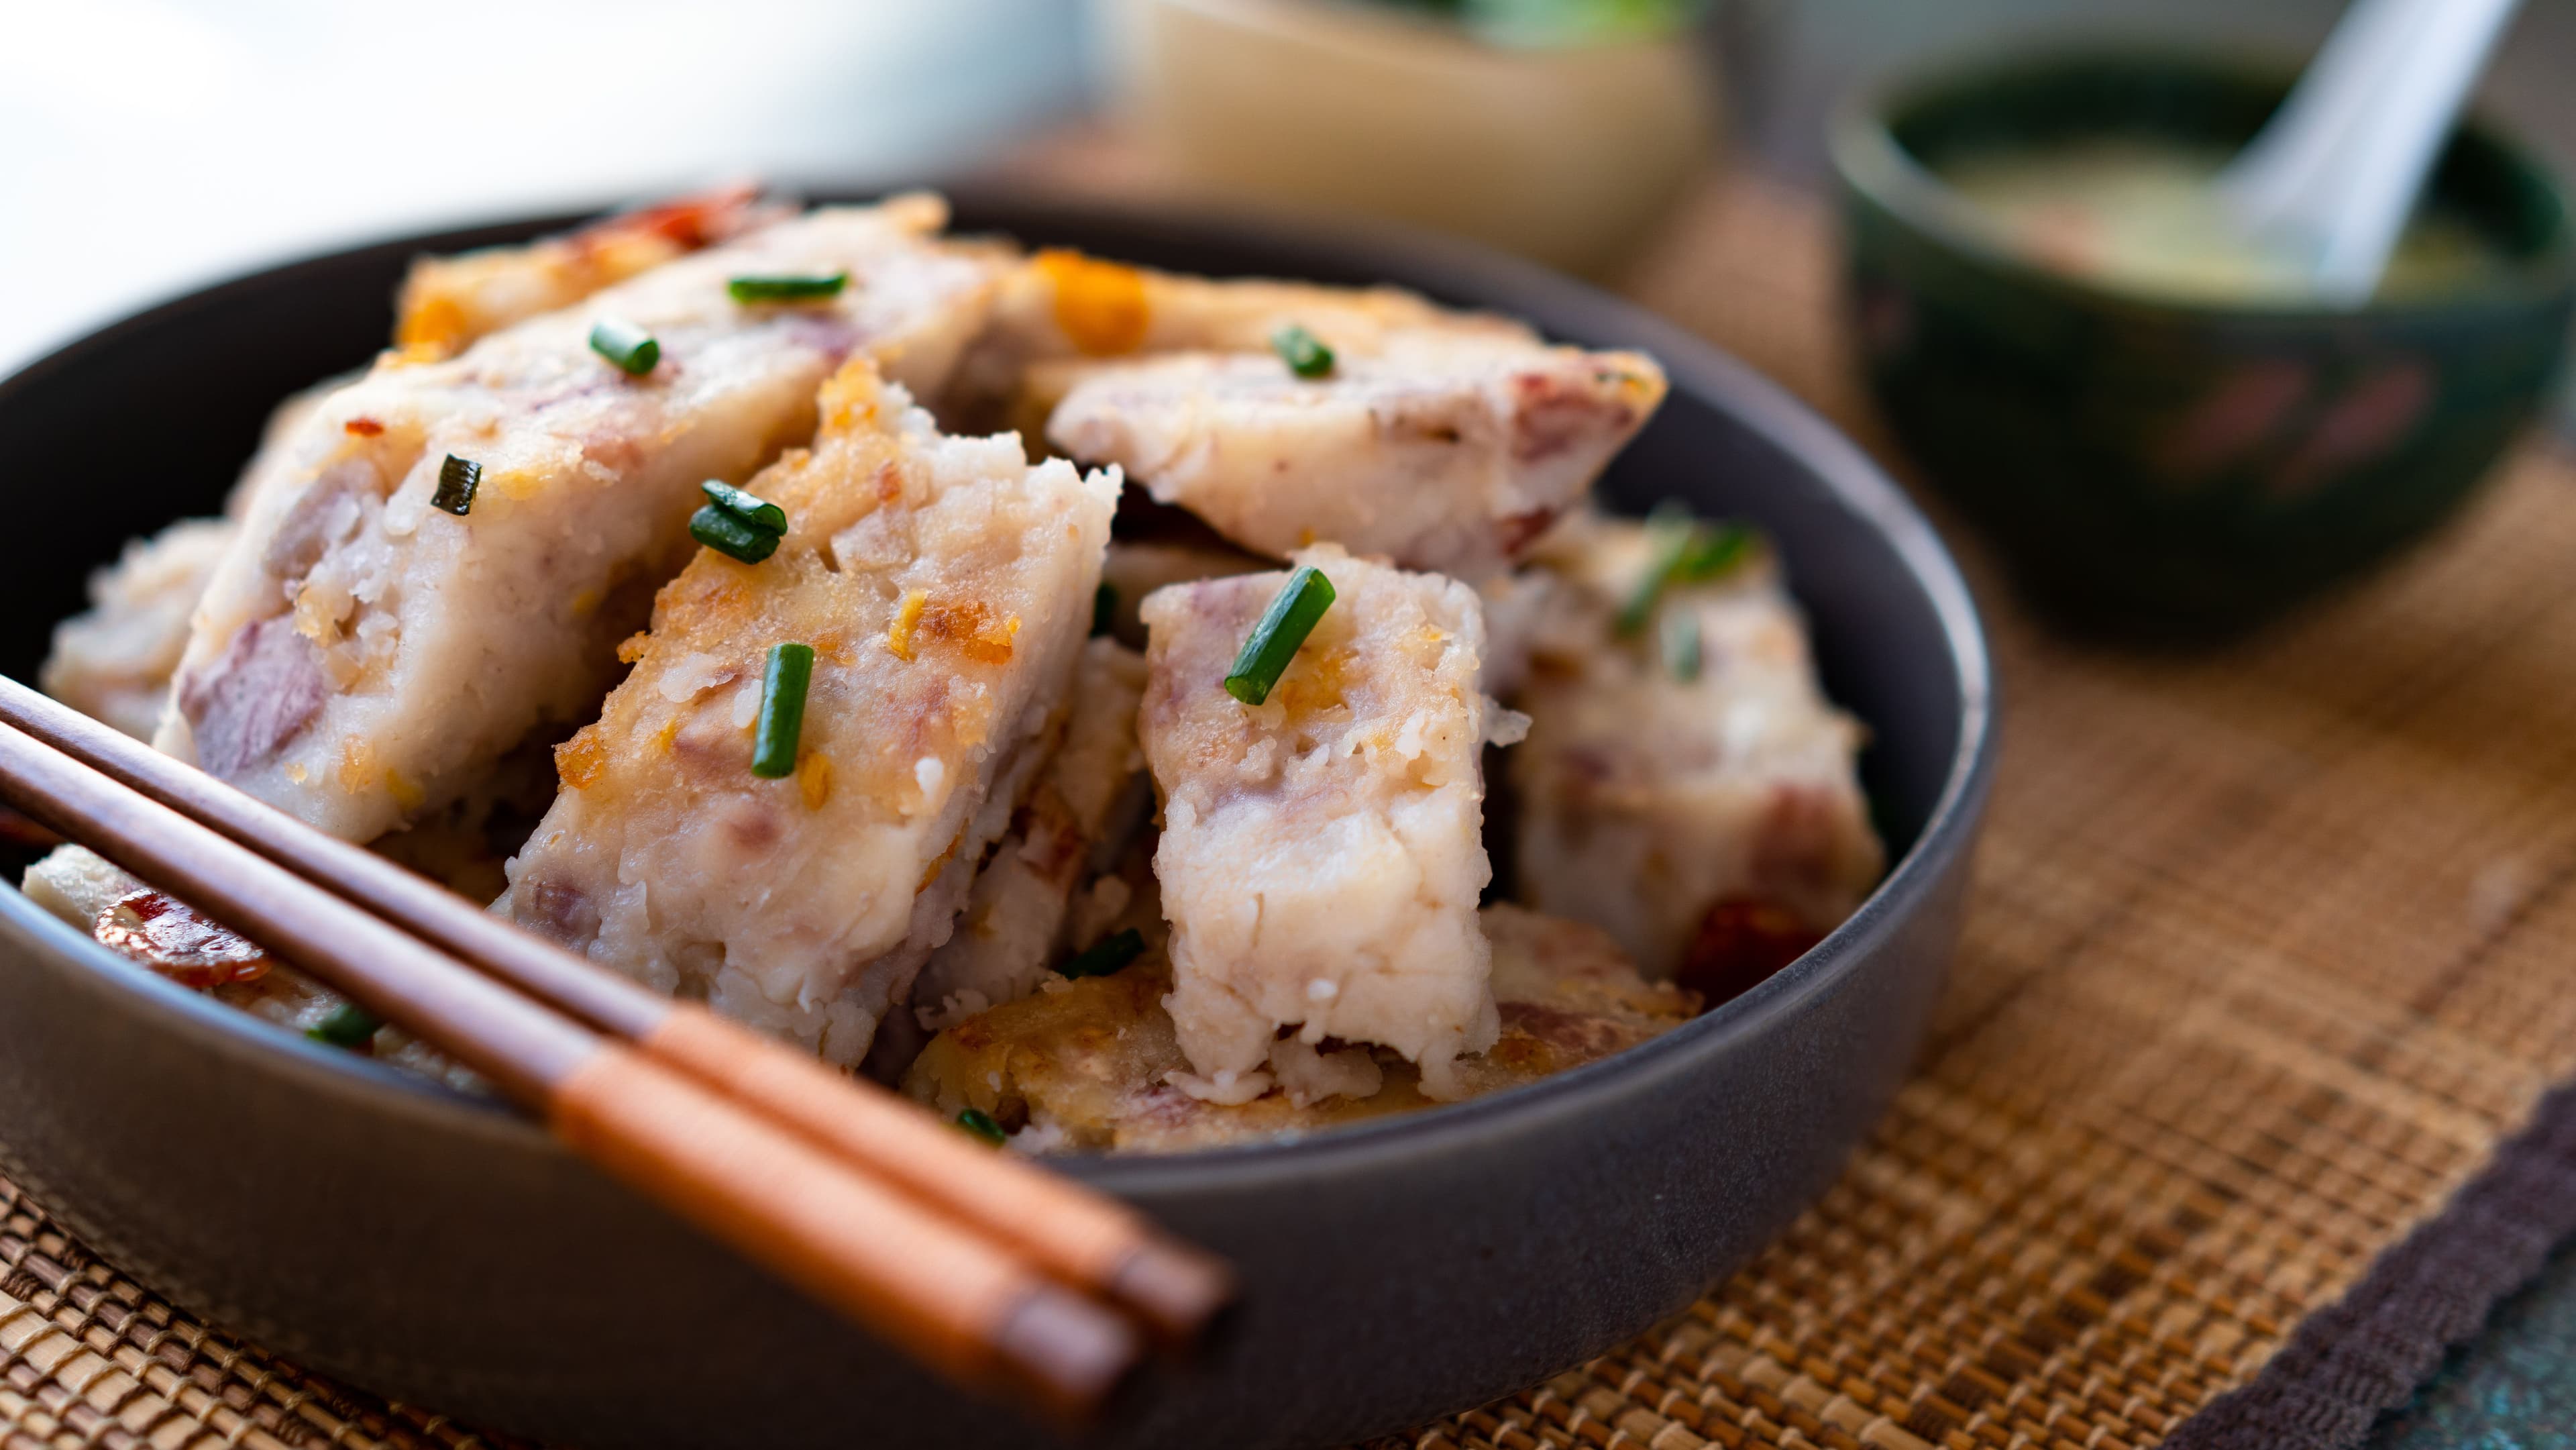
Carefully take the plate out of the wok, and add the coins of lap cheung and green onion for garnish.
Let the taro cake cool at room temperature for a few hours. If you want to speed up the cooling, place the taro cake on a bed of ice.
Slice the taro cake, pan fry
After the taro cake is cooled, you're ready to cut it.
If you'd like to make it even more tasty, add oil to a pan, and pan fry the slices of taro cake for 3-5 minutes on each side.
Call over your loved ones, and enjoy :)

Pairs well with
View all →Made with love ❤️

We started Made With Lau to celebrate Cantonese culture and honor the legacy of our wonderful parents, Jenny and Chung Sun Lau.
Our hope is that these recipes and stories help you spread the joy, love, and nostalgia that I felt growing up.