Steamed Eggs

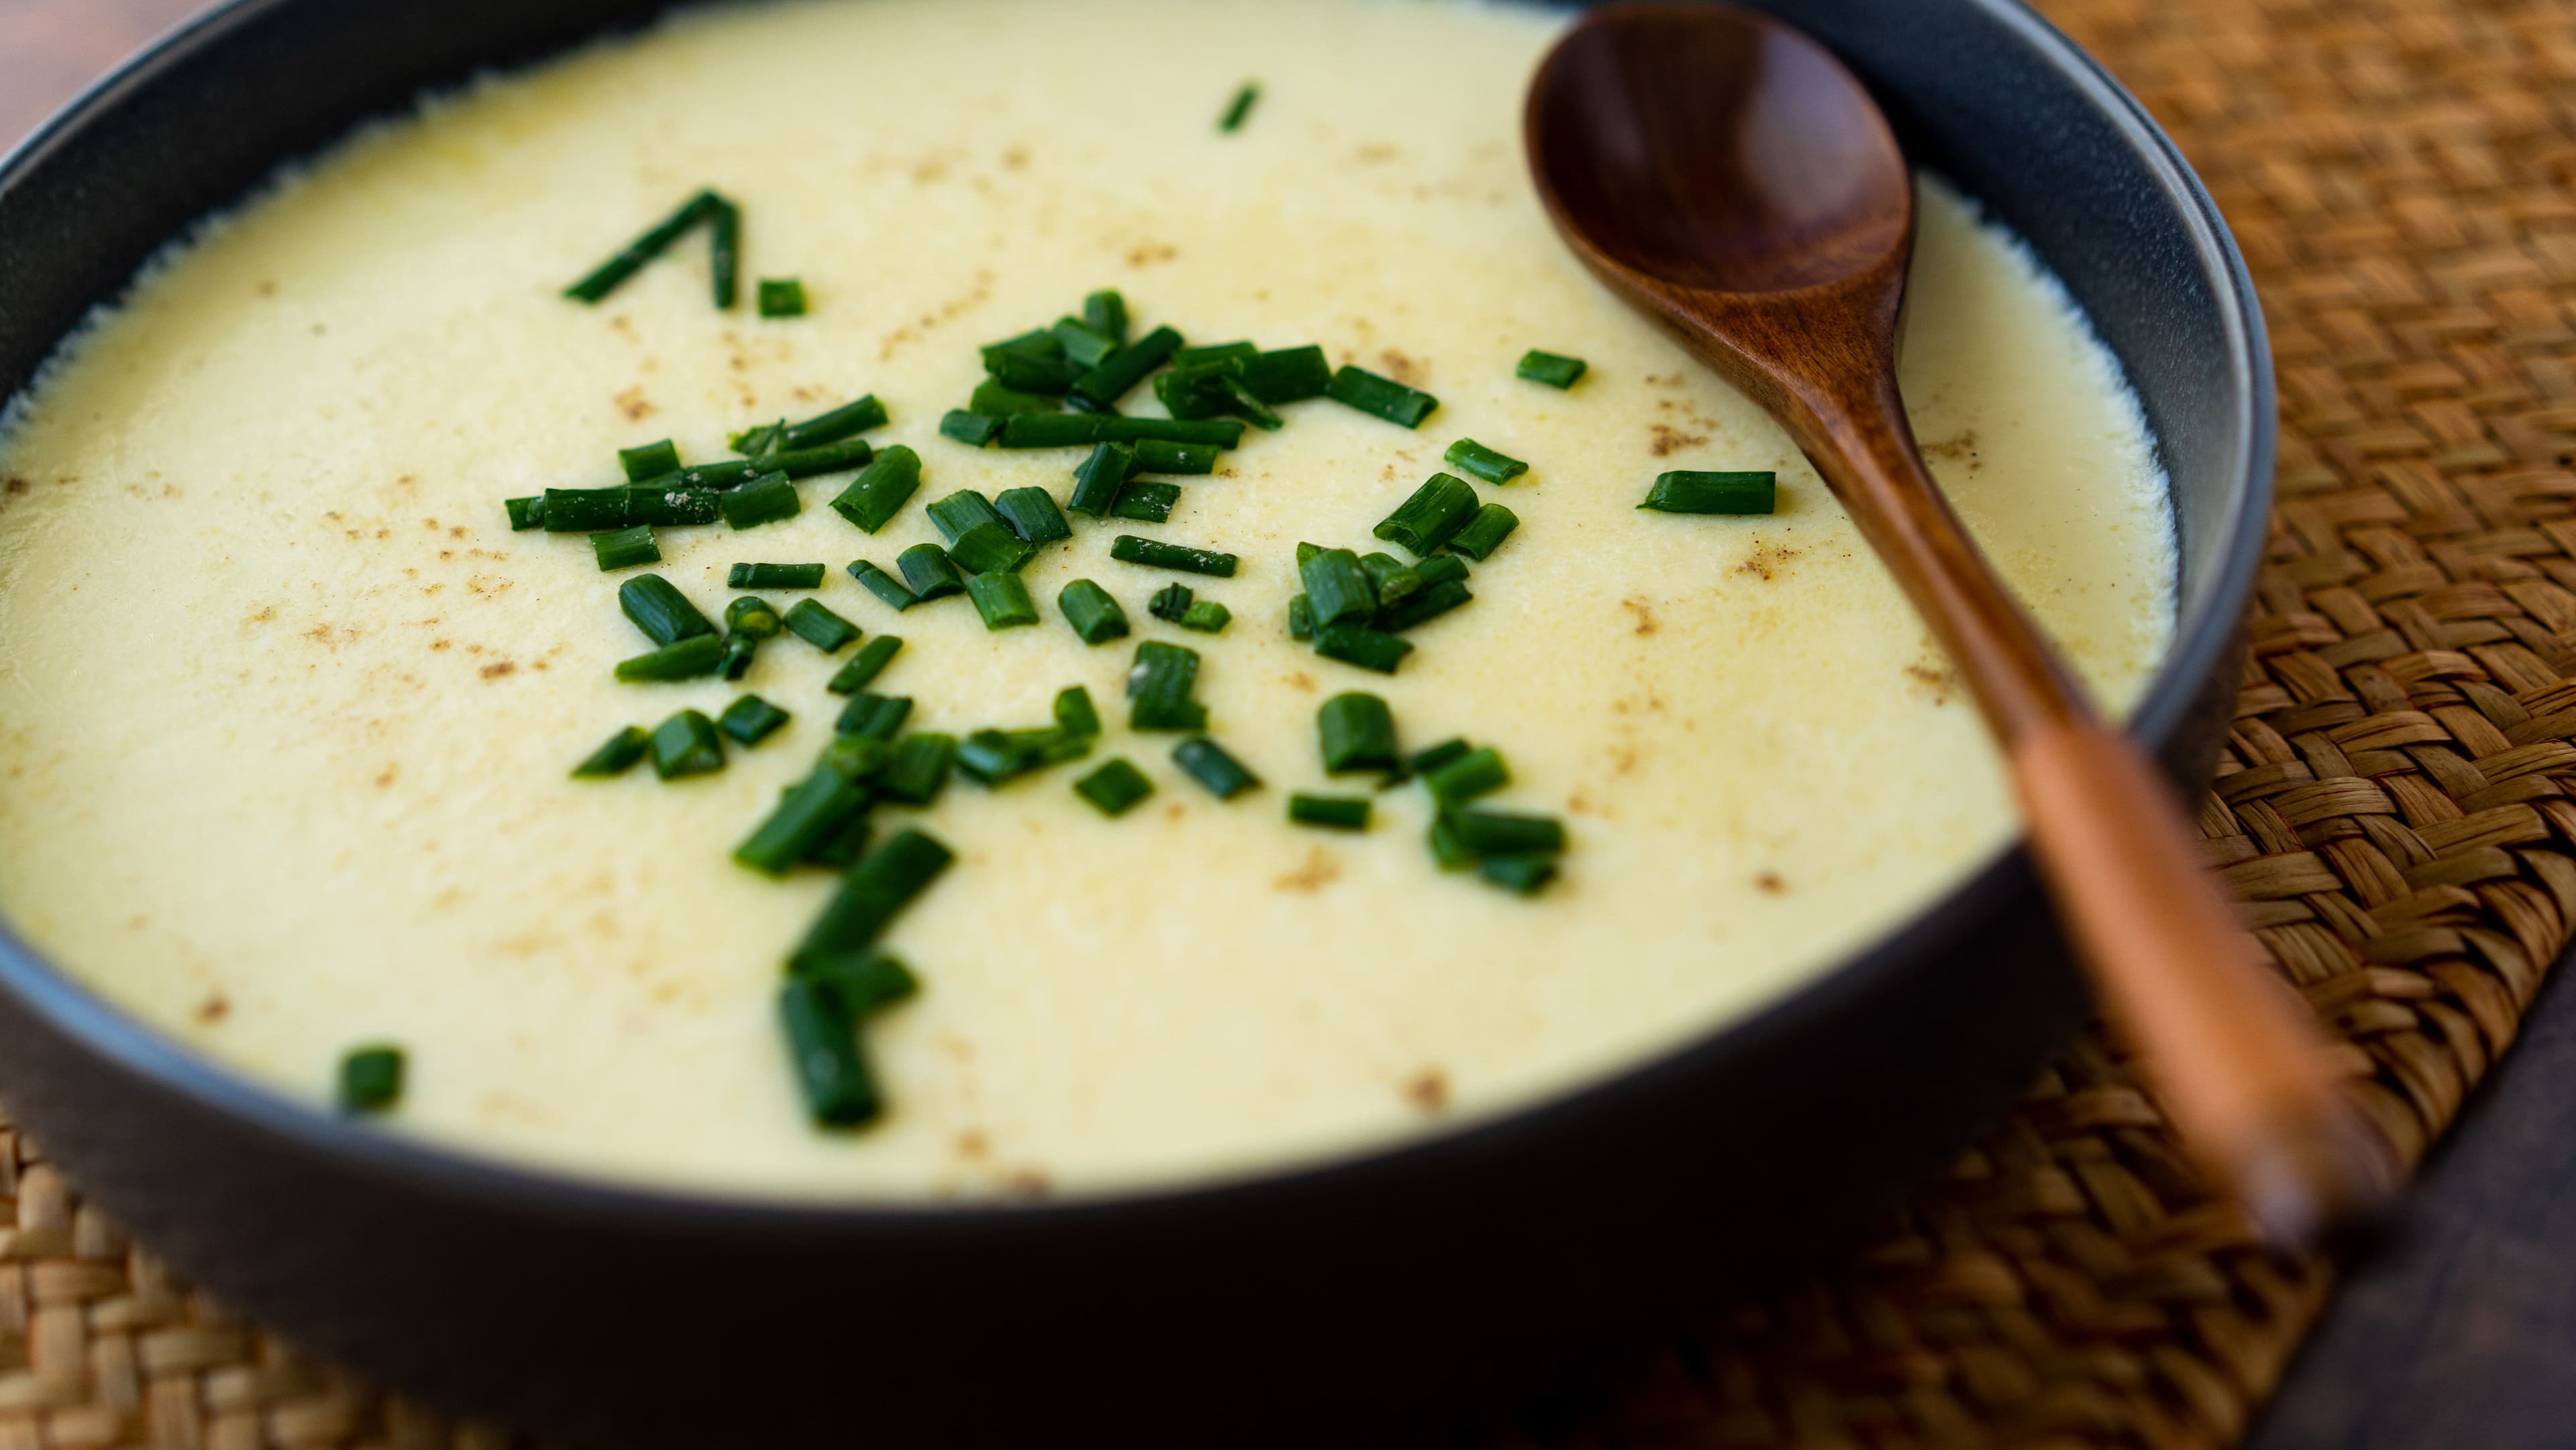
A silky soft Chinese comfort food that's perfect for all occasions!

Cooking Summary
Ingredients: (detailed list)
- egg, warm water, scallions, salt, chicken bouillon, oil, white pepper
Steps:
Jump To Section
Overview
My parents used to make steamed eggs for my sister and I all the time as kids. Even now, there's always a 50/50 chance that it'll be a part of the gourmet 10-course holiday spreads that my dad conjures up.
On paper, it's an easy dish to make.
However, the devil's always in the details when it comes to a recipe as simple as this one.
Generally speaking, my dad and most Chinese chefs aim for a creamy, soft, and velvety texture.
To get perfect Chinese steamed eggs, It all boils down to (heh heh) several factors:
- The water-to-egg ratio
- The starting temperature of the water mixed with the eggs
- The amount of time spent steaming
Read on to find out how to make steamed eggs!
An expert chef’s tips for the smoothest, silkiest steamed eggs
Getting luscious, soft steamed eggs requires a delicate balance of ingredients and technique. Our ratio for the best silky, steamed eggs is 2 cups of water to 4 eggs. If you like firmer eggs, use a little less water, like 1.5 cups of water to 4 eggs. Mixing warm water into the beaten eggs will also achieve the best texture.
What's the difference between Chinese steamed egg and Korean steamed egg?
Steamed eggs are enjoyed in many cultures and cuisines, including China and Korea. But there's a huge difference between the two variations! While both are customizable in terms of seasoning and additional ingredients, they use techniques that result in completely different dishes.
- Chinese steamed eggs are cooked in a steamer setup, typically in a shallow dish. Korean steamed eggs are cooked over direct heat, traditionally in an earthenware pot.
- You don't touch Chinese steamed eggs while they're cooking. You do stir Korean steamed eggs as they cook, until they start to set.
- The final texture of Chinese steamed eggs is like a smooth, silky, pudding-like custard. The surface is smooth, like a lake. The final texture of Korean steamed eggs is like a fluffy, poofy cloud. The surface puffs up like a little dome.
Why this recipe
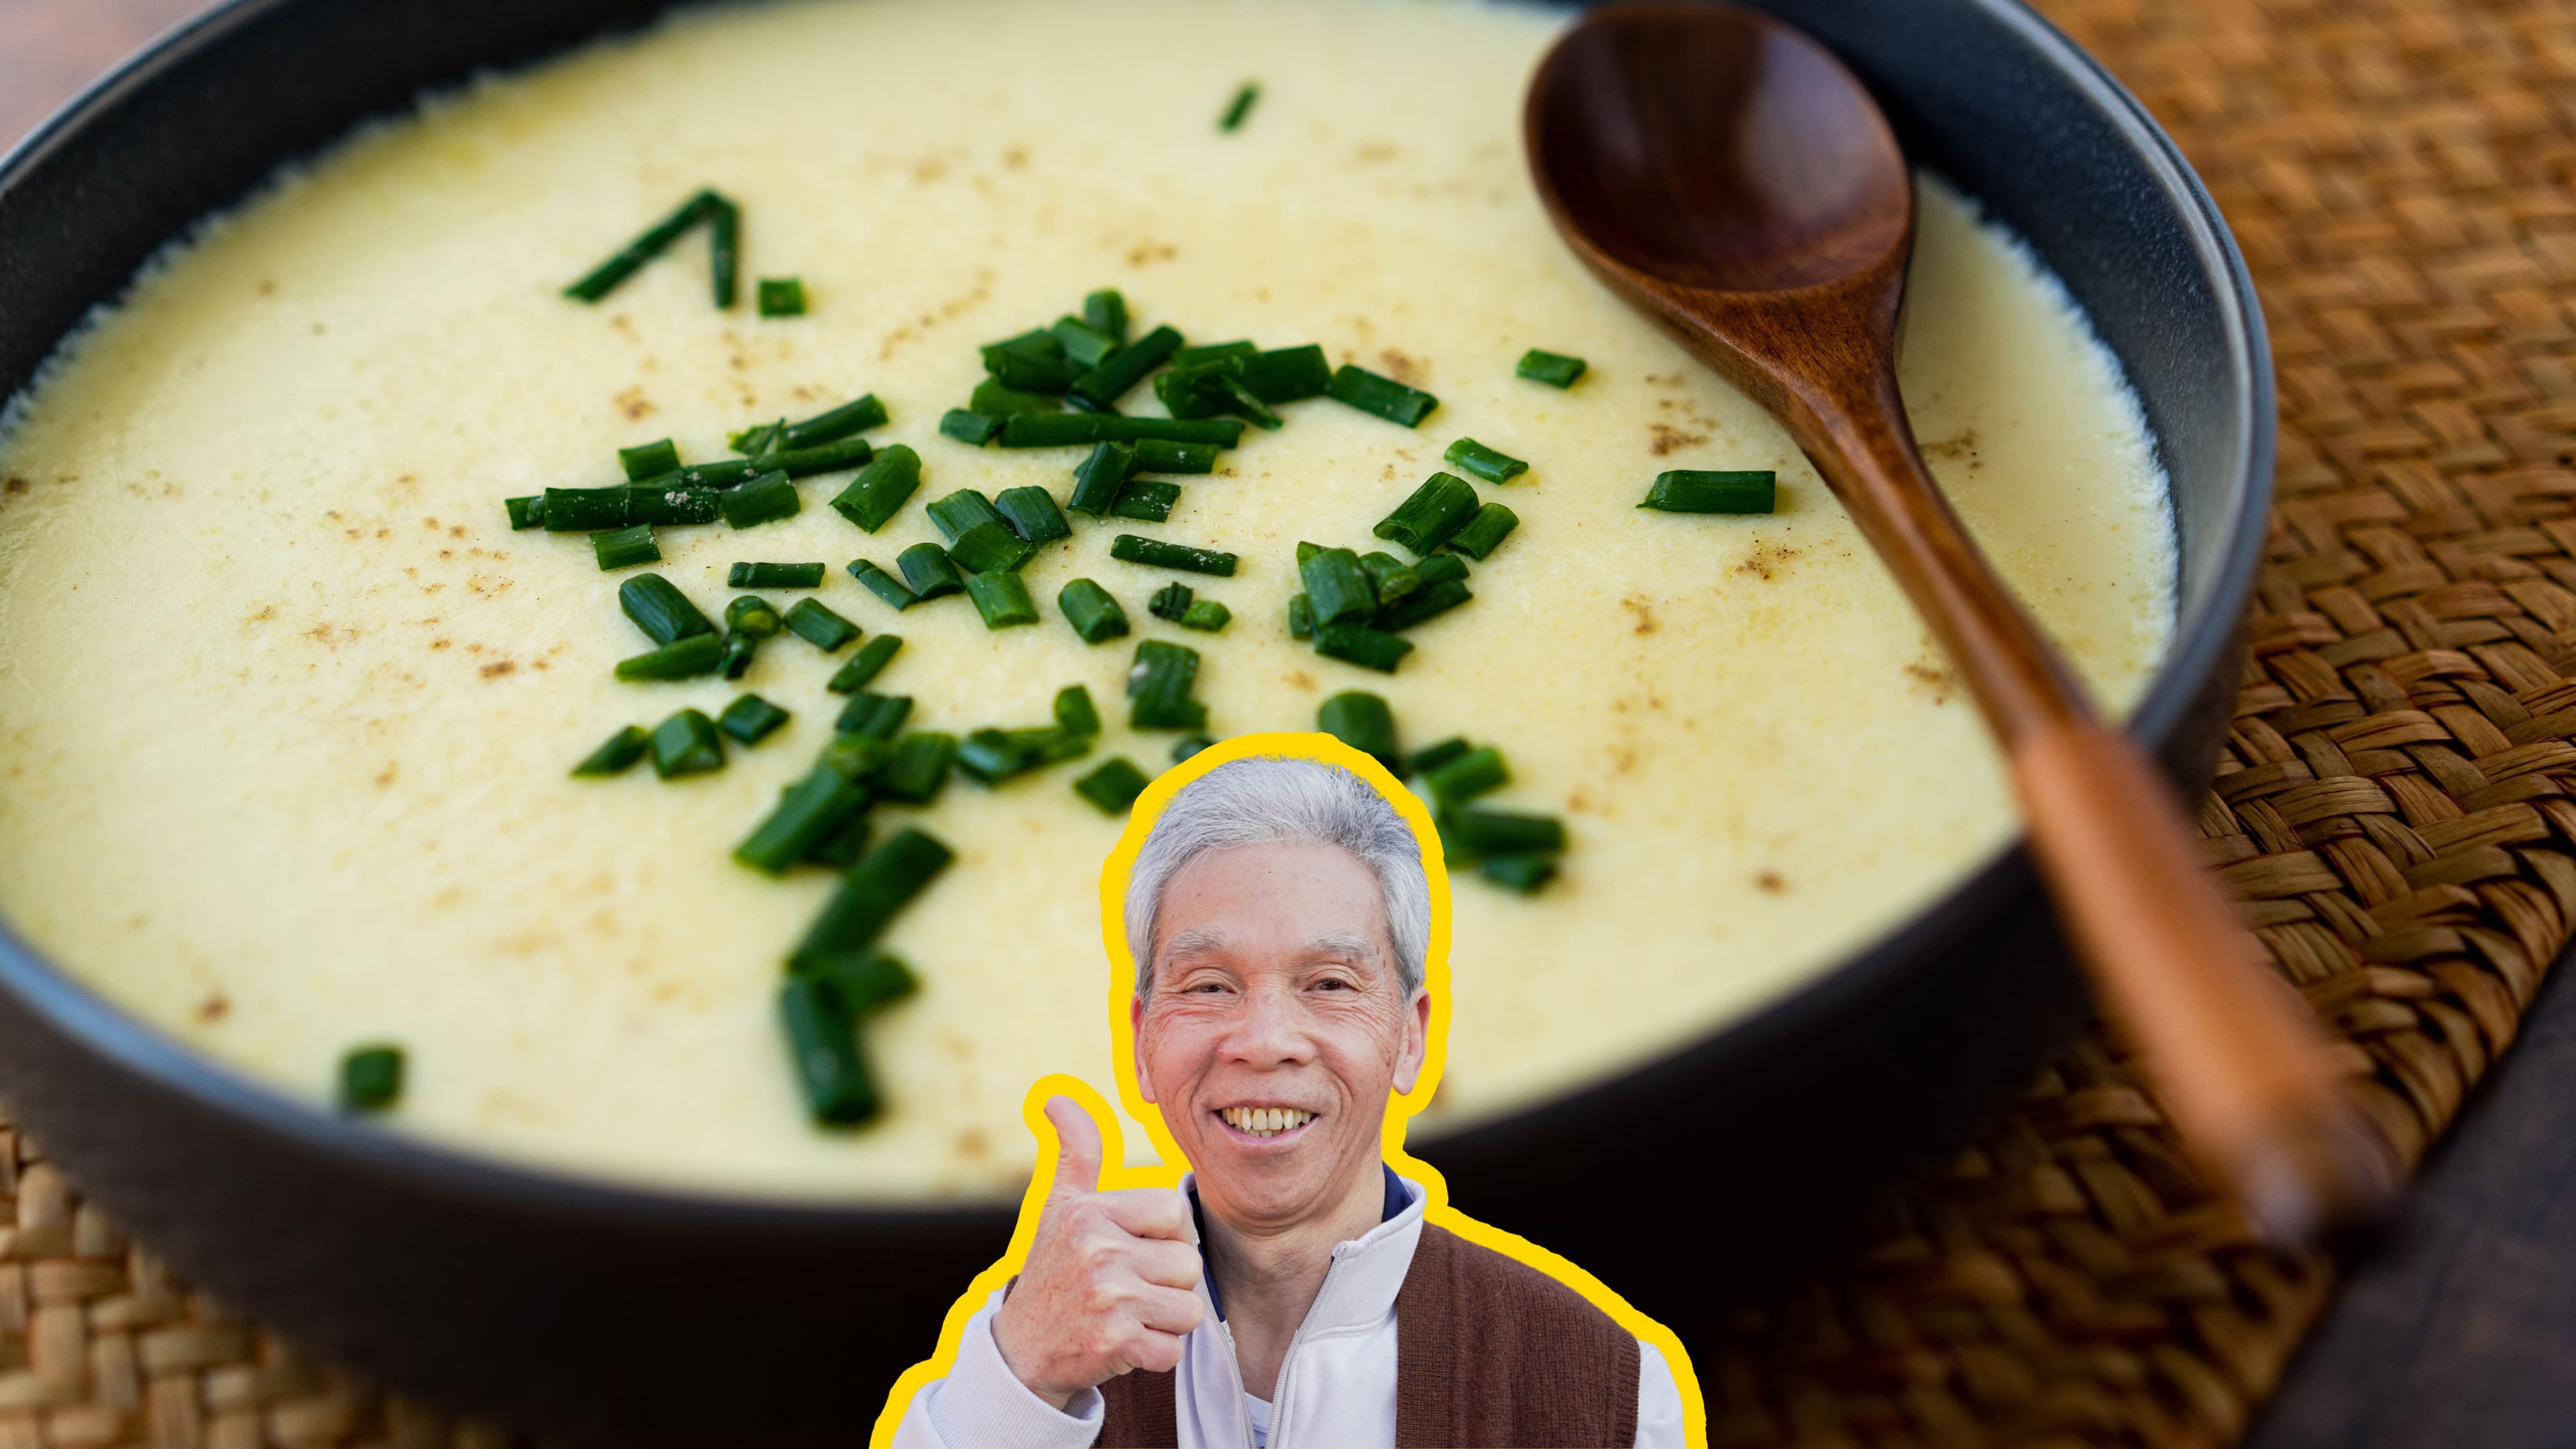
Most steamed eggs recipes online are tested only a handful of times. My dad used to make this dish multiple times a day, every day, for 60+ years and can make this in his sleep.
I know you'll love it as much as our community does! This recipe has over 1.3M views, 23.9K likes on YouTube.
Ingredients
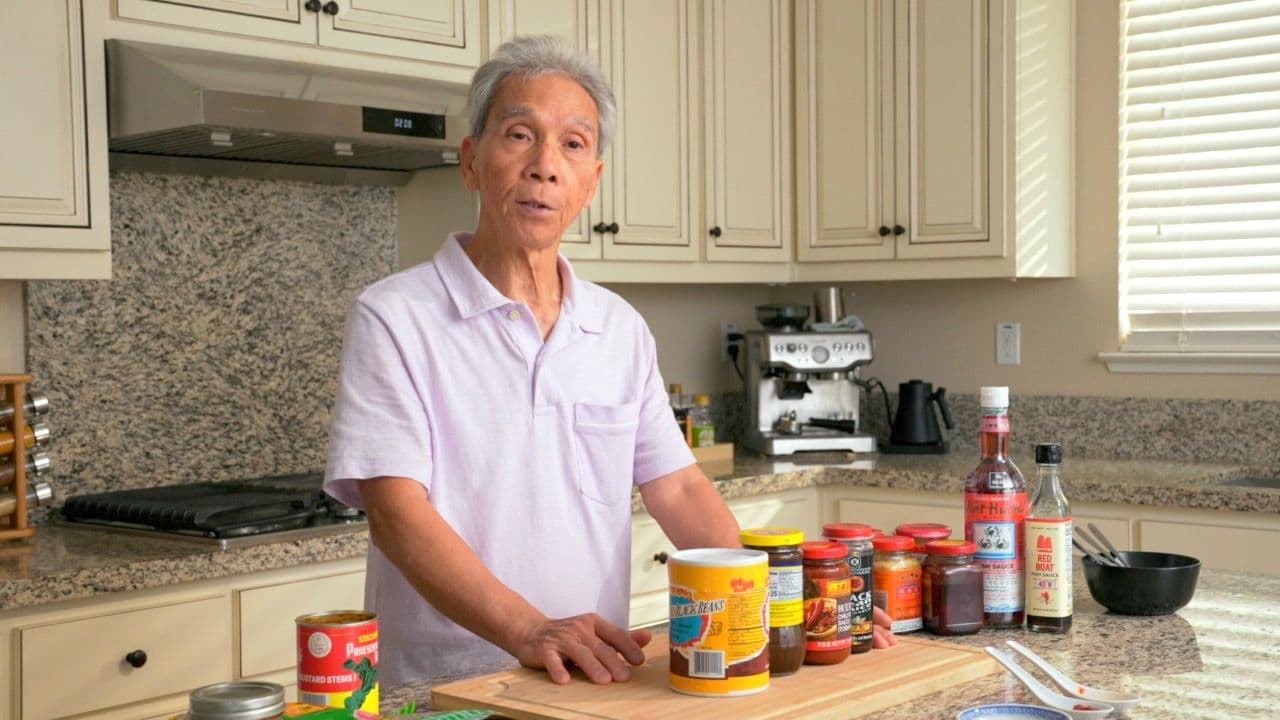
Don’t skip the chicken bouillon
My dad usually has chicken powder on hand in his kitchen and uses it in his steamed eggs recipe. It’s an essential ingredient that easily adds deep flavor to dishes such as congee and chicken corn soup. Since some grocery stores don't carry this, I've included a link to purchase the one my dad uses on Amazon.
Equipment note
You'll need a steamer rack since you can't make this dish without something to elevate and separate your bowl from the wok/pan. It doesn't really matter what brand you use, as long as it has a relatively low profile and fits in your wok/pan.
Here's a suitable one that costs about $5.
These links are affiliate links, which means that if you use our links to purchase these ingredients, Amazon pays my family a small amount for the sale - at no extra cost to you. If you use these links, we really appreciate the support!
How to make Steamed Eggs
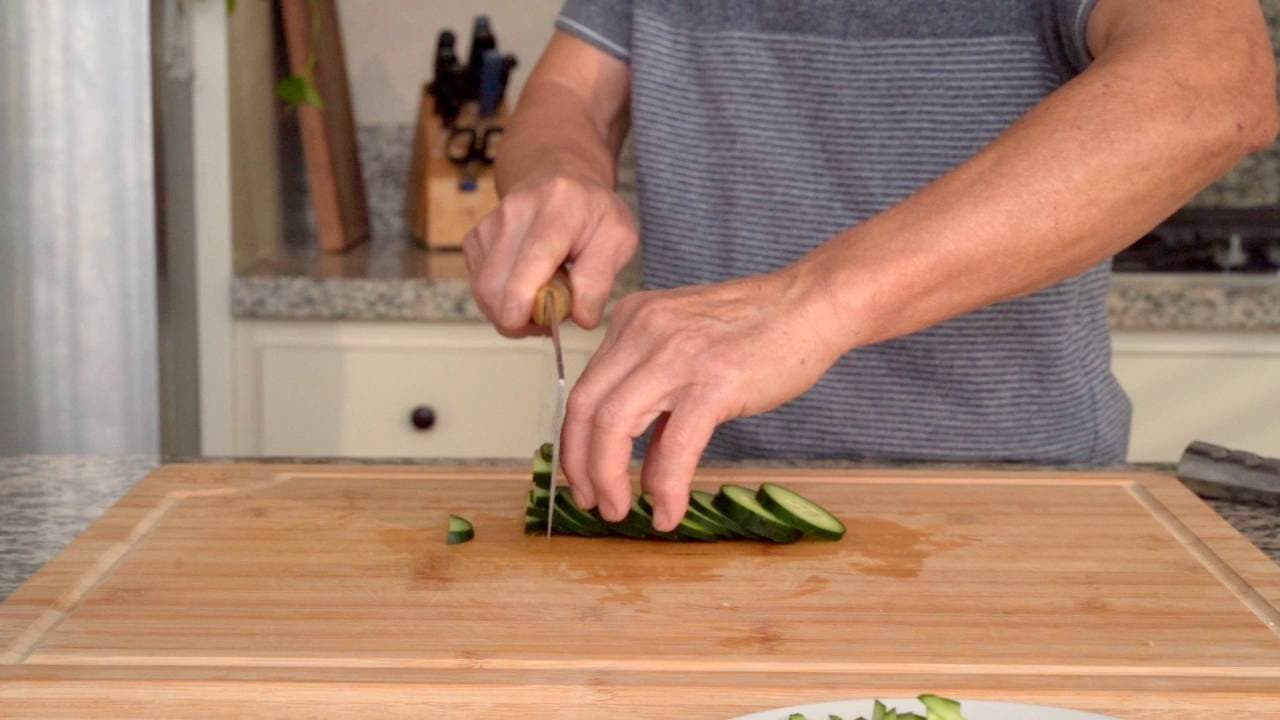
First, we chop our scallions (2 stalk) to be added as garnish at the end. This gives our dish more color and flavor.
Put the steamer rack in the wok, and place your bowl on top of the rack.
Ideally, your bowl should have enough clearance between it and the wok for your fingers, so you can easily remove it when it's piping hot.
Pour enough water so that the bowl is about a third or halfway submerged in the wok. This helps with more effective heat transfer.
Take the bowl out, and place the lid on the wok.
Set the stove to high heat, and let the water come to a boil.
Crack the eggs into a bowl, and add salt (½ tsp), chicken bouillon (½ tsp), and oil (1 Tbsp). Start mixing the eggs with a fork or chopstick.
This is a really important step that determines the steamed eggs’ final fate of silkiness.
We're going to mix warm water (2 cup) with the eggs (0.5 cups per egg).
I really had to probe my dad for an exact temperature range. He legit got annoyed when I asked him, and said "it just needs to be warm!"
The ideal range is about 35° to 45° C or 95· to 113° F. If you don't have a food thermometer laying around, you can microwave the water for about 45 to 60 seconds.
It should be warm to the touch, but not unbearably hot.
Pour a quarter of the warm water (½ cup) into the eggs, and mix until bubbles start foaming at the top.
Pour the remaining warm water (1½ cup), and continue mixing until you see bubbles again.
Make sure that the water is boiling in the wok and that your stove is still on high heat.
If it's boiling, remove the lid, and carefully place your bowl inside. You may want to use an oven mitt.
Pour your egg and water mixture into the bowl, and cover the wok.
After you cover the wok, leave the stove on high heat until the water starts boiling again. This should take anywhere from 1 to 4 minutes.
Once boiling, lower the heat to a simmer, and cook for about 8 minutes.
Chef's Tip: As the dish nears completion, you can test its doneness by gently shaking the wok. The egg should shake with a gelatin-like consistency.
There are more variables for how long to steam eggsthat you can fine tune with more practice:
- The thickness and material of the bowl you use
- Your "simmering" heat
For example, during this round of instructions, we used a ceramic bowl. My dad usually uses metallic bowls, which have better heat transfer. For metallic bowls, he just turns the heat completely off for the remaining cook time.
Once the dish is done steaming, remove the lid. Add scallion and white pepper (1 dash) to taste.
Some people prefer to mix the white pepper into the egg batter. My dad prefers adding at the end.
Feel free to get creative here with soy sauce, oyster sauce, other garnishes, and etc.
We're done! It's time to remove the steamed eggs from the wok.
Depending on how much clearance you have (and pain tolerance), put on oven mitts and carefully lift the bowl out of the wok.
You may need to use the spatula as a lever for more clearance.
If you're a BOSS like my dad, you can use your bare hands. I am not a boss. I use oven mitts.
Top 3 Mistakes
- Lifting the lid repeatedly:
Avoid opening the steamer over and over to check the eggs. Releasing steam too often can make them cook unevenly; use the recipe's gentle movement test as the dish nears completion.
- Leaving bubbles in the eggs:
Remove the foam or bubbles from the egg mixture as directed before steaming. Taking care of the surface now helps you achieve the smooth finish the recipe is aiming for.
- Keeping the boil too fierce:
Turn down the heat when the recipe moves to a simmer. A hard boil changes how quickly liquid evaporates and how gently the ingredients cook, so follow that change in heat.
Frequently Asked Questions
How do you tell if steamed eggs are done?
You can test for doneness by gently rocking the pot you're steaming in. It should jiggle like gelatin or custard, with a fully set top. The middle of the dish should be firm and not move. It's not done if you see movement that resembles ripples; that means that it's still liquid and needs more time.
If you can't rock the steaming arrangement and need to uncover the steamer to nudge the dish, try not to check too often, as uncovering the steamer too much will make the eggs cook unevenly. Over time, you might establish a "best dish for steamed eggs" in your cupboard, and you'll know exactly how long it'll take without checking.
Is steamed egg healthy?
Yes, it is! It's going to be one of the healthiest dishes in your meal. You can make sure that you make the healthiest version possible by choosing good quality ingredients. Our recipe already has very little salt and chicken bouillon, and you can always reduce them further or omit them if necessary, though the steamed egg may come out slightly less flavorful.
We don't recommend reducing the amount of oil, as it will really affect the final texture of the steamed egg. Instead, use the highest quality oil you have, to maximize the healthfulness of the dish.
Because you're making the steamed egg from scratch, you have full control over the ingredients.
Pairs well with
View all →
Made with love ❤️
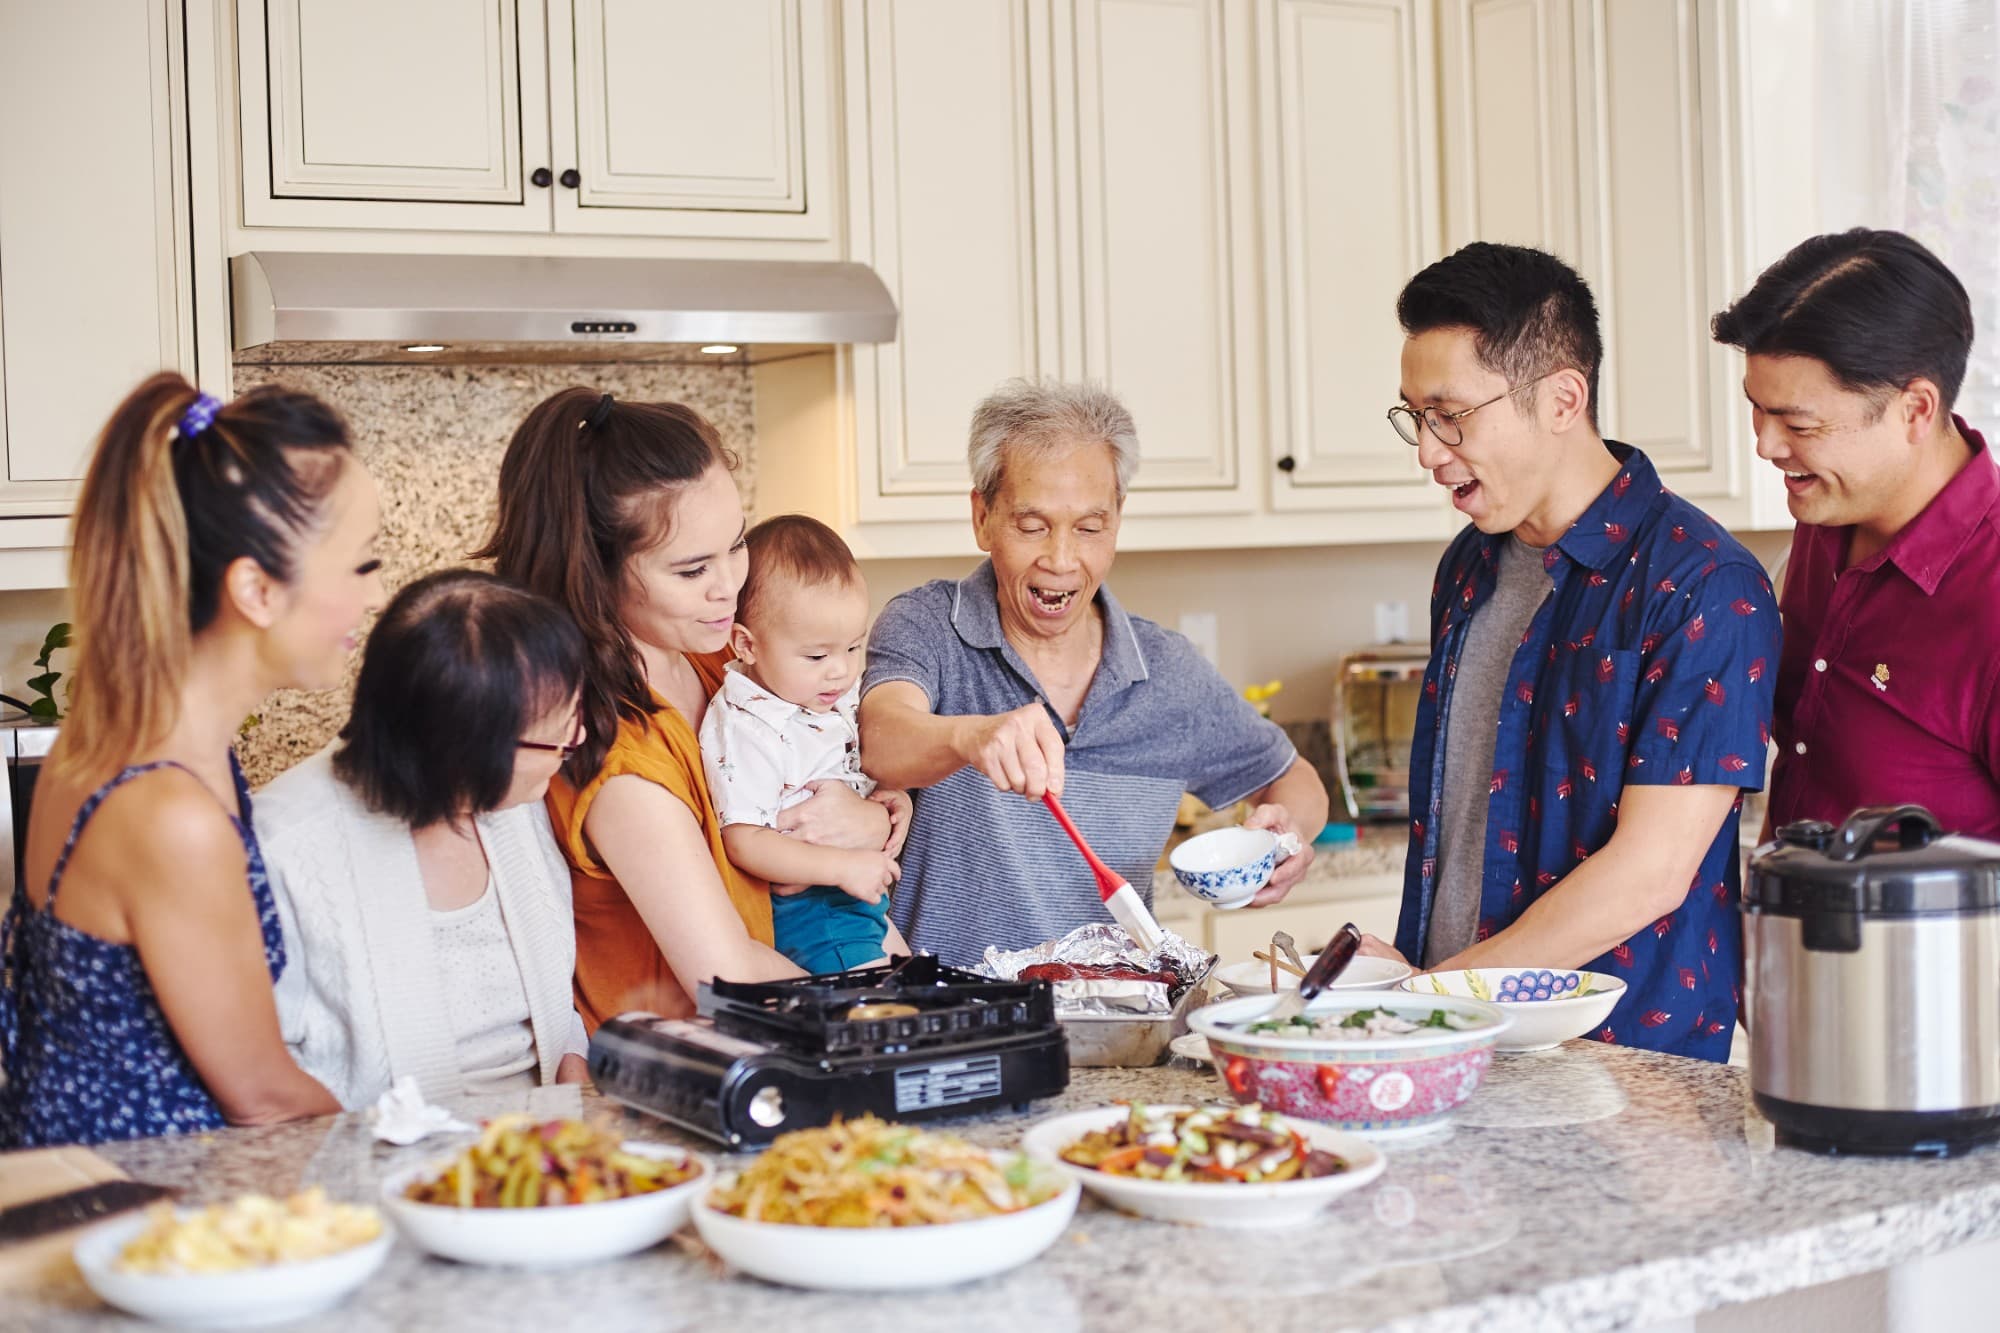
We started Made With Lau to celebrate Cantonese culture and honor the legacy of our wonderful parents, Jenny and Chung Sun Lau.
Our hope is that these recipes and stories help you spread the joy, love, and nostalgia that I felt growing up.