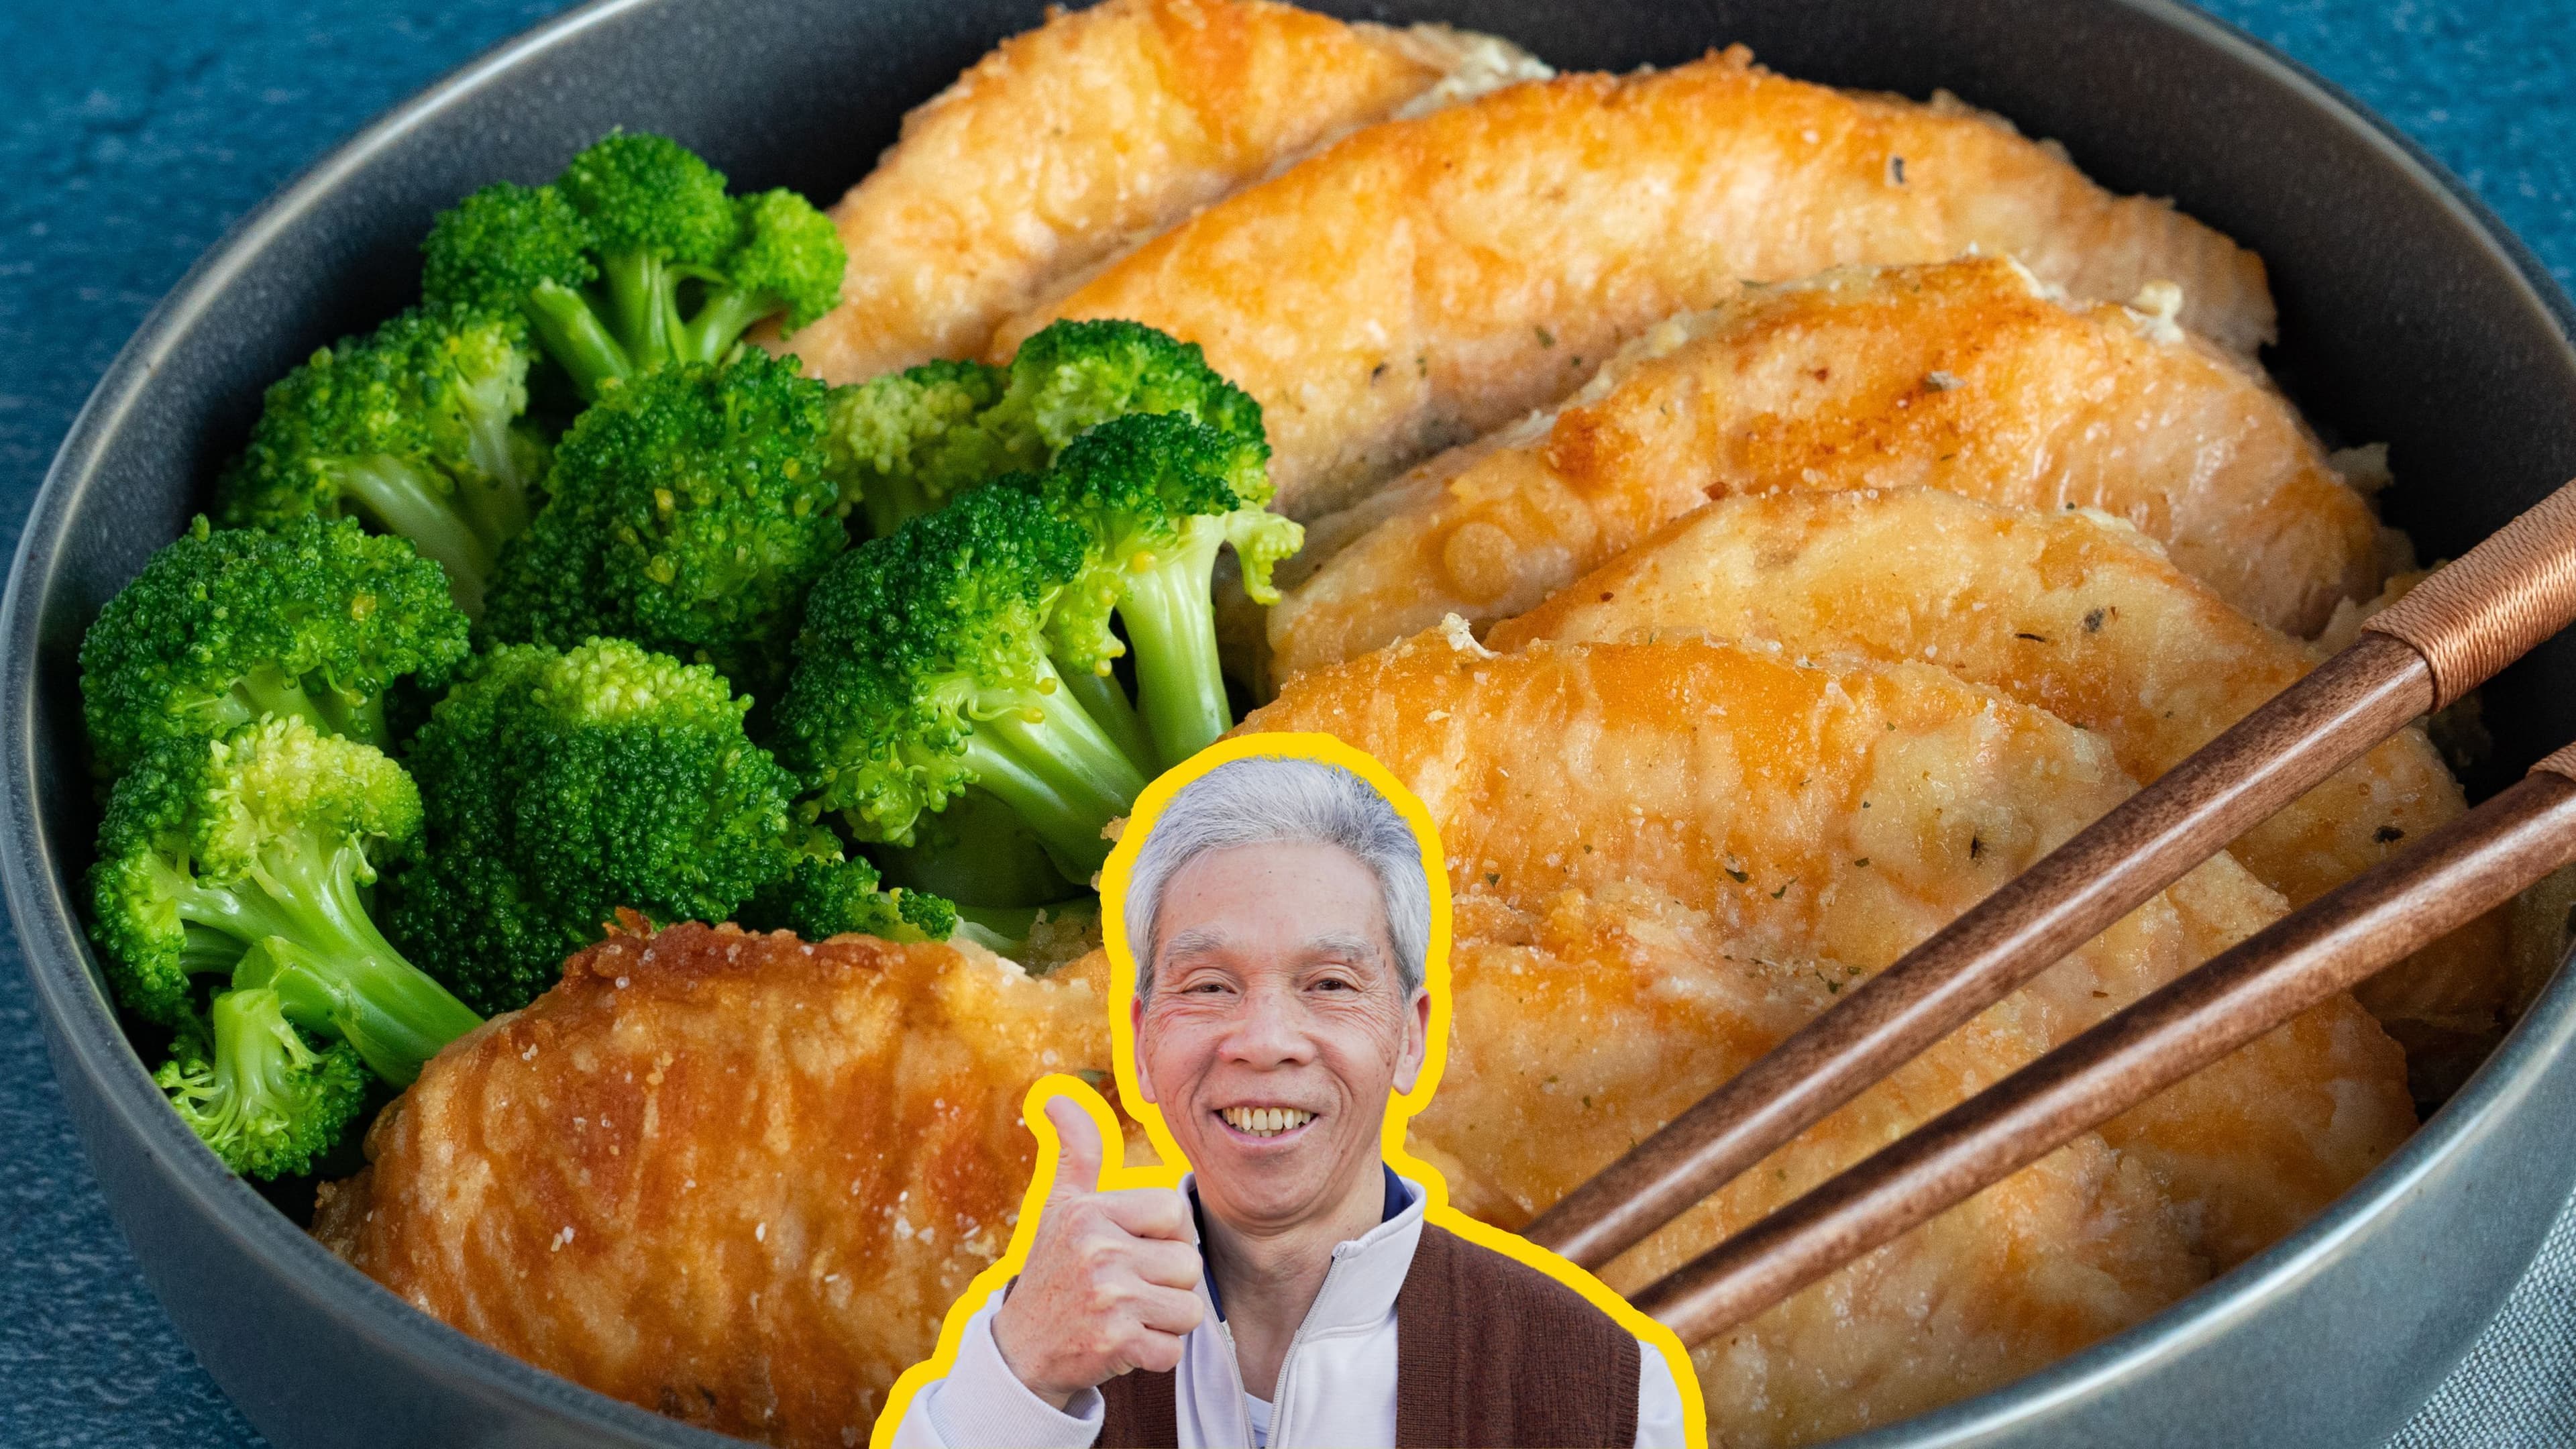
The Chinese Pan Fried Salmon My Dad's Made 100,000 Times

Why this recipe
Most chinese pan fried salmon recipes online are tested only a handful of times. My dad used to make this dish multiple times a day, every day, for 60+ years and can make this in his sleep.
I know you'll love it as much as our community does! This recipe has over 514.7K views, 11.1K likes on YouTube.
Today, Chef Daddy Lau is going to teach us how to make pan fried salmon, along with one of his favorite dipping sauces.
The salmon is a super easy weeknight recipe that’s ready in under 25 minutes, and the sauce is something my parents always have a stash of in their fridge, since it pairs well with a ton of different dishes.
Let's dive in!
Ingredients

Selecting salmon
For this specific recipe, my parents bought Atlantic salmon. With regards to Atlantic vs Pacific, farmed or wild-caught, there’s no right or wrong choice, but my parents have a slight preference for Atlantic salmon, which nowadays are primarily farmed.
As one of the world’s most consumed species of fish, salmon is a massive industry, with several million tons sold every single year, and tons of complexity surrounding how we source it in a sustainable, environmentally friendly way.
As consumers, an easy way to do our part is by making sure we vote with our wallets. Monterey Bay Aquarium in California runs a free website called “Seafood Watch” which has a ton of recommendations on how to choose and purchase seafood in ways that have the least environmental impact.
Finding Asian Ingredients
Some of these ingredients are hard to find in a typical grocery store.
If you don't live near an Asian market, most or all of what my dad uses in this recipe can be found on Amazon:
- Kadoya Sesame Oil
- Pearl River Bridge Superior Light Soy Sauce
- Michiu Rice Cooking Wine
- Lao Gan Ma Chili Oil
I've also included some other Chinese kitchen essentials, used in many of my dad's other recipes.
- Koon Chun Hoisin Sauce
- Lee Kum Kee Premium Oyster Sauce
- Pearl River Bridge Superior Dark Soy Sauce
- Lee Kum Kee Chicken Bouillon
- Shaoxing Cooking Wine
- Chinese Sausage - Lap Cheung
- Dried Shrimp
- Dried Shiitake Mushrooms (soak for 15-20 minutes in warm water before slicing)
- Dried Wood Ear Fungus (a few options, depending on what's in stock):
These links are affiliate links, which means that if you use our links to purchase these ingredients, Amazon pays my family a small amount for the sale - at no extra cost to you. If you use these links, we really appreciate the support!
Instructions
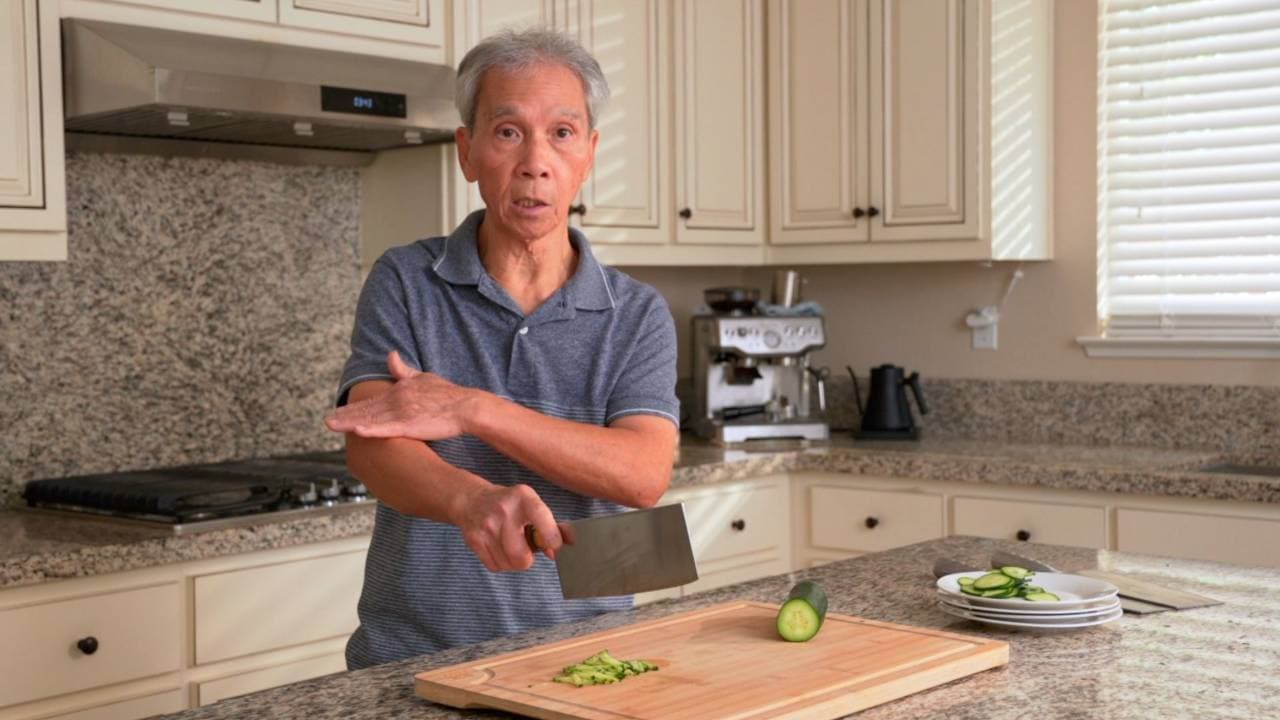
Cut salmon
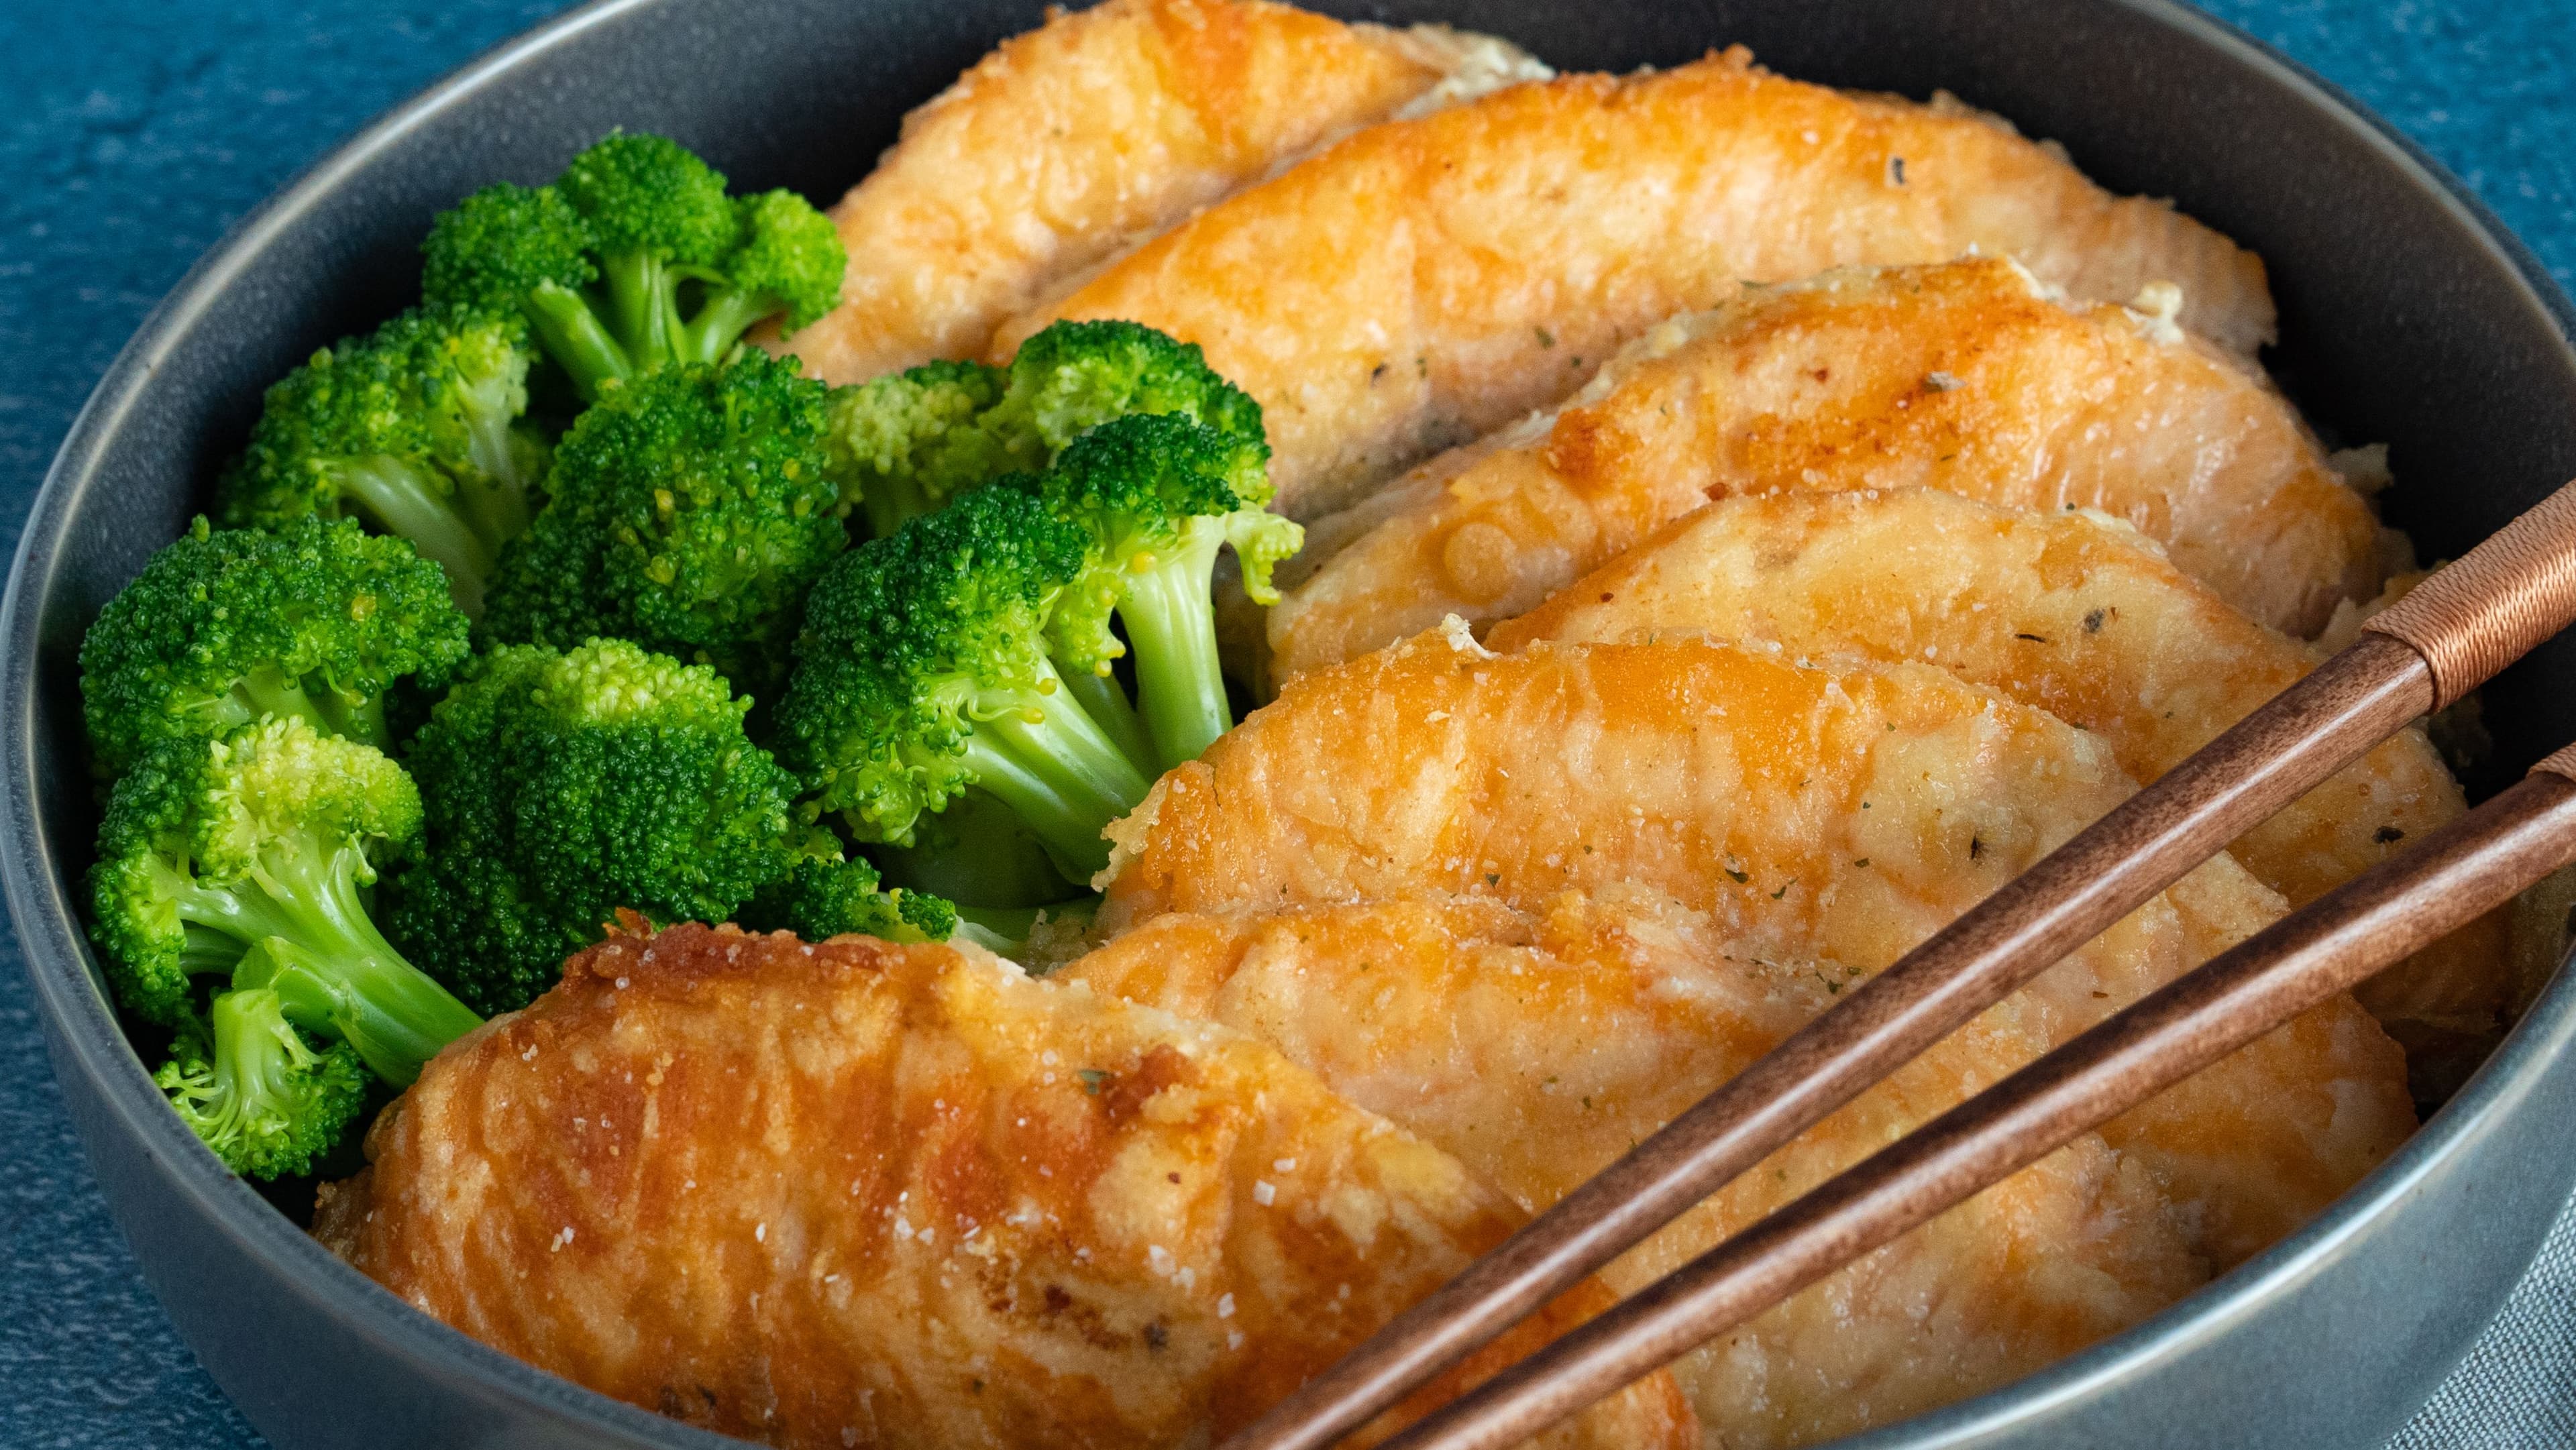
This is totally optional, but if you're planning on garnishing the salmon with anything (like cilantro) or serving it with any vegetables (like broccoli), then it's best to cut it before the salmon (for sanitation).
To make our salmon (1.5 lb) fillets, make diagonal cuts about 2 cm apart. The diagonal cuts help increase the surface area of the fillets, which speeds up cooking and reduces moisture loss.

Coat salmon
Spread the fillets out on the cutting board, and sprinkle white pepper on each side. The white pepper helps counter some of the "fishy" taste of the salmon.
We'll crack and mix our eggs into a bowl, and spread out cornstarch (3 tbsp) on a plate.
Coat each side of each salmon fillet first in the egg, and then the cornstarch. This coating helps add some delicious crunchy/crispiness when it's cooked.
Cook salmon
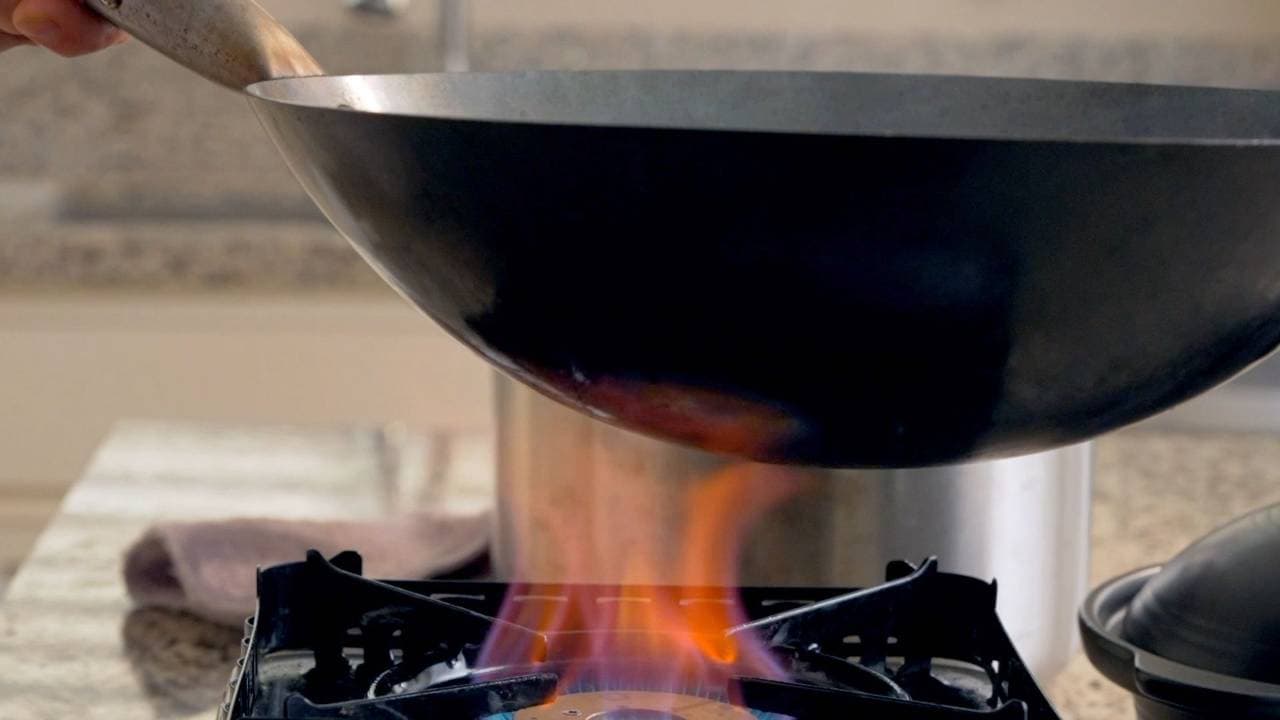
Heating the wok
We’ll set our stove to medium high and let our wok heat up.
Unlike other Chinese recipes, with salmon, it’s important that the wok gets hot enough but not too hot. It’s difficult to give an exact amount of time, since it depends a lot on your stove and cookware.
My dad relies on his own intuition that he’s developed over 50 years of cooking. For the rest of us, he waited about 2-3 minutes on this current setup.
Cook the salmon
Then, we’ll add corn oil (2 tbsp), and swirl it around the wok.
The wok and the oil should be hot enough once the oil starts shimmering, or making ripples.
Once this happens, we’ll add our salmon to the wok.
My dad had just enough room for 8 fillets, so try not to overcrowd your wok and consider cooking in multiple batches if necessary.
The total cooking time for the salmon also varies depending on how hot your stove is, how thick each fillet is, and what type of pan or wok you’re using.
On my dad’s current setup, which has less heat output than a gas stove, he cooked each fillet for 3 to 4 minutes on each side, generally not flipping the salmon over more than once.
For a visual cue, once the salmon fillet starts to turn more white / yellow-ish, you can flip it.
You should be able to tell if the salmon is done if it easily flakes, though you can cook it to your preferred level of doneness. If you wanted to get more precise, you can also insert an instant-read food thermometer into the thickest part of the salmon.
Other tips
As long as it’s cooked enough, the rest is just a lot of trial and error to find the texture of salmon that’s perfect for you. My dad tends to prefer salmon that’s more medium or well-done, so if you prefer something more rare, then adjust accordingly.
Kenji from the Food Lab has a great blog post and video with a bunch of helpful tips on how to pan fry salmon. Not all of these tips apply to this specific recipe, but it’s still a great resource, and I’ve linked to it in our description.
Add flavors, cover wok
Add garlic salt to the fillets.
Then, we'll add rice cooking wine (0.50 tbsp). We should have the lid for the wok within reach, because we’ll be covering the wok immediately after we pour the cooking wine in. We’ll only be covering the wok for about 20 to 30 seconds before we take the lid off.
Uncover, plate, garnish
Uncover the wok, and turn the heat off. Transfer the salmon fillets to a plate, and add any garnish you'd like.
Create sauce
To make the sauce, mix together sugar (1 tbsp), vinegar (0.50 tbsp), light soy sauce (2 tbsp), boiling water (2 tbsp), and chili sauce (0.25 tsp). Mix it all together for about 5-10 seconds.
Notes:
- If you prefer more spiciness, feel free to add more chili sauce.
- If you’re wondering why my dad specifically uses boiling water, it’s to help extend the shelf life of the sauce. My parents elaborate on why during our "Meal Time".

Pairs well with
View all →Made with love ❤️

We started Made With Lau to celebrate Cantonese culture and honor the legacy of our wonderful parents, Jenny and Chung Sun Lau.
Our hope is that these recipes and stories help you spread the joy, love, and nostalgia that I felt growing up.