The Fried Glutinous Rice Dumplings My Dad's Made 100,000 Times

Why this recipe

Most fried glutinous rice dumplings recipes online are tested only a handful of times. My dad used to make this dish multiple times a day, every day, for 60+ years and can make this in his sleep.
I know you'll love it as much as our community does! This recipe has over 615K views, 11K likes on YouTube.
A dim sum classic in your own kitchen
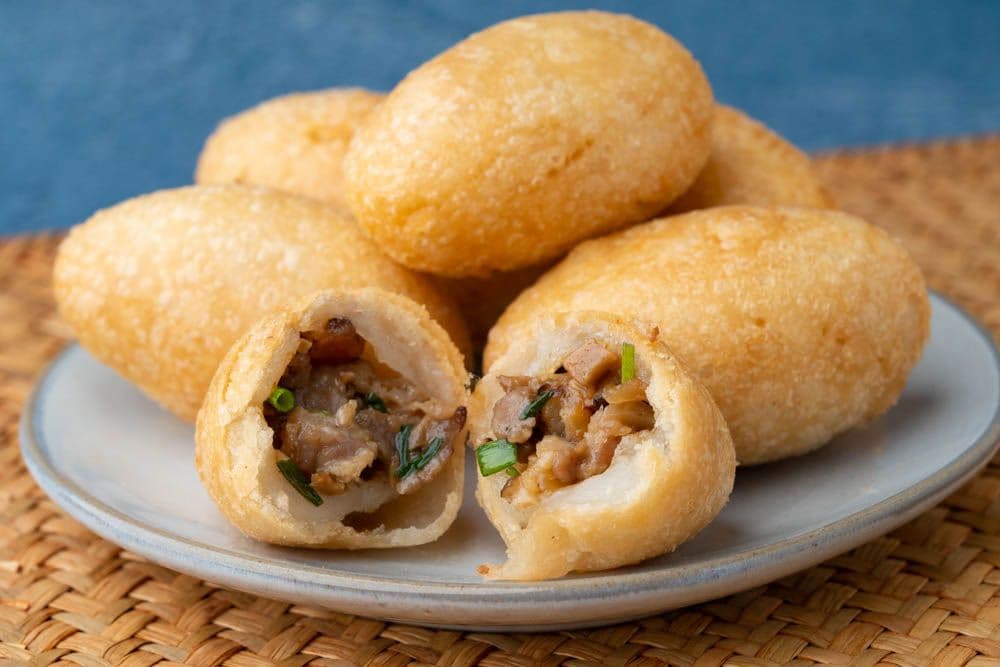
Ham sui gok, or fried glutinous rice dumplings, is always on our family's card when we eat dim sum. The wrapper is crispy when you bite in, with a lovely chewy inner layer, and the dumpling filling is juicy and savory.
Crispy, chewy, and juicy, all at once? Yes, it's possible, because we pre-cook the luscious filling, use glutinous rice flour for the wrapper to get that chewiness, and finally deep-fry for that delicate crunch.
Thanks Yóu Yóu!
This recipe is brought to you in part by Yóu Yóu. Their Tea Seed Oil follows a long legacy of amazing Asian cuisine techniques that use this same oil for intensive cooking, high-heat stir-frying, and deep frying. We’re excited to collaborate with them to bring you our Ham Sui Gok recipe!
Yóu Yóu products introduce versatility into your kitchen as its neutral flavors and high smoke point allows you to play with flavors and try new cooking techniques! Their high smoke point of 486°F is perfect for any high-heat cooking, sautéing, stir frying, or deep frying. It’s 100% organic, vegan, nut-free and packed with antioxidants.
The Yóu Yóu website not only sells the highest quality of tea seed oils, they also have easy Asian recipes that home cooks can enjoy any night of the week. We’re super happy that we discovered Yóu Yóu, and if you use the code “MADEWITHLAU”, you can get 10% off your purchase!
Website: https://cookwithyouyou.com/
Facebook: https://www.facebook.com/cookwithyouyou.official/
Instagram: https://www.instagram.com/cookwithyouyou/
Ingredients

Instructions
Make dough
Put the wheat starch (3 oz) and glutinous rice flour (8 oz) into two separate bowls. Into the bowl of wheat starch, add hot water (4 oz) and then carefully bring the dough together by kneading it for 30 seconds. Set aside.
In the bowl of glutinous rice flour, add lard (2 oz) and sugar (1.5 oz). Then add cold water (5 oz) while stirring with a spoon. Once all the water is in, knead this dough for about one minute.
Add the wheat starch dough, piece by piece, to the glutinous rice flour dough, and knead together.
If the dough feels too dry and is not holding together, feel free to add small amounts of water as needed. We needed to add another 0.5 oz of cold water, but you may need more if you live in a drier climate.
Once the dough is sticking together, knead it for another minute and a half until the two parts are thoroughly mixed together. Wrap the completed dough in a plastic bag of clingwrap, and set in the refrigerator to rest for one hour.

Prepare ingredients
Rinse the dried shrimp (0.50 oz), and then soak in warm water for 8-10 minutes to rehydrate them.
Rinse and soak the dried shiitake mushrooms (0.50 oz) the same way.
Mince the pork (4 oz) by cutting it into slices, strips, and then small pieces. Then marinate it with salt (0.50 tsp), cornstarch (1 tbsp), and water (2 tbsp).
Cut the dried turnip (1 oz) into thin strips, then turn it perpendicular to dice into small pieces. Dice the celery (1 oz) in the same way.
When the dried shiitake mushrooms and the dried shrimp have finished rehydrating, they'll be soft enough to cut. Slice the top of the mushroom horizontally to halve it, then chop into slices. Then turn perpendicular to dice. Dice the dried shrimp in the same way.
Peel, smash, and mince the garlic (2 clove).
Chop the green onion and cilantro into small pieces. You may want to use a separate cutting board for these to avoid residue from other ingredients. They won't be cooking for very long, but only getting some residual heat from the rest of the filling.
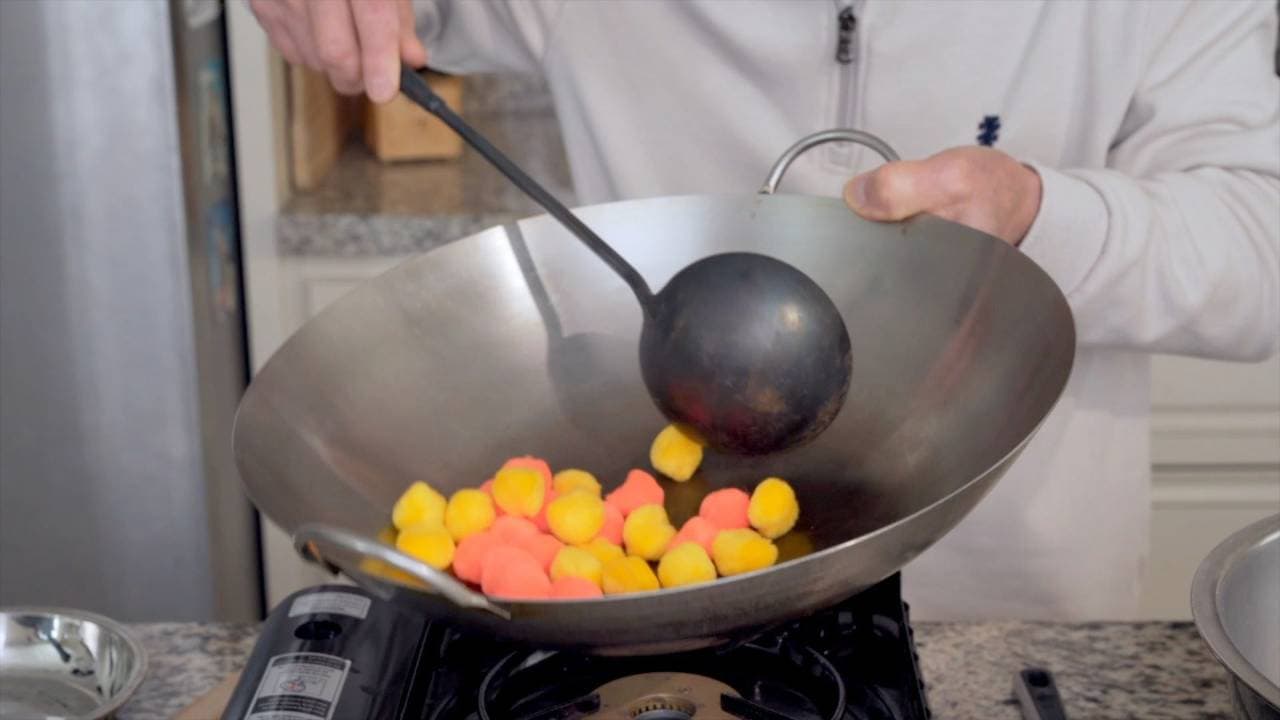
Stir-fry filling
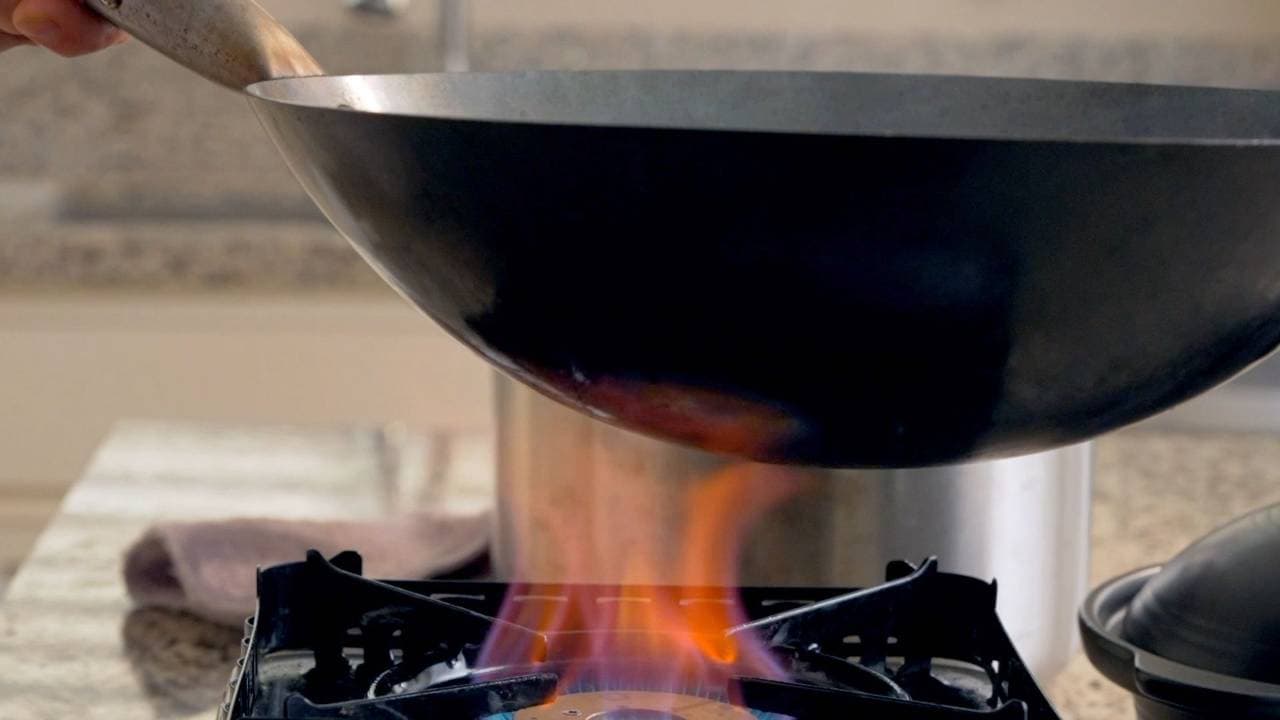
With the stove on high, heat the wok for about 30 seconds, and then add Yóu Yóu tea seed oil (2 tbsp).
Stir-fry the garlic for 10-15 seconds. When the garlic begins to smell aromatic, add the dried shrimp and stir-fry for 10-15 seconds to bring out the shrimp flavor.
Add the pork, cooking for another 30-40 seconds. We want to fry the pork through before adding the wetter ingredients that might steam it.
Add the mushrooms, celery, and dried turnip and cook for 40-50 seconds.
Season filling
Now, season with salt (0.50 tsp), oyster sauce (1 tbsp), and light soy sauce (2 tsp) and stir-fry a bit to incorporate the flavor. Then add white pepper powder (0.25 tsp).
To thicken the filling, mix together a slurry with water (2 tbsp) and cornstarch (1 tsp), then slowly pour into the wok. Add just enough to reach your desired consistency of filling.
After stir-frying the filling for about 30-40 seconds, add sesame oil (1 dash), the chopped cilantro and green onions. Turn off the heat, take the filling off the stove, and set aside on a plate to cool.
Wrap dumplings
After the filling has cooled and the dough has been in the refrigerator for at least an hour, we’re ready to wrap our ham sui gok.
First, knead the dough a bit to soften it. Then roll out the dough into thick logs. Next, we’ll cut them into equally sized pieces. My dad divides them into 14 pieces here.
Take one of the pieces and form a round ball. Then, flatten it down with your hand, so it becomes a circle. The ideal thickness is about 1/4 inch thick.
Press down in the center with your thumb to curve the disc of dough into a bowl-like shape. Add about a tablespoon of filling and pack it down to push out any air pockets.
Then, pinch the open edges of the dough together over the filling to seal the dumpling, taking care to wrap tightly around the filling as to minimize the amount of air inside.
Roll the closed dumpling back and forth in your hands to smooth the seam out, and to naturally create a slight (American) football shape. The final uncooked dumpling should be the size of a large egg.
Continue wrapping the rest of the dumplings this way.
Deep-fry dumplings
Since we are deep-frying the ham sui gok, use suitably-sized pot that can handle high temperatures. Turn the stove on to high and pour the Yóu Yóu tea seed oil (3.2 cup) into the pot, enough to cover the amount of ham sui gok you're cooking.
Heat the oil until it reaches 160°C (320°F), then turn the heat off so that it doesn't get too hot.
Carefully place the ham sui gok into the pot of oil. Put them down separately to make sure they don't stick together. With the heat off, let them cook in the hot oil, continuing to gently agitate them for even cooking, until they float to the surface, which will take about 3 minutes.
Once they are floating, turn the stove back on to medium heat to get the oil back up to 160°C (320°F) and fry them for another 10 minutes. The oil should be active and moving the dumplings, and you'll be able to see the ham sui gok rolling around without your intervention.
Then, turn the heat down to low to continue frying for the last 3-5 minutes. The ham sui gok should be golden brown.
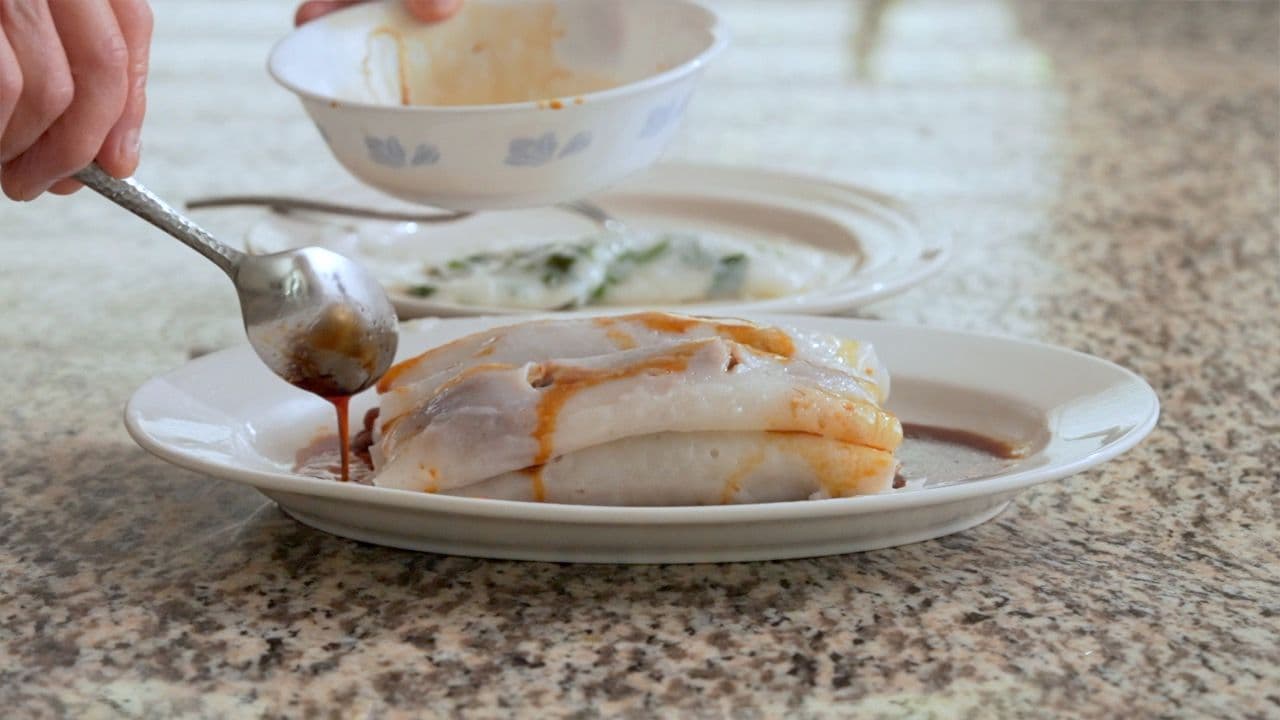
Taste test & plate
You can keep cooking other things with the frying oil, so don't toss it out too soon. When the ham sui gok are finished frying, carefully scoop them out of the oil and onto a plate. Enjoy!

Pairs well with
View all →Made with love ❤️

We started Made With Lau to celebrate Cantonese culture and honor the legacy of our wonderful parents, Jenny and Chung Sun Lau.
Our hope is that these recipes and stories help you spread the joy, love, and nostalgia that I felt growing up.